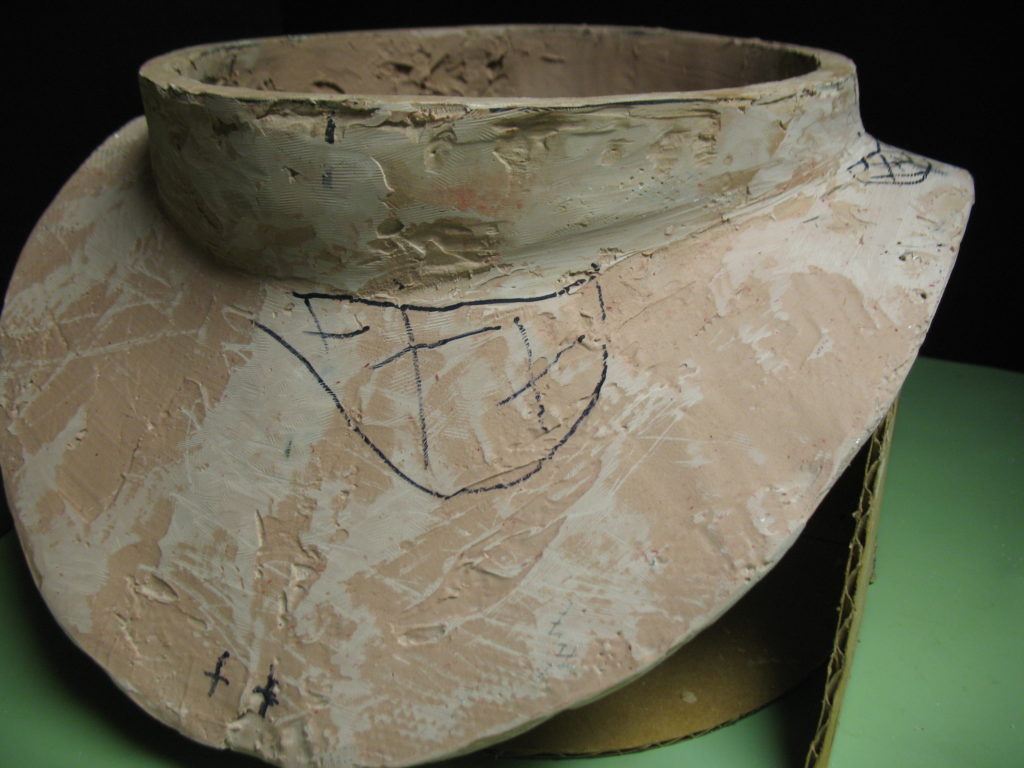
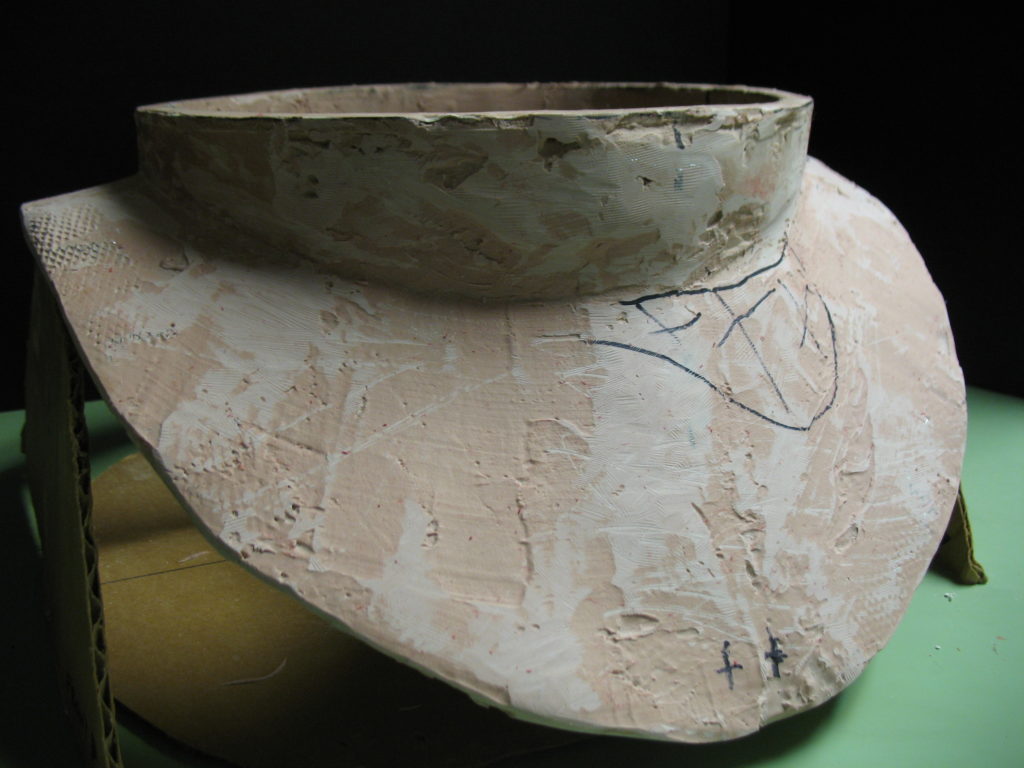
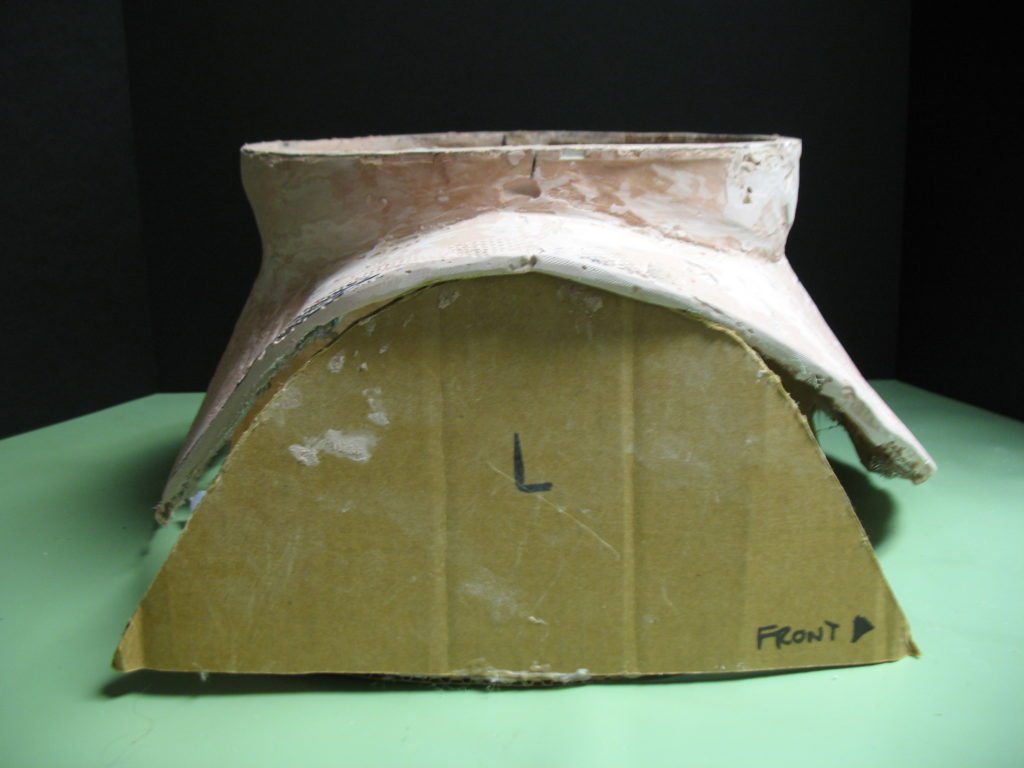
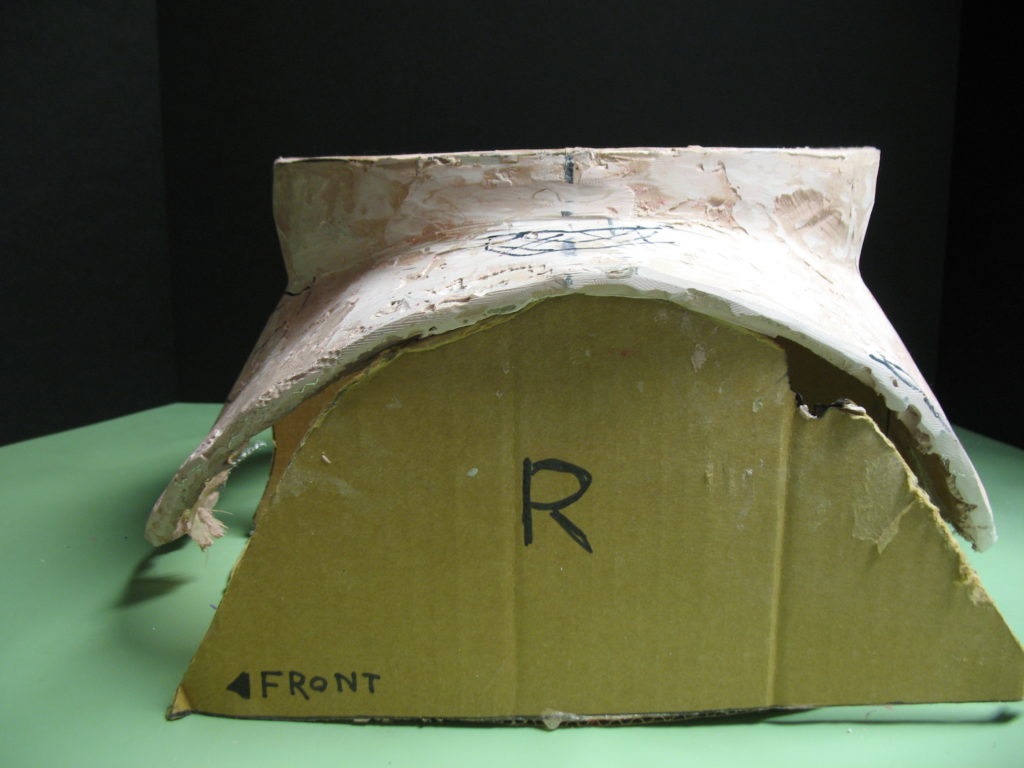
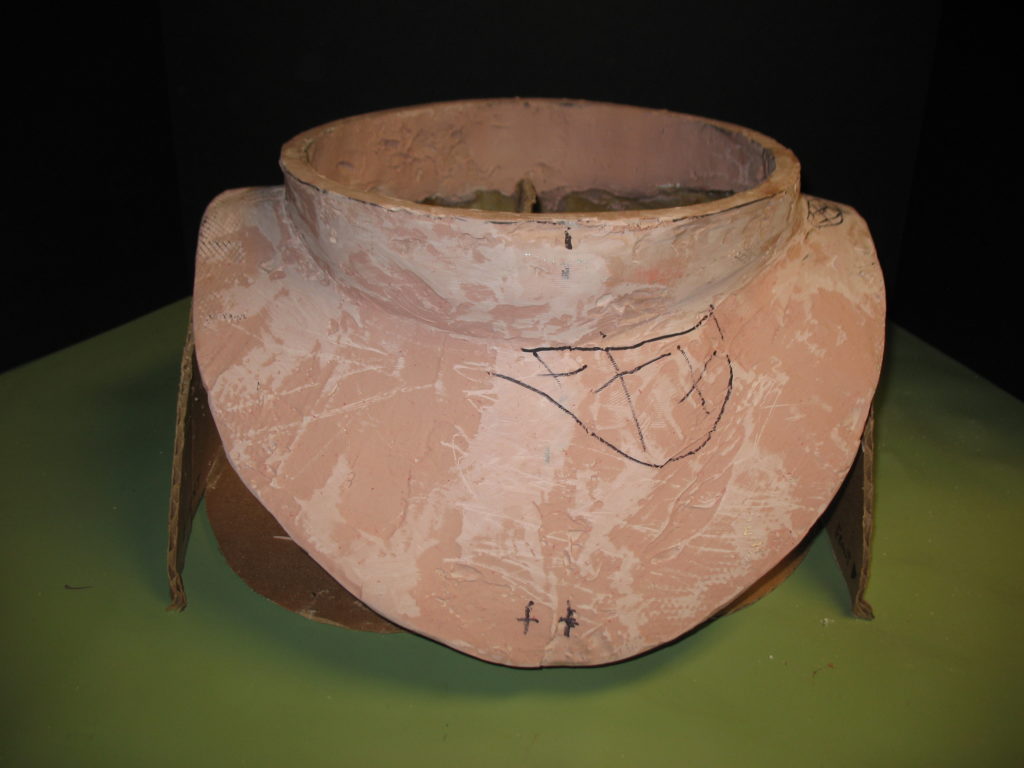
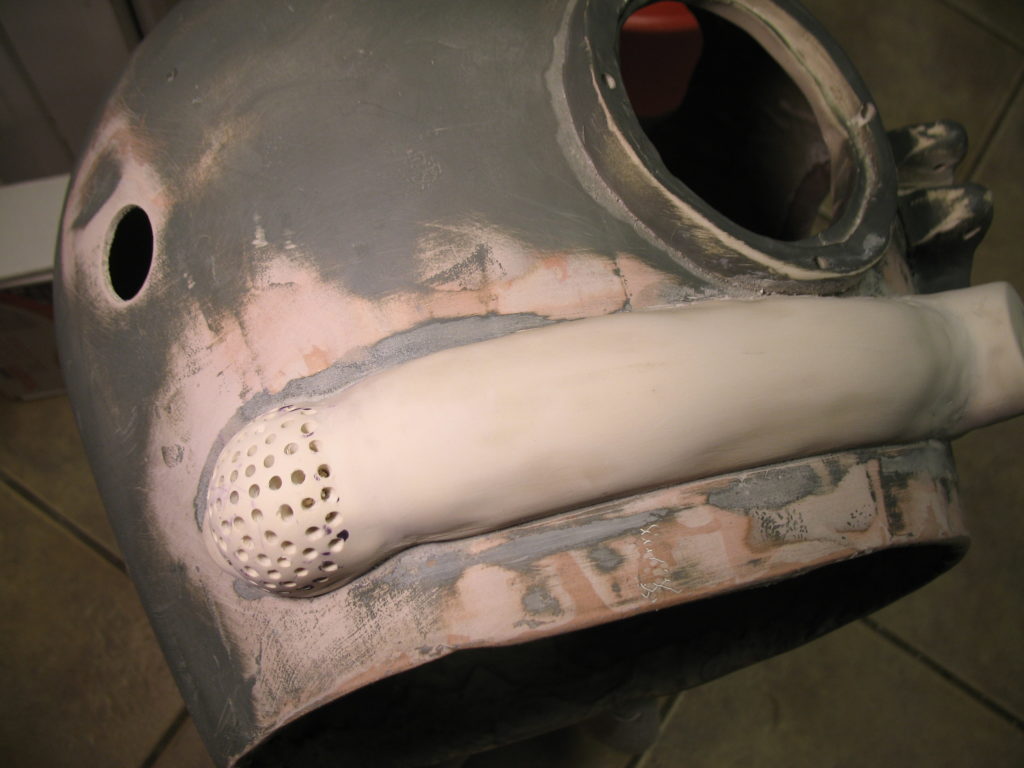
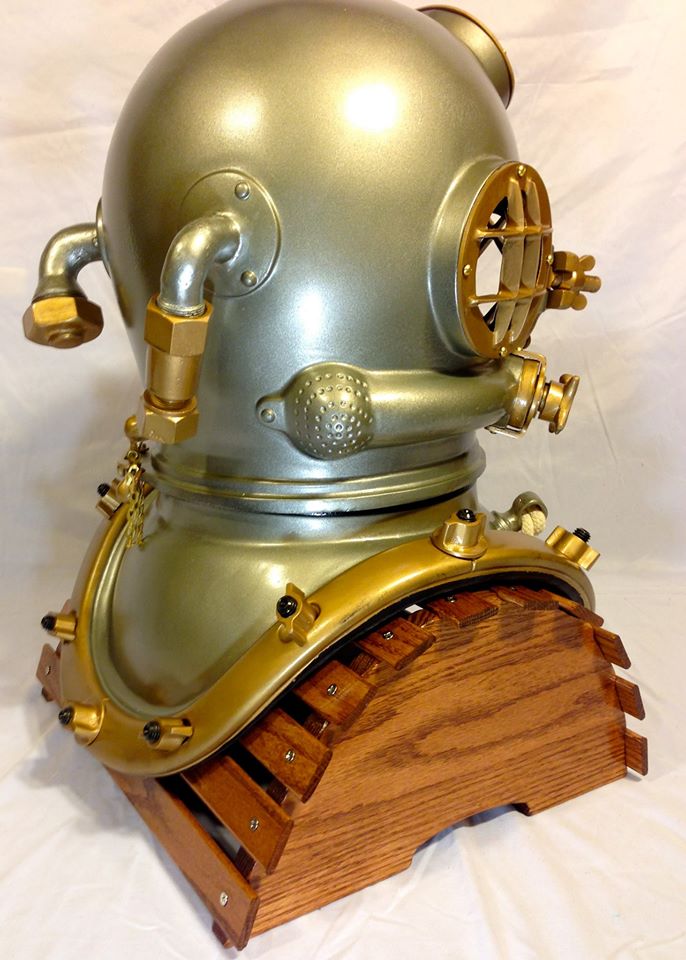
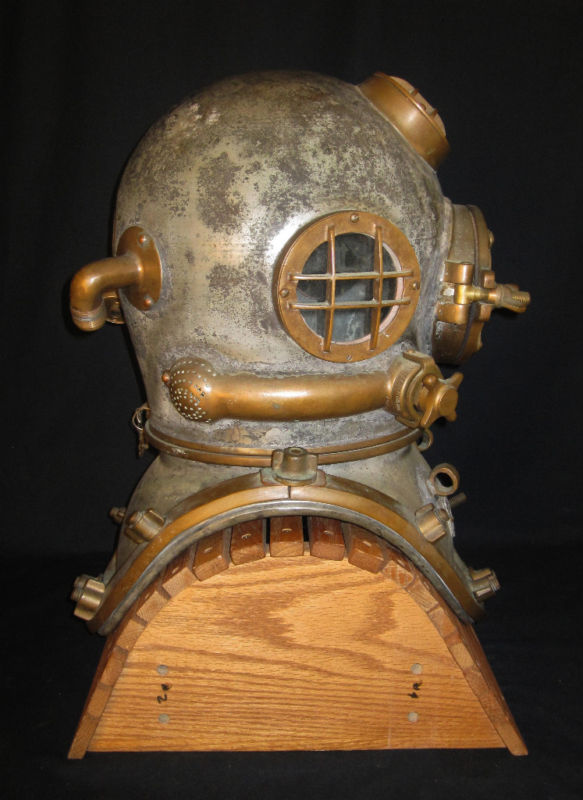
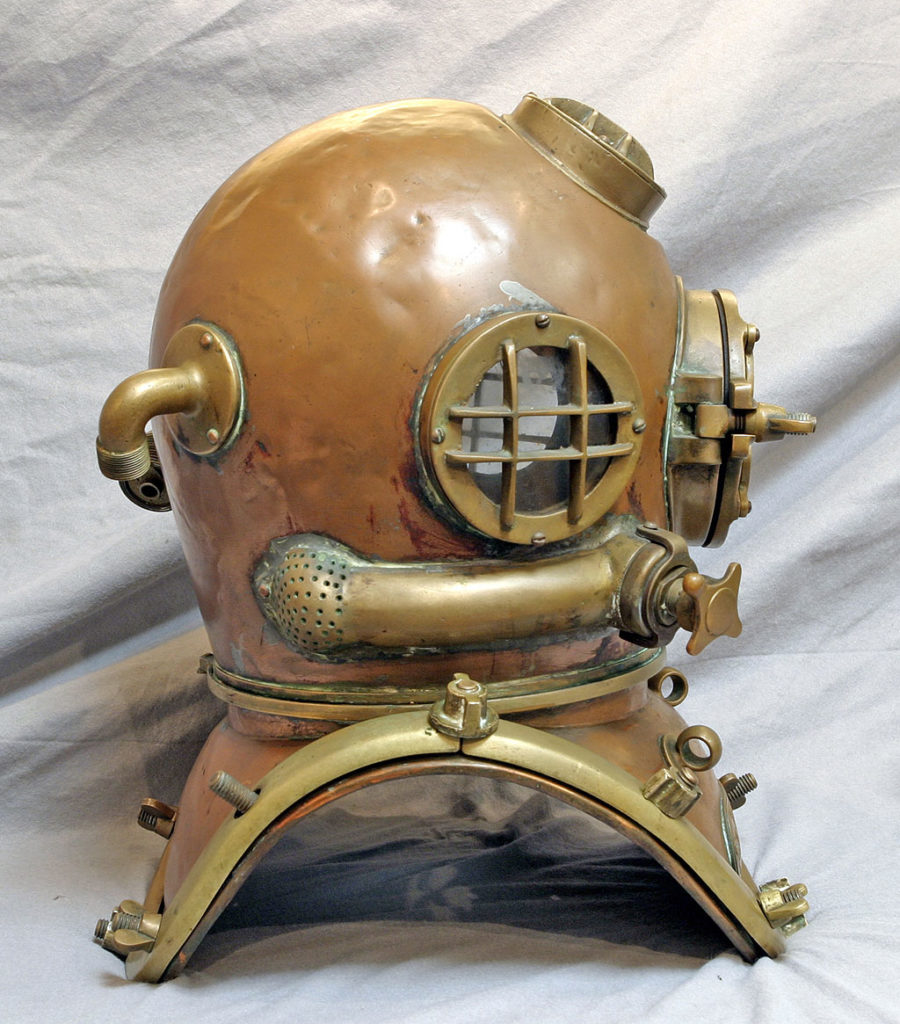
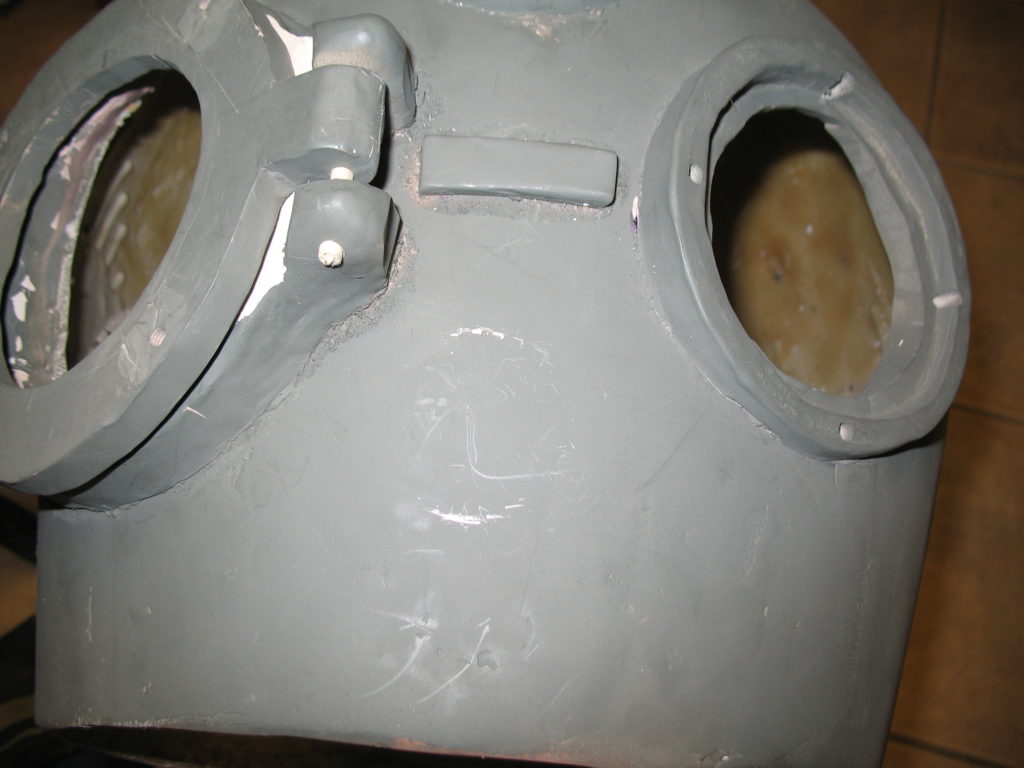
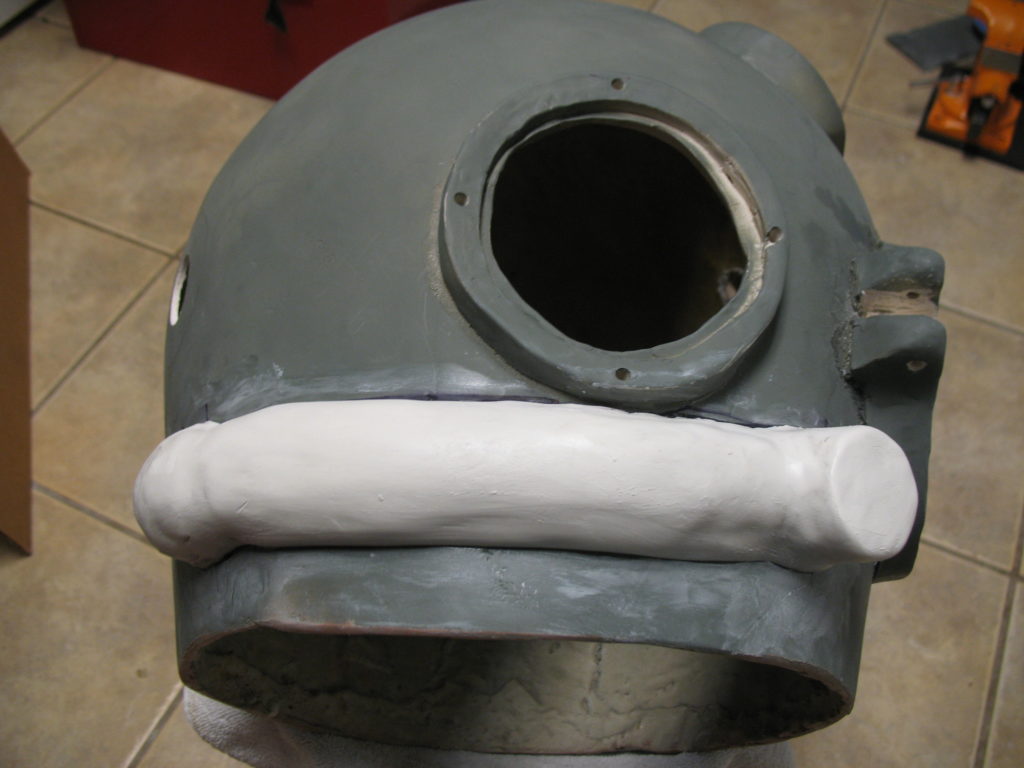
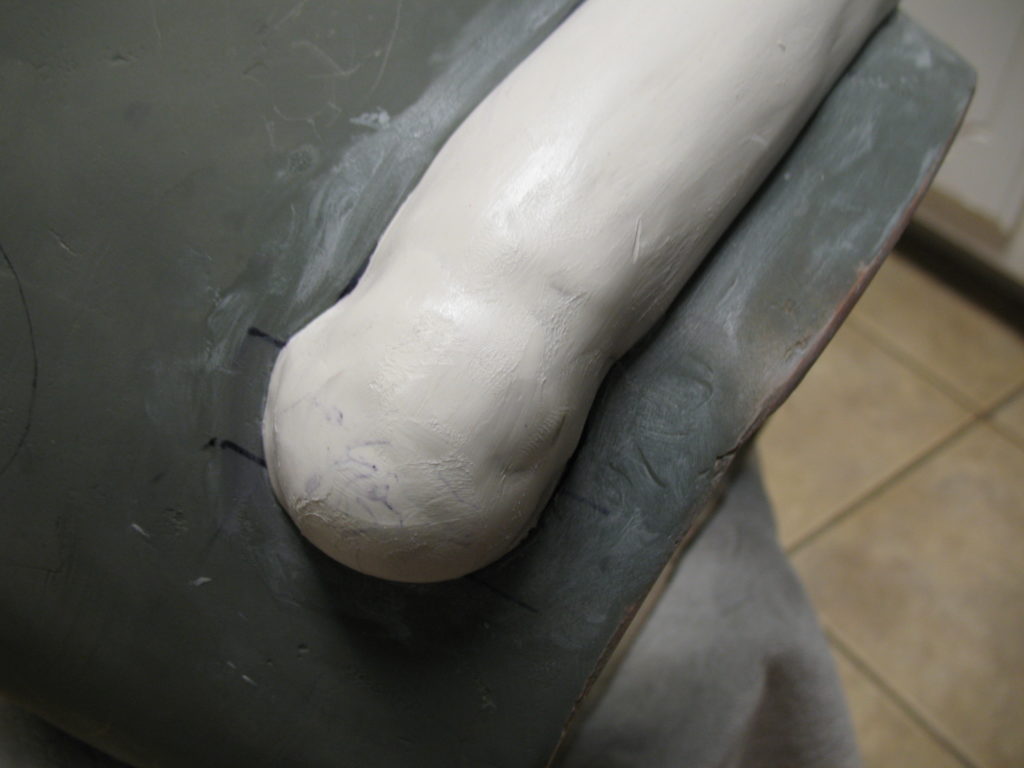
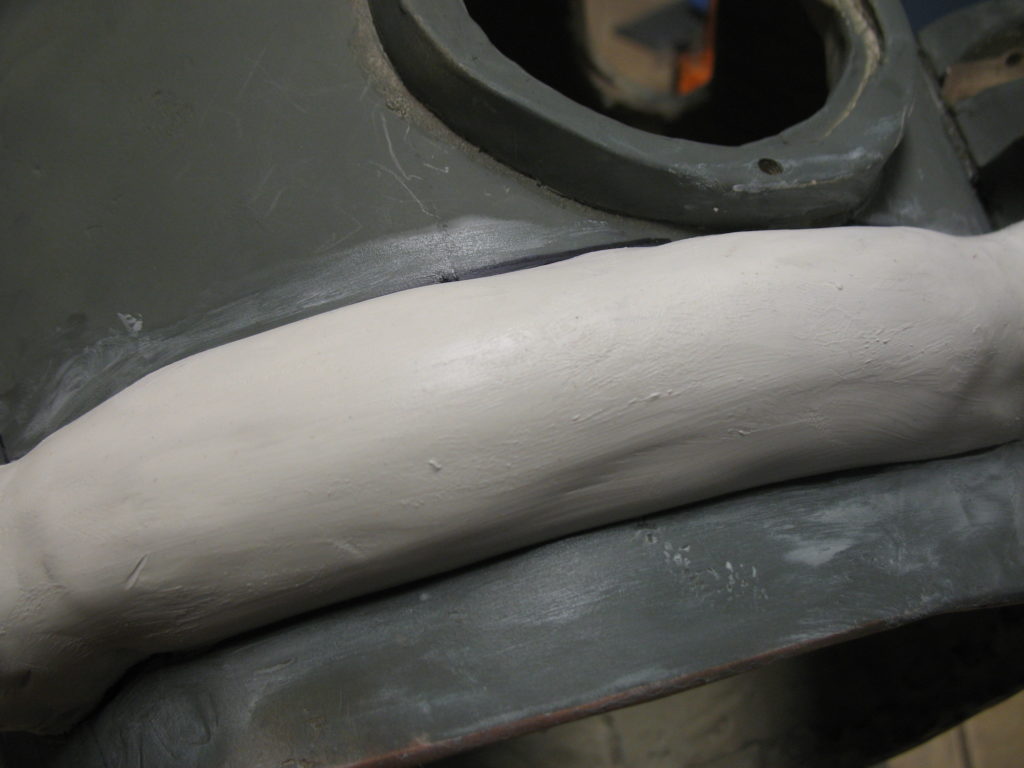
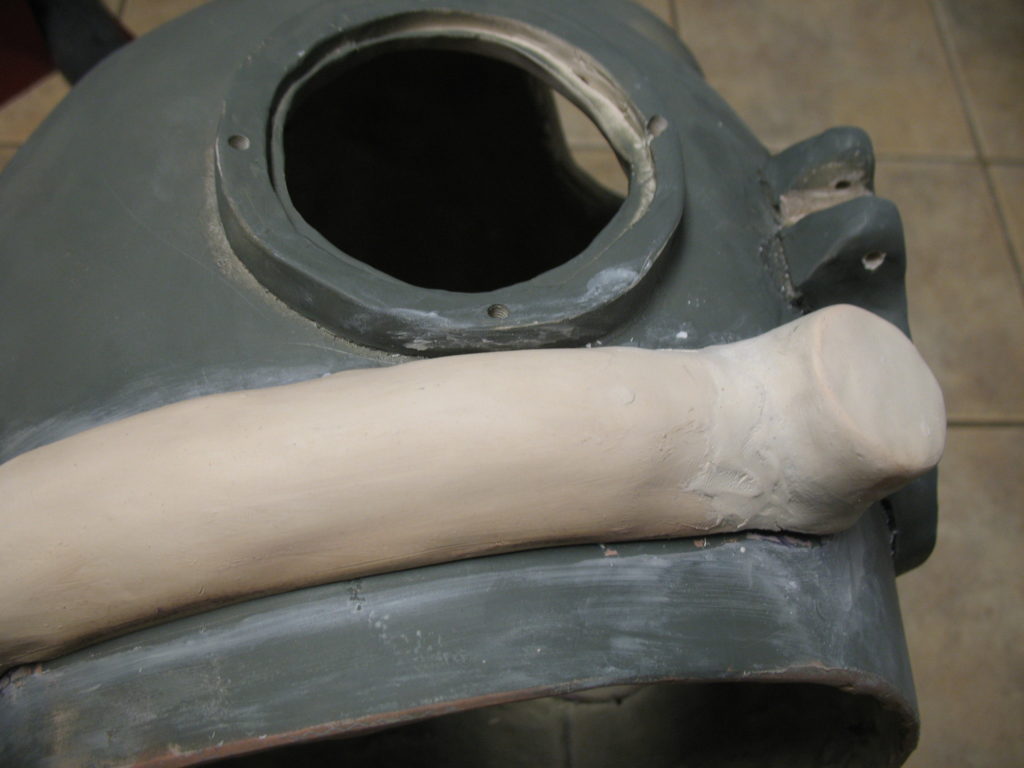
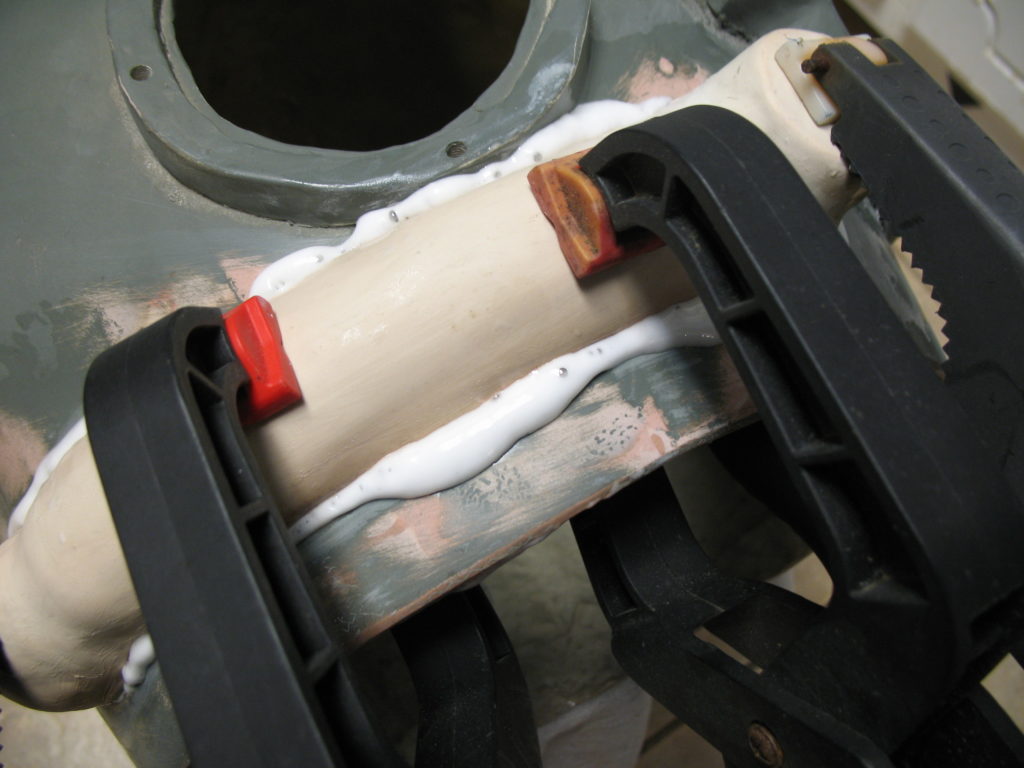
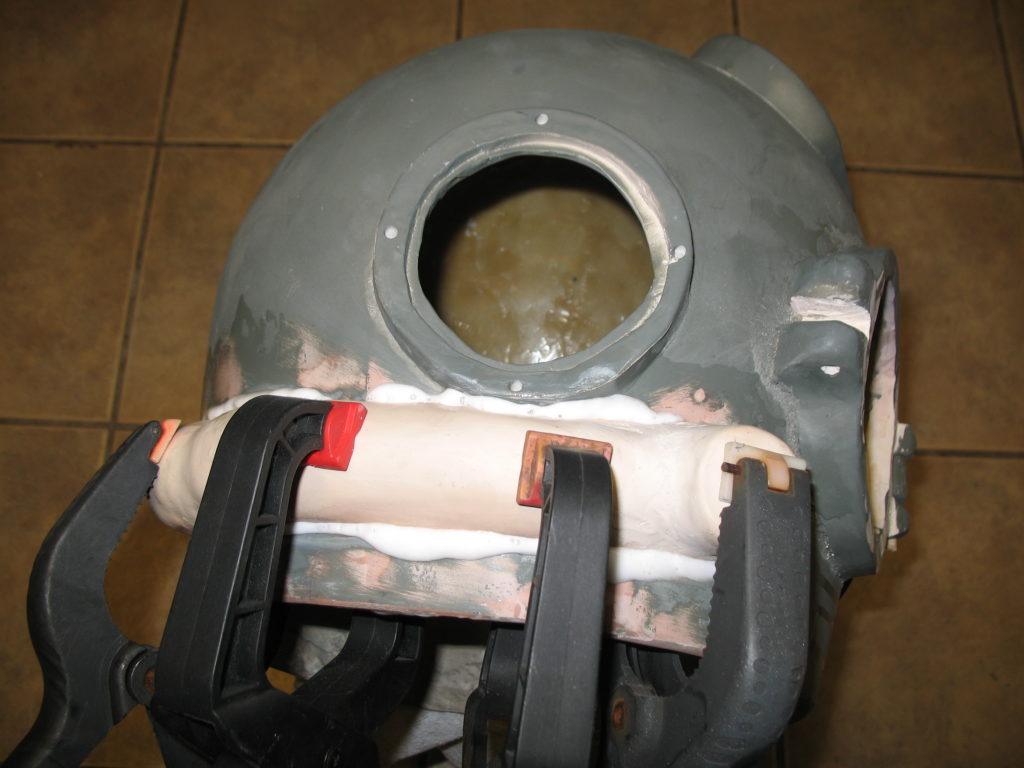
This is the collar for my DIY Mk V Dive Helmet, and it’s been a real pain to get right. I definitely should have worked harder on the underlying structure, because it would’ve made the final steps so much easier. Now, I’m in a construction cycle that doesn’t seem to have an end. But the collar is finally starting to look like what I think a Mk V Dive Helmet collar should look like. It’s a lot of work. Apply body-filler, file it down, shape it, look at it, file it, look at it, file it, sand it, look at it……
Category: MK V Dive Helmet
A DIY version of the diving helmet commonly referred to by its U.S. Navy model — MK V.
MK V Dive Helmet – Exhaust Port Valve
Gas can be manually exhausted through the exhaust port, via a hand knob, or with a chin button inside the helmet. The chin button is just a spring-loaded valve that you operate by moving your head inside the helmet, and pressing on the button with your chin. I think this is probably because it’s easier than taking your hands off your work, or trying to operate the external valve with heavy gloves. Although, you can certainly turn the knob externally.
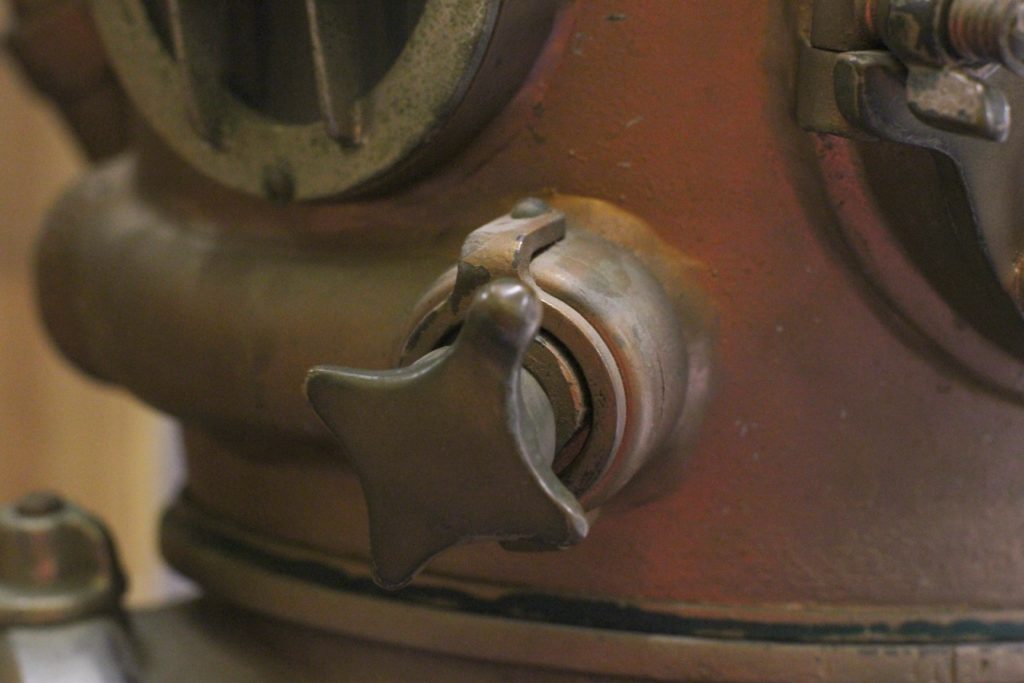
Exhaust gas travels from the inside of the helmet, through the valve and along the exhaust port, a cylindrical fixture mounted to the side of the helmet that directs the flow around the helmet and exhausts it out many small holes drilled in the end of the port.
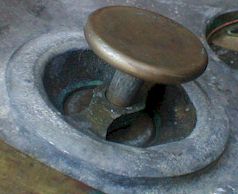
(Photo found at Divingheritage.com)
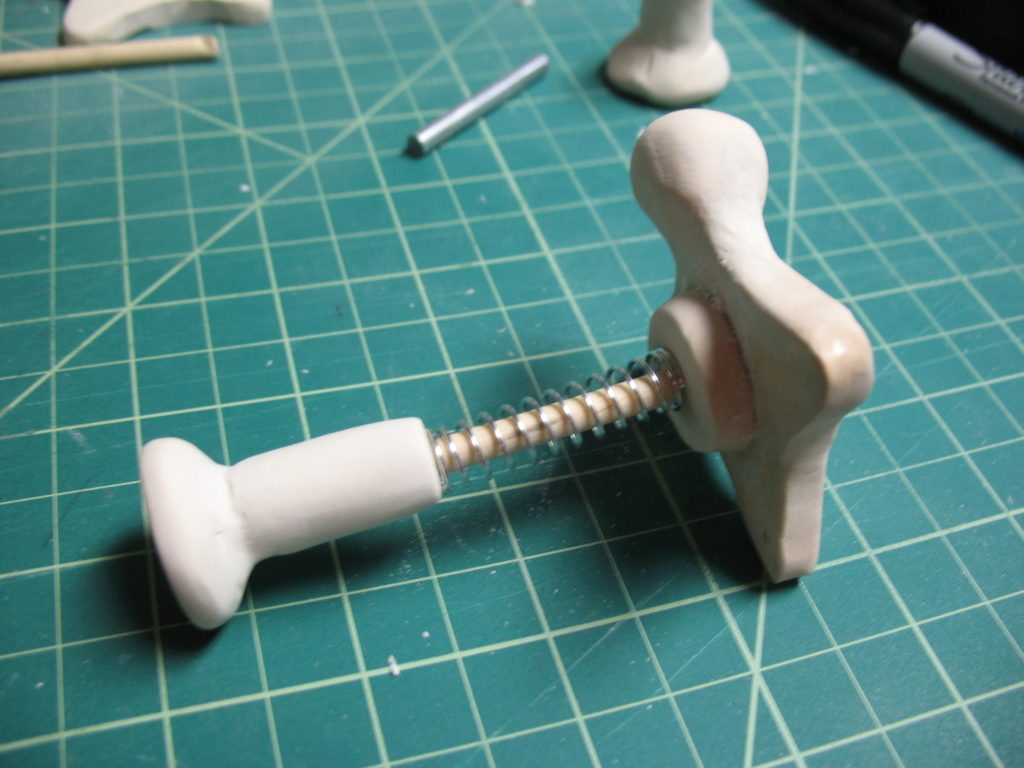
I’ll start with the exhaust valve handle. It’s basically a star-shaped square, with a ball at the end of one of the points. I’m making it out of polymer clay. It takes several attempts to get a close enough replica. There is the handle, a boss to keep the handle separated from the exhaust manifold, the chin button, a spring to allow the chin button to spring back to it’s original position, and the shaft to connect everything together.
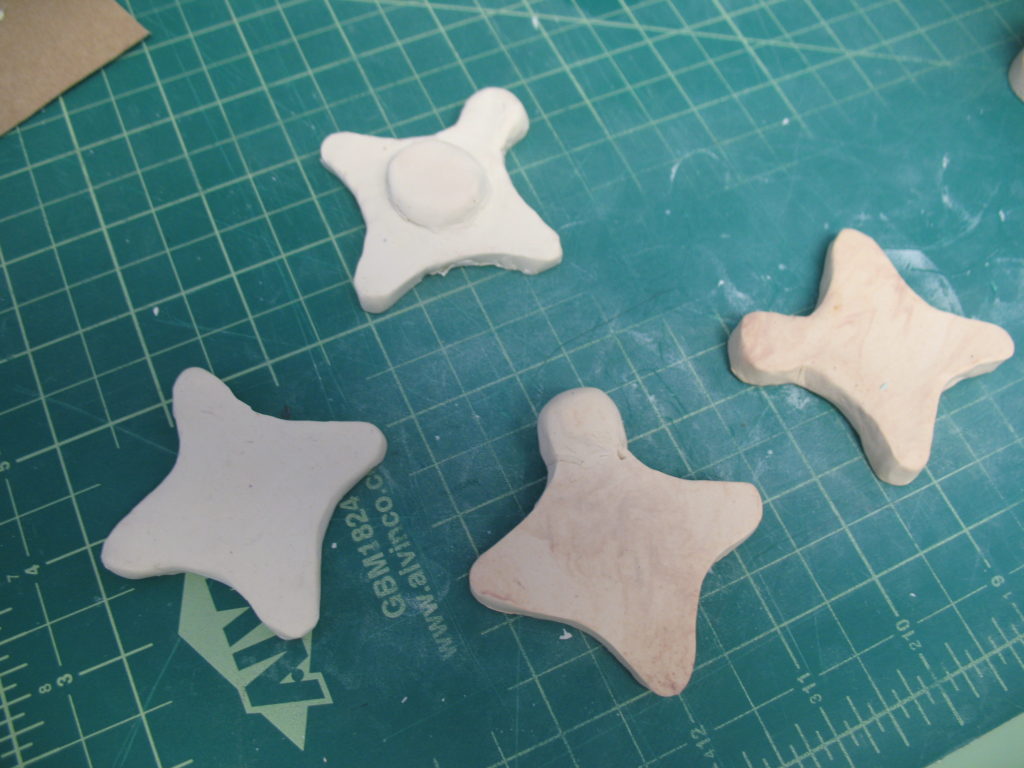
Several attempts to get the shape correct. 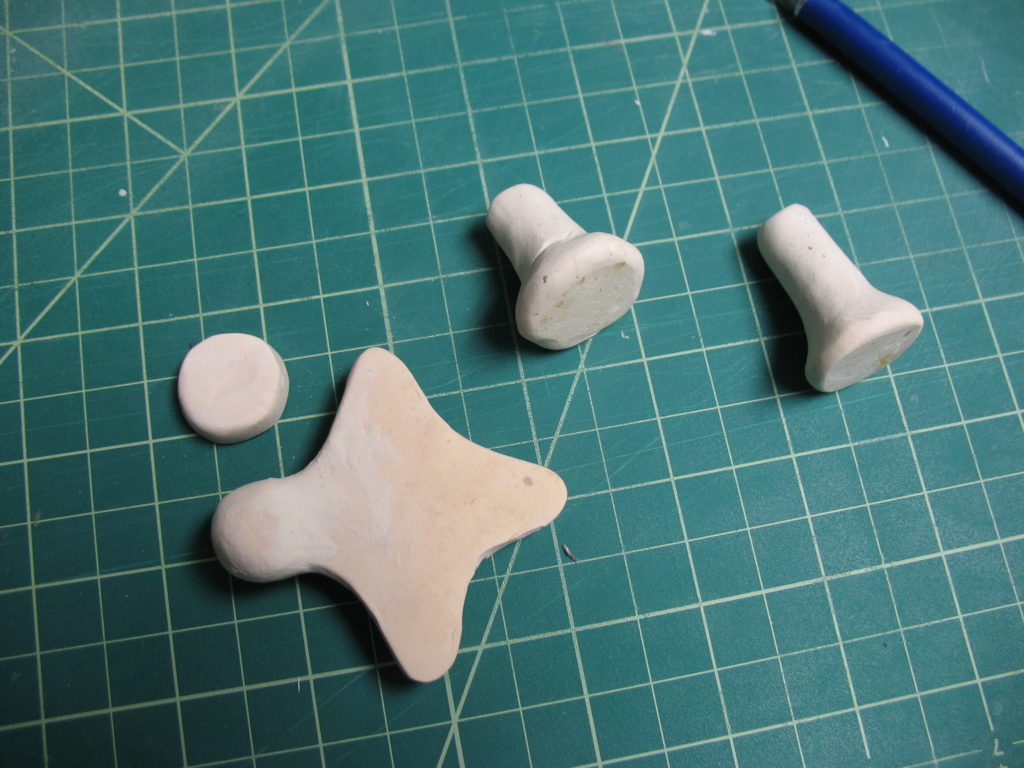
The exhaust valve and chin buttons. 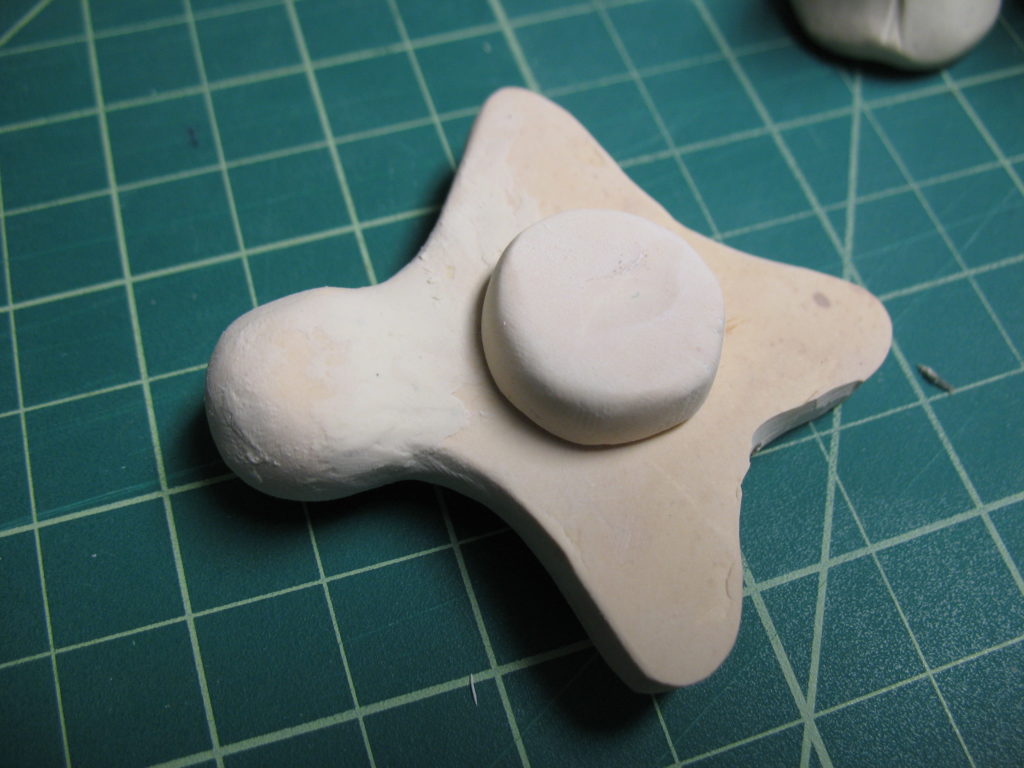
Handle and boss test-fitted. 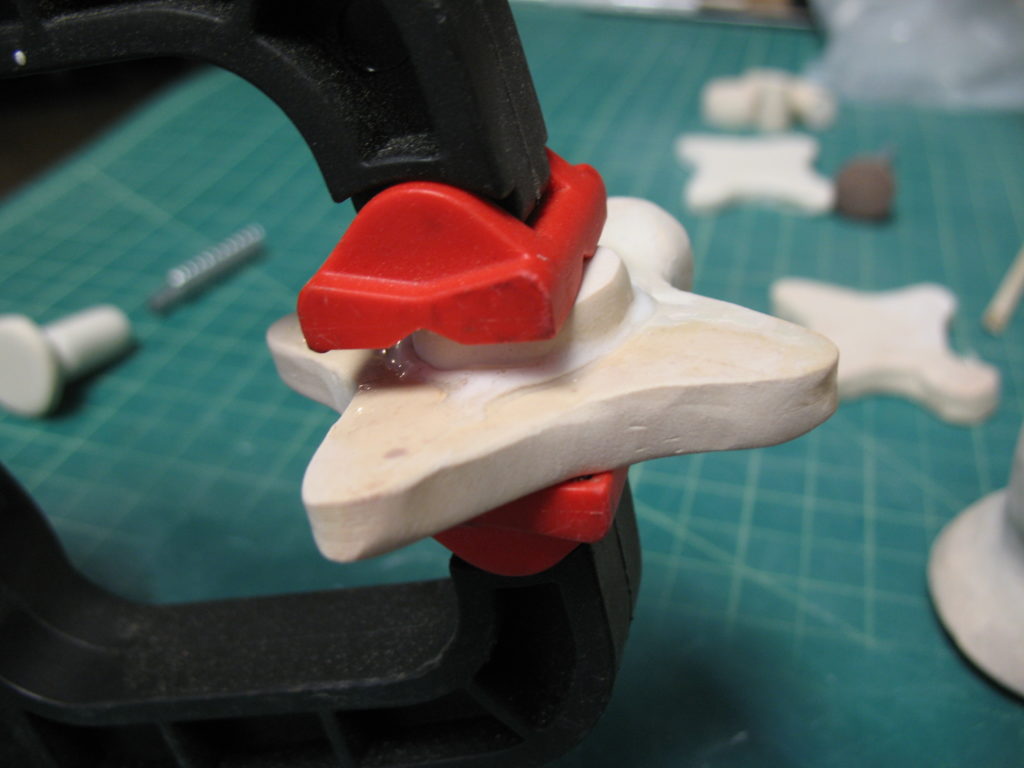
Gorilla glue and clamp. 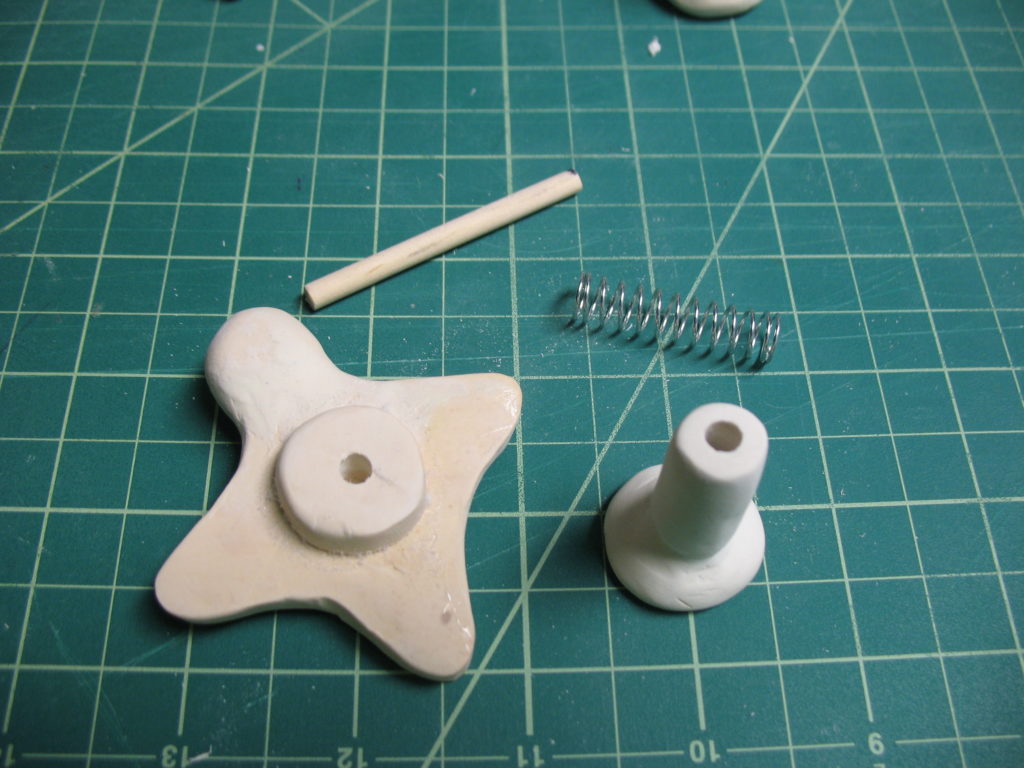

Test-fitted exhaust valve and chin button.
MK V Dive Helmet – Finishing the Exhaust Manifold
Now that the exhaust manifold is is attached to the dive helmet, there is work to be done on both ends of the manifold — the vent holes at the back, and a hole for the exhaust valve shaft at the front.
Exhaust Valve Shaft Hole
The exhaust valve need something to revolve around, so I’m putting a shaft through the manifold. This shaft (just a dowel) will connect the handle to the chin button inside the helmet. I’m using a compression spring to provide the action.
But a hole that accommodates this dowel and spring won’t provide any “spring-back”. So I need to fill in half of the hole, in order to give the spring something to compress against. I’m going to drill out the exhaust manifold, into the helmet. Then I’ll plug half of the drilled hole with a piece of polymer clay rolled in a cylinder shape. I’ll get a rough shape, then cook it, then sand it until in can be pressed into the manifold hole. After gluing the plug in place, I’ll drill a smaller, dowel-sized hole though the plug. The shaft will have to be sized just right, so that the spring is compressed slightly against the plug when glued to the handle. That way, the spring is always keeping pressure against the handle and the chin button. And when the chin button is pressed, it compresses the spring even more, allowing it to spring back when the button is released.

The plug and spring. 
Plug in place. Spring is actually on the faceplate hinge, not the wooden dowel. 
Plug glued-in. 
Plug sanded flush, and ready for a hole to be drill in the center (see mark)
Manifold Vent Holes
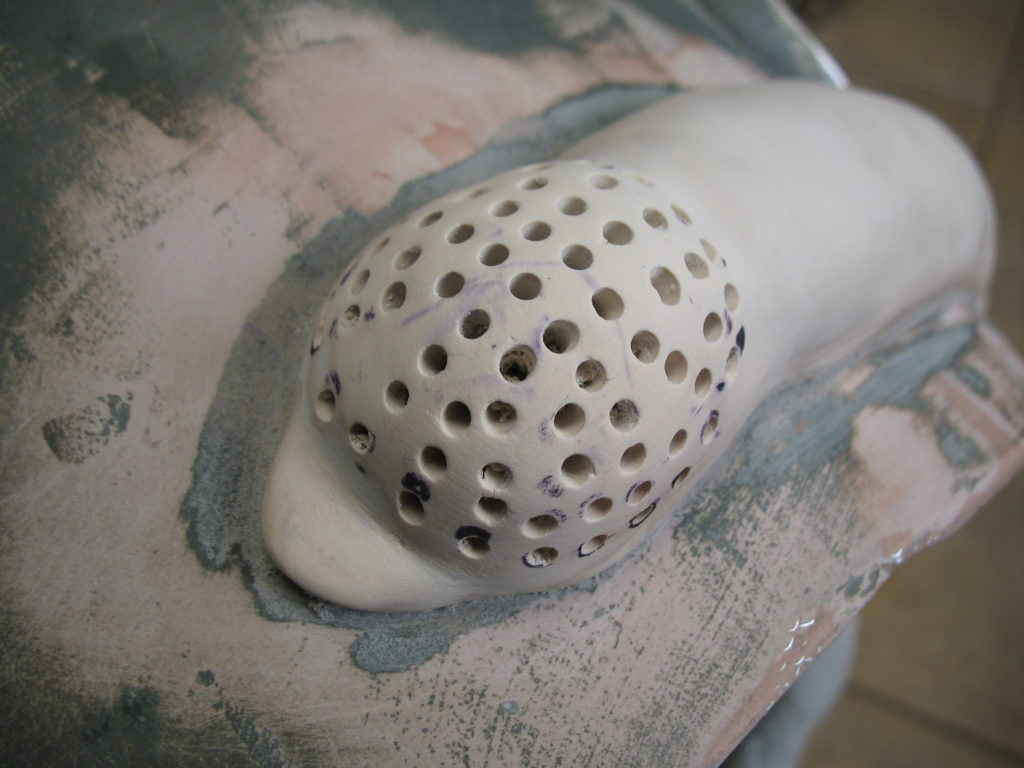
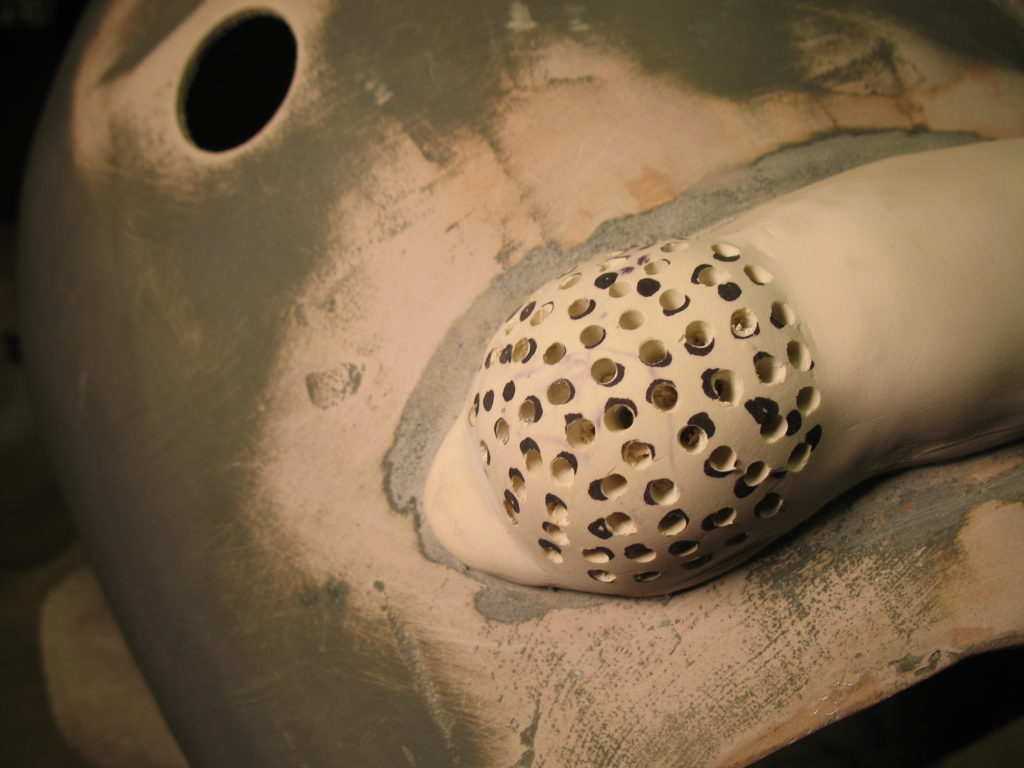
After more sanding, to refine the manifold shape, I marked holes over the round end of the manifold. I tried to start marking in a uniform pattern, but it gets tiring, so the dots just get sprayed all over. After marking the dots, I drilled them out; just deep enough not to penetrate the helmet.
After throwing on a coat of grey paint, it starts to look like it belongs.
MK V Dive Helmet – Exhaust Port Manifold
To keep exhausted breathing gas from obscuring the view of the diver, an exhaust manifold is used to direct the gas towards the back of the helmet. The exhaust gas bubbles exit the manifold through an array of holes in the end of the manifold.
It looks a bit like a banana, or a weird creature from Alien, or maybe a body part. The exhaust valve/chin button is at the front of the helmet, and the tube wraps around the helmet where the gas is exhausted through a series of holes. I saw this helmet where the manifold is installed vertically; presumably to avoid some special gas attachments on the back of the helmet.
Exhaust Manifold Placement
I’m starting by drilling a hole in the shell, for the exhaust valve, and it’ll be where the exhaust manifold begins. Then a quick sketch with a marker to place the manifold on the helmet. I’m referencing the engineering drawing of the dive helmet, but mostly eyeballing the start and end of the manifold. I think I put the hole a bit high, so I’m going to cheat it a little bit for the manifold.
Now that I have the outline (crude as it is), I’ll model the manifold with polymer clay (Sculpey brand).
Manifold Attachment
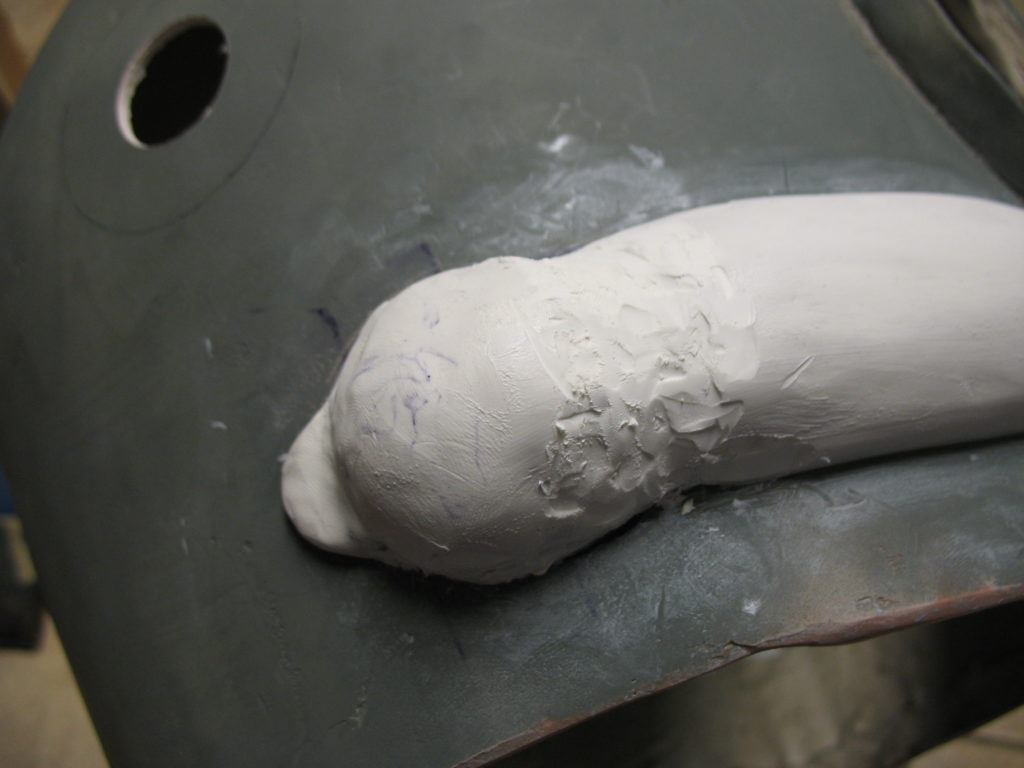
After the shape looks right, I carefully pulled the form off of the helmet, and stuck it in the oven to cook. The manifold is solid polymer clay, and is thicker than the usual clay part. Normally, I would cook the clay about 250F degrees (121C) for about 30 minutes. I cooked this a bit longer, maybe an hour. After cooking polymer clay, I usually turn off the oven, but leave the baking pan and sculpture in the oven to cool down gradually. This was a thick piece, and I think it just needed to be cooked more — after it cooled down, I test fitted it to the side of the helmet, and it broke near the exhaust valve:
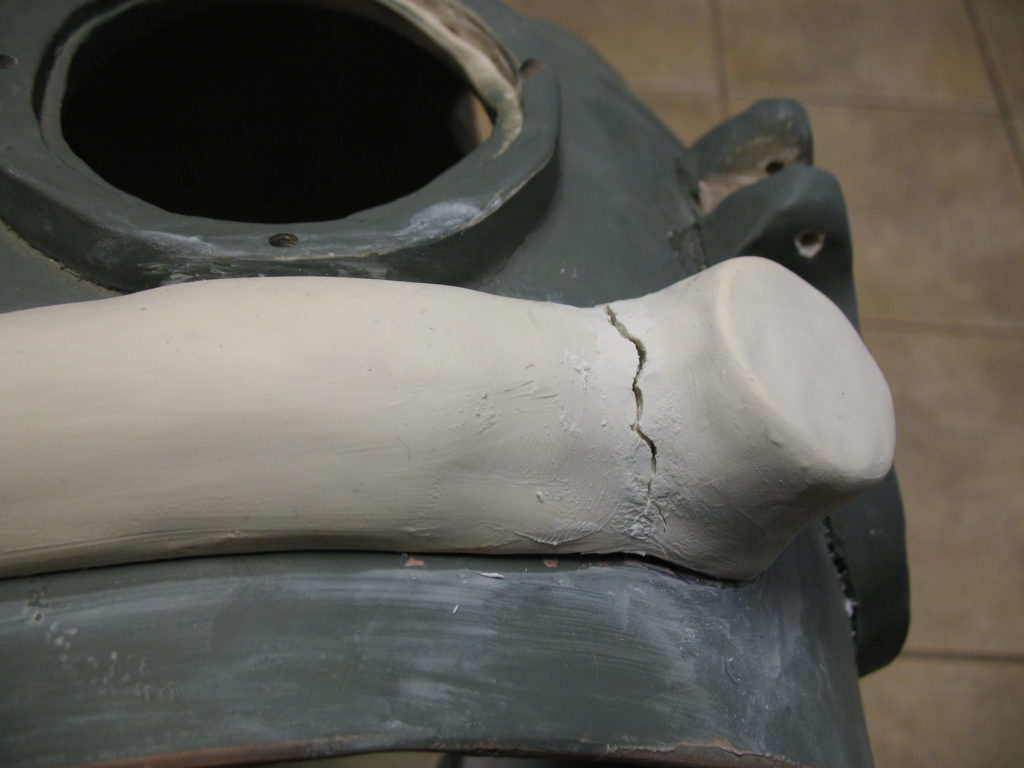
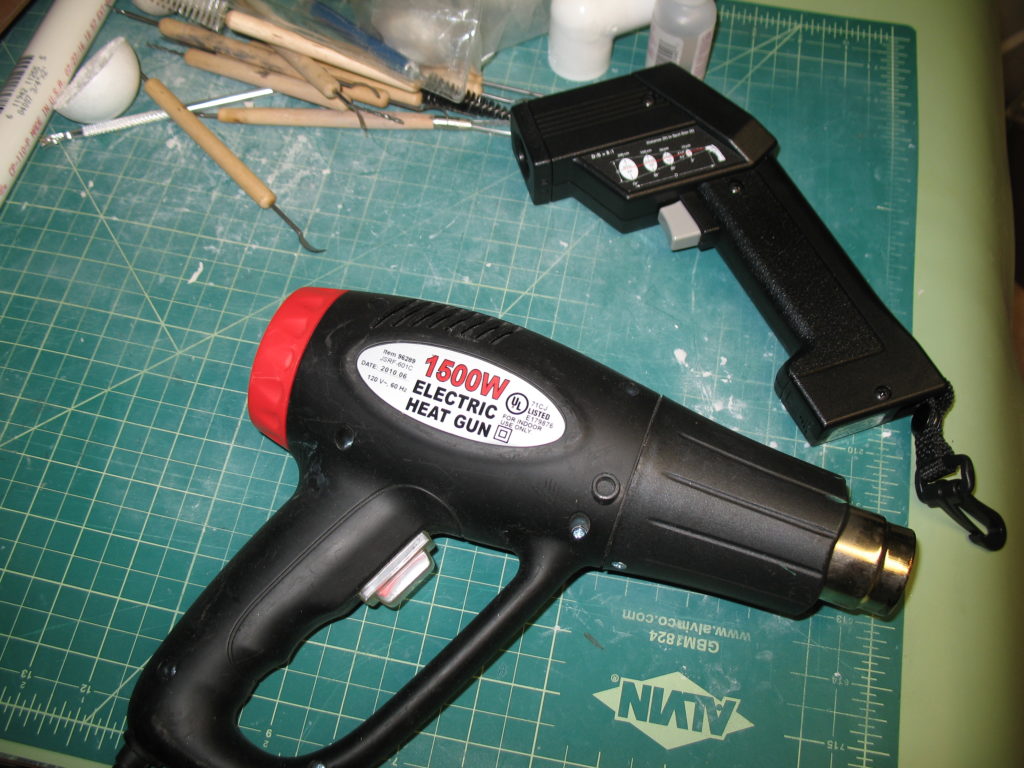
So, I filled-in the crack with more clay, and baked it some more. I’ve also had good success with using a heat gun to cure the clay in-situ. Here’s heat gun that I have (on the left), and a temperature sensor gun on the right.
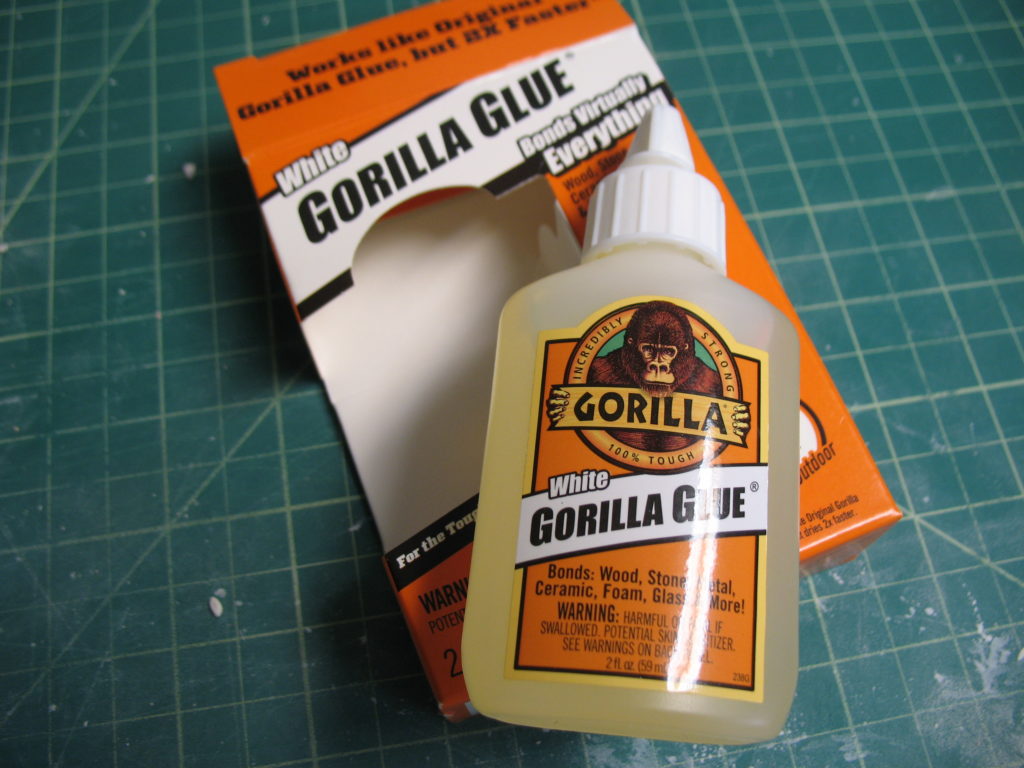
After all that, I went to actually attach the manifold to the helmet. For, I think, all of the attachments to the helmet, I used Gorilla Glue. Here’s the exciting visuals:
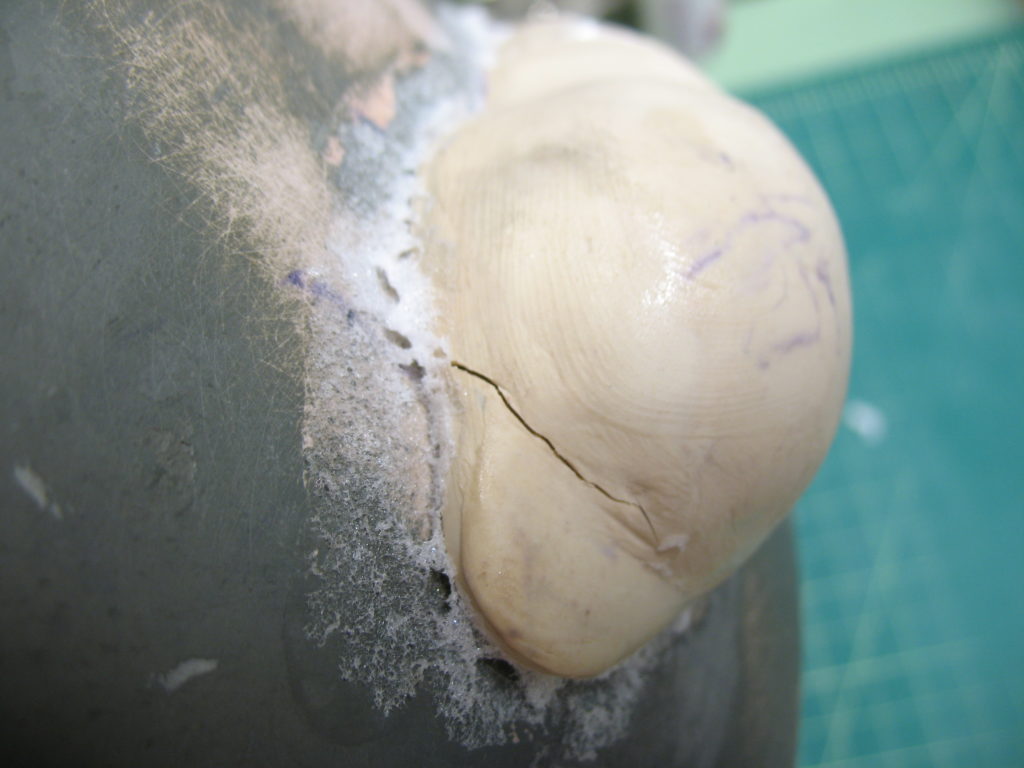
After gluing down the manifold, and peeling/cutting away the foamy excess, I found another crack at the exhaust end (the creepy dolphin-nose end). I repaired this the same way as above — press in some more clay, and heat it. I definitely had to use the heat gun this time, since the manifold was already attached to the helmet.
Up next, drill a number of holes in this dolphin face for the exhaust bubbles to get out, and drill a hole in the opposite end for the exhaust valve.
