To keep exhausted breathing gas from obscuring the view of the diver, an exhaust manifold is used to direct the gas towards the back of the helmet. The exhaust gas bubbles exit the manifold through an array of holes in the end of the manifold.

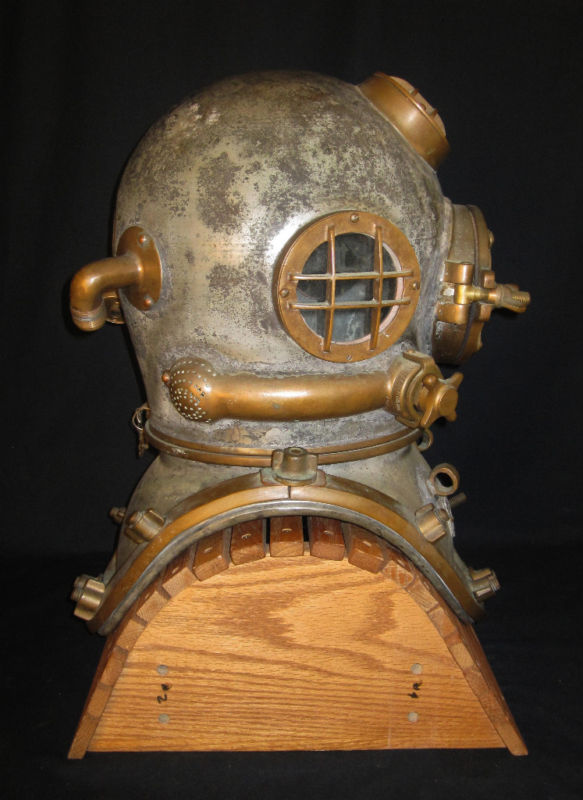

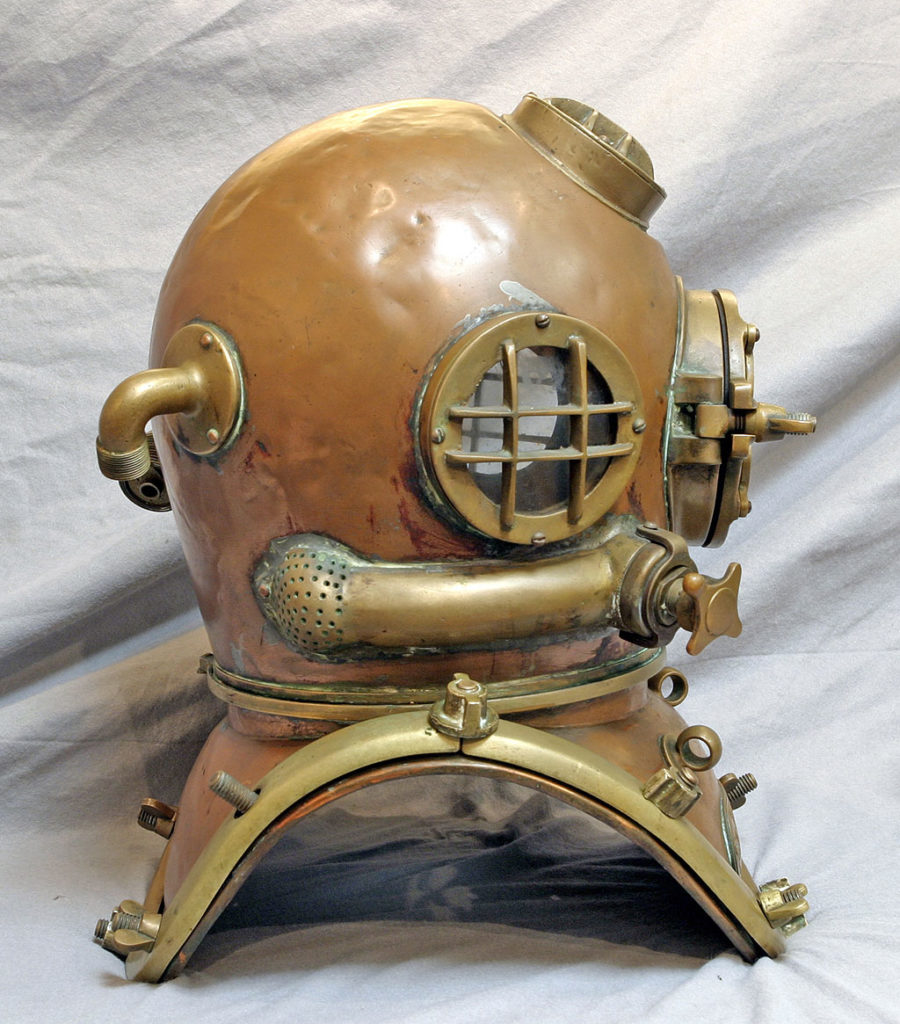

It looks a bit like a banana, or a weird creature from Alien, or maybe a body part. The exhaust valve/chin button is at the front of the helmet, and the tube wraps around the helmet where the gas is exhausted through a series of holes. I saw this helmet where the manifold is installed vertically; presumably to avoid some special gas attachments on the back of the helmet.

Exhaust Manifold Placement
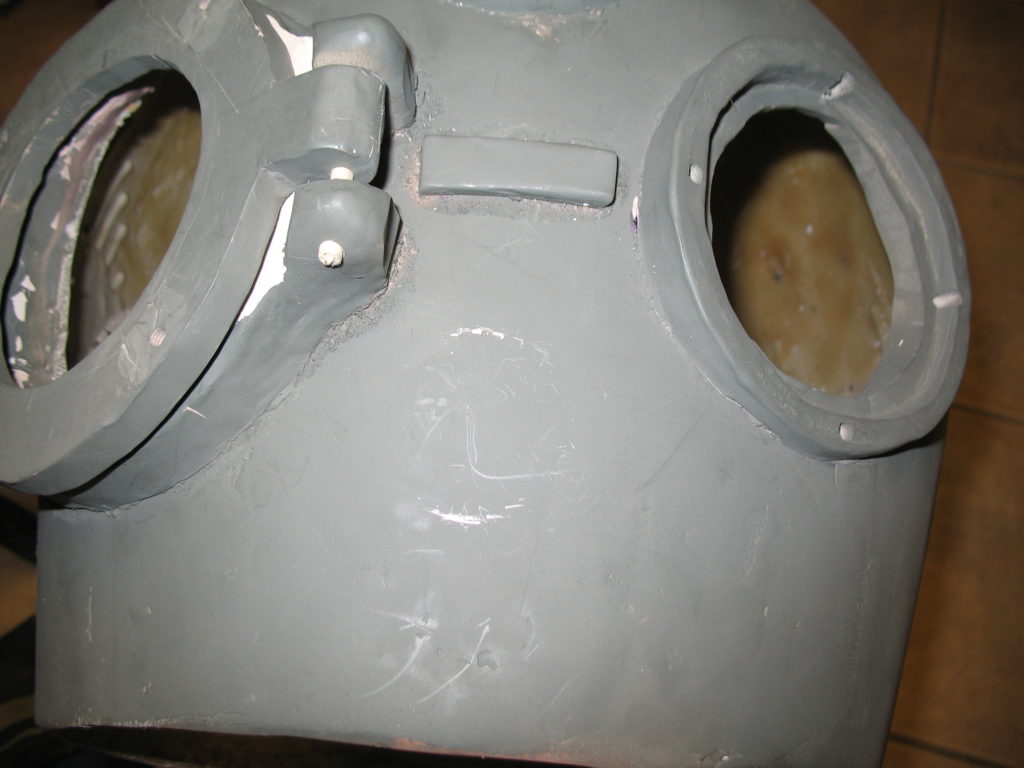
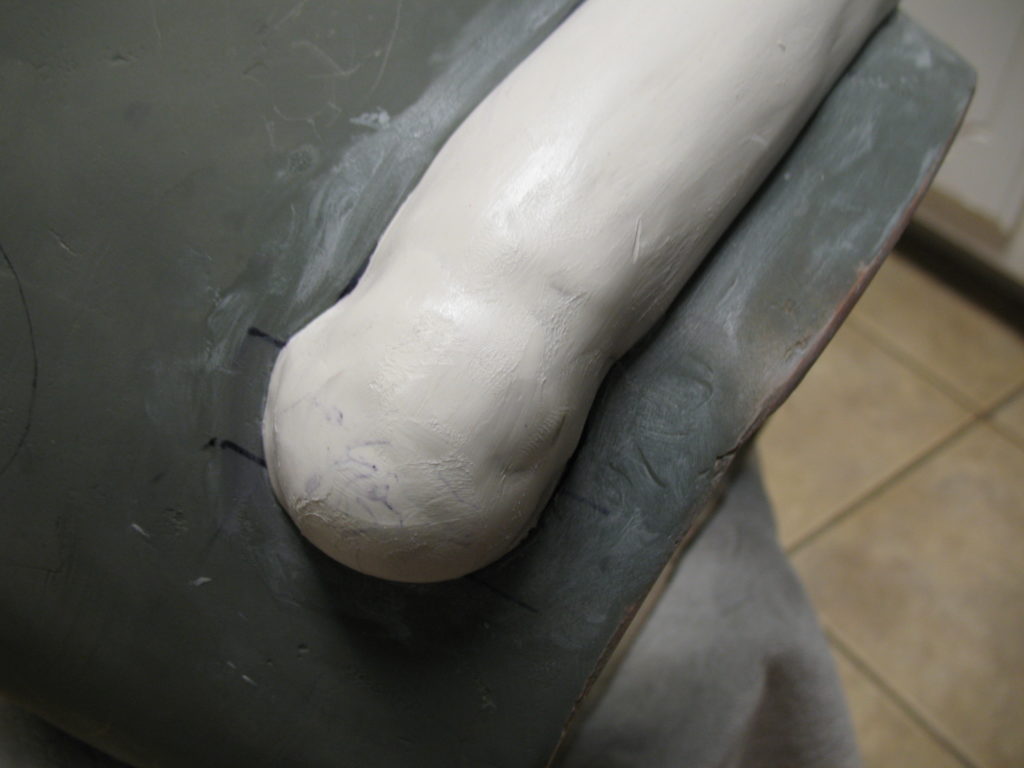
I’m starting by drilling a hole in the shell, for the exhaust valve, and it’ll be where the exhaust manifold begins. Then a quick sketch with a marker to place the manifold on the helmet. I’m referencing the engineering drawing of the dive helmet, but mostly eyeballing the start and end of the manifold. I think I put the hole a bit high, so I’m going to cheat it a little bit for the manifold.


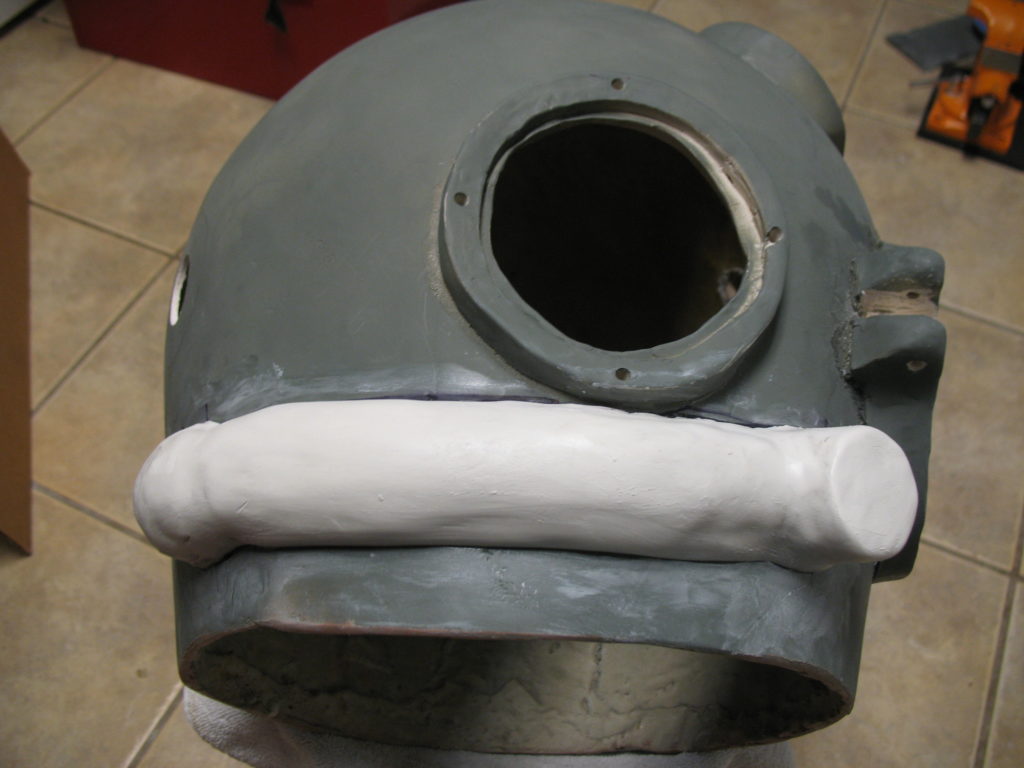
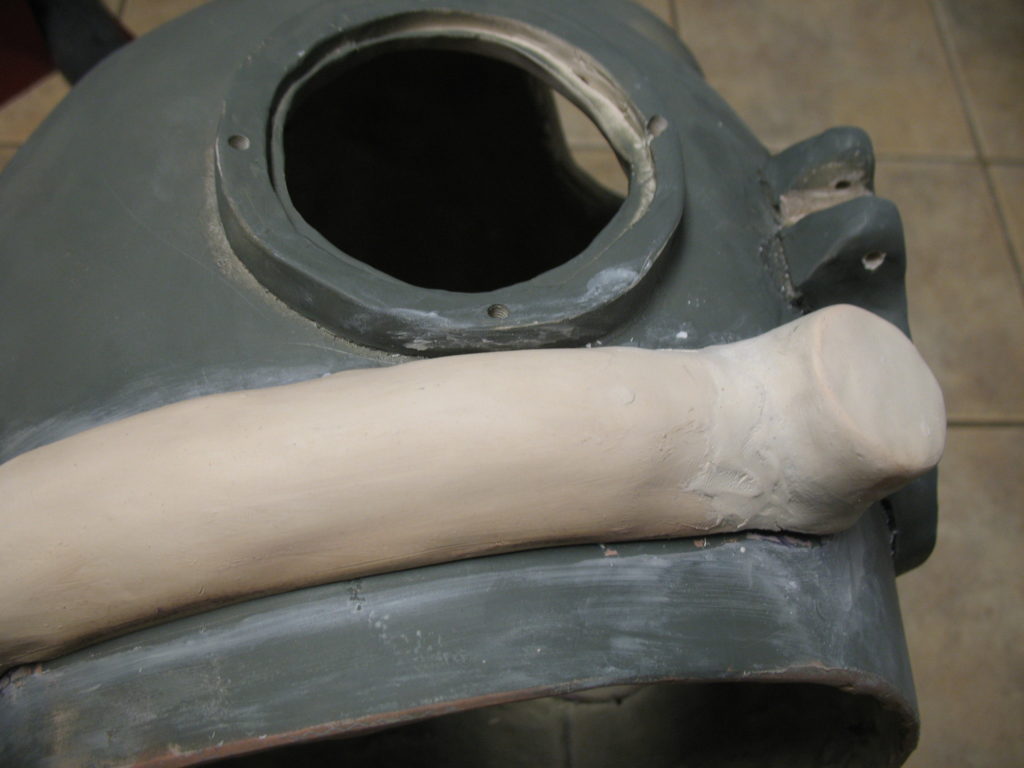
Now that I have the outline (crude as it is), I’ll model the manifold with polymer clay (Sculpey brand).

Manifold Attachment
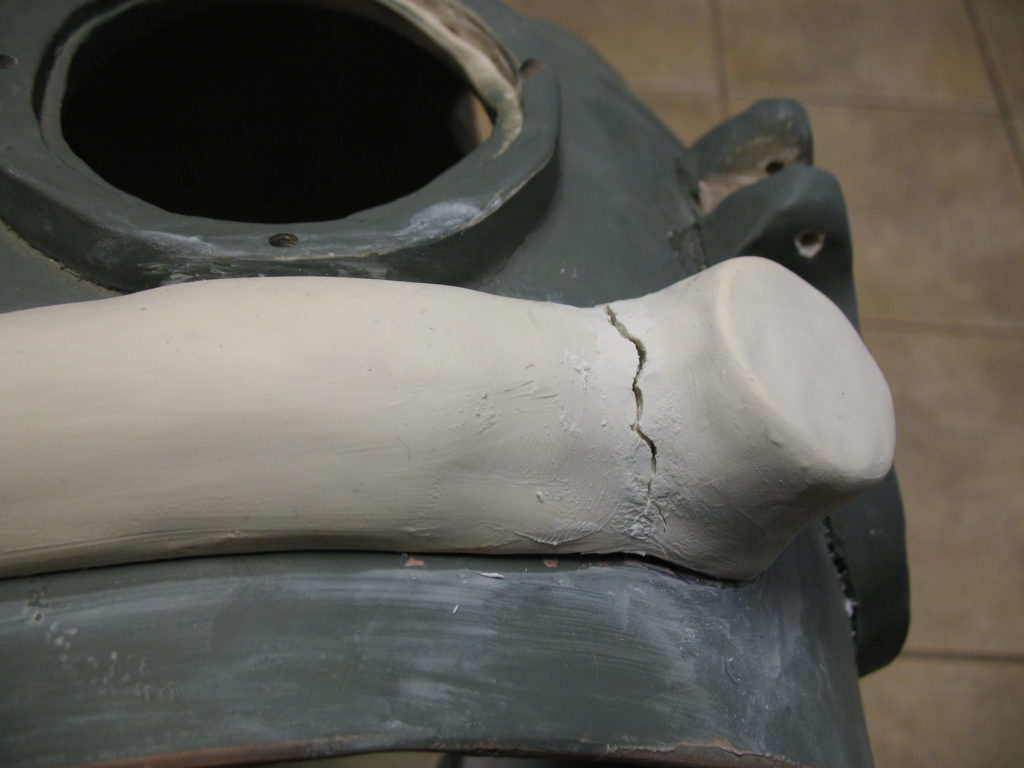
After the shape looks right, I carefully pulled the form off of the helmet, and stuck it in the oven to cook. The manifold is solid polymer clay, and is thicker than the usual clay part. Normally, I would cook the clay about 250F degrees (121C) for about 30 minutes. I cooked this a bit longer, maybe an hour. After cooking polymer clay, I usually turn off the oven, but leave the baking pan and sculpture in the oven to cool down gradually. This was a thick piece, and I think it just needed to be cooked more — after it cooled down, I test fitted it to the side of the helmet, and it broke near the exhaust valve:
So, I filled-in the crack with more clay, and baked it some more. I’ve also had good success with using a heat gun to cure the clay in-situ. Here’s heat gun that I have (on the left), and a temperature sensor gun on the right.

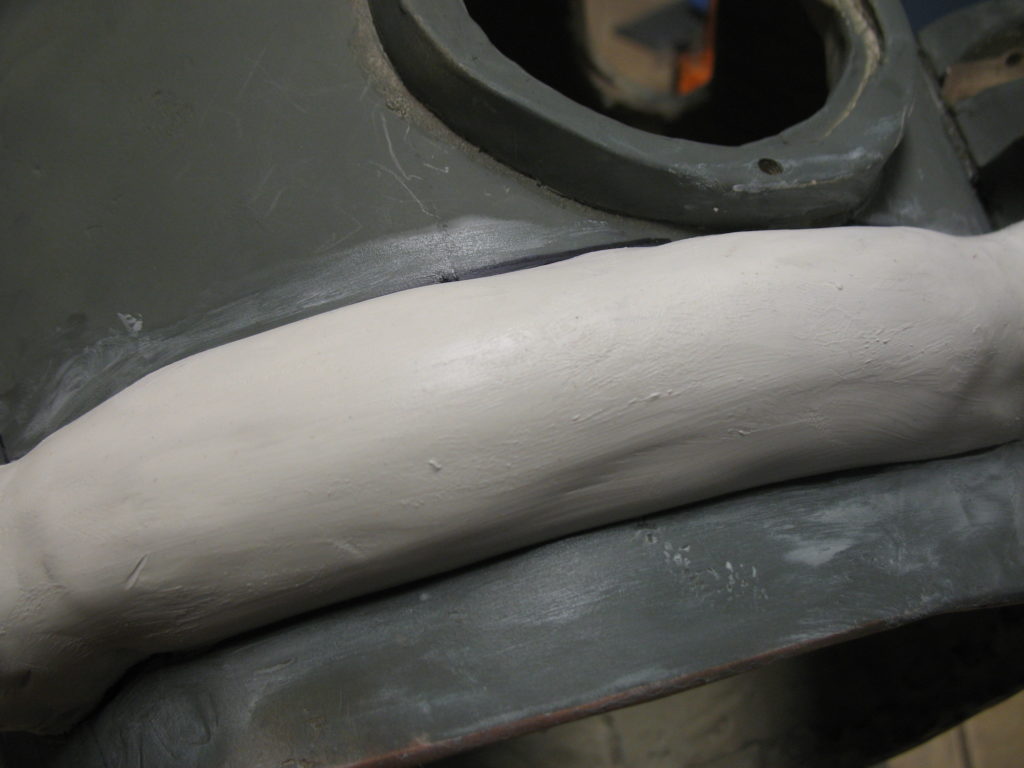
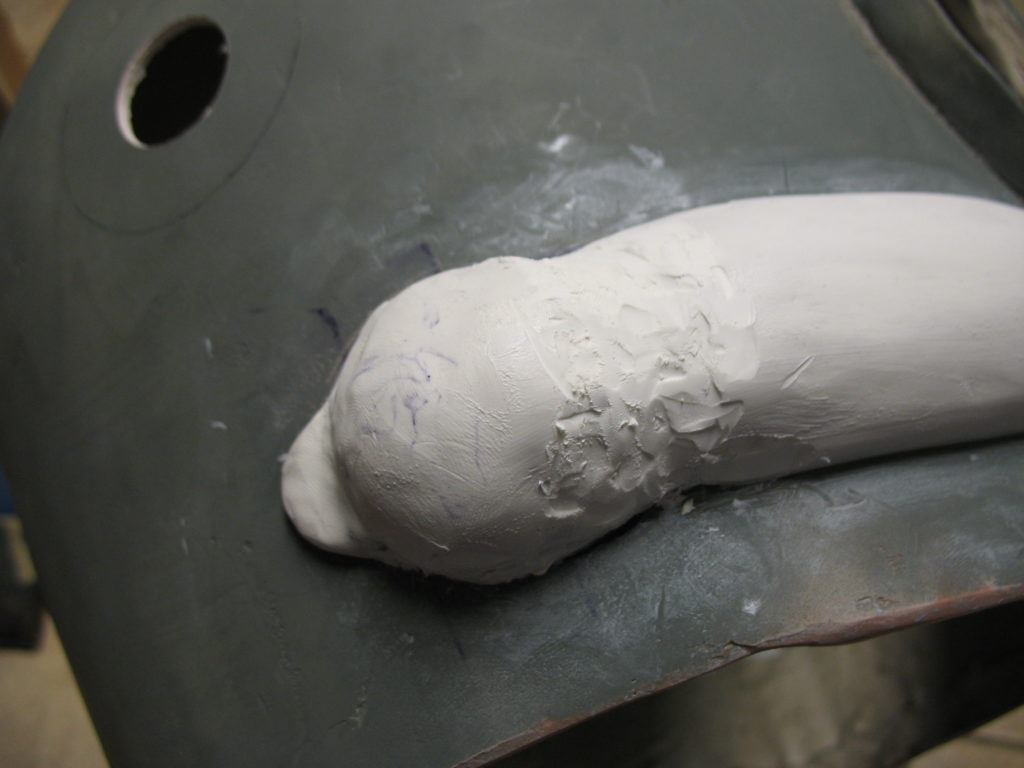
After all that, I went to actually attach the manifold to the helmet. For, I think, all of the attachments to the helmet, I used Gorilla Glue. Here’s the exciting visuals:
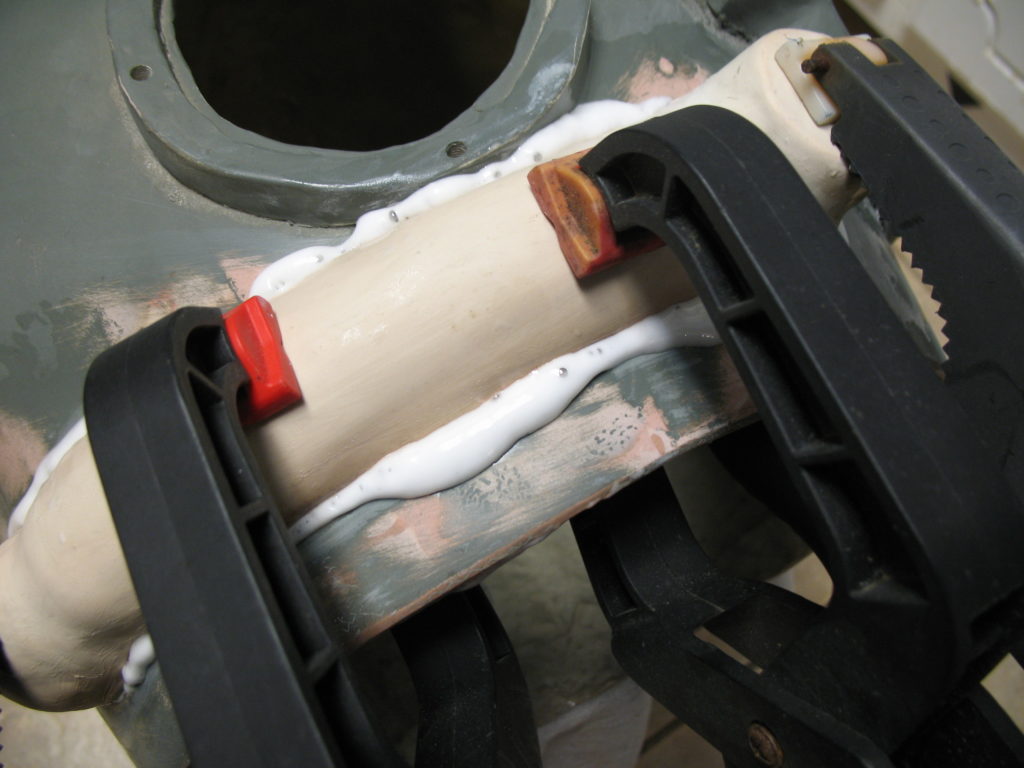
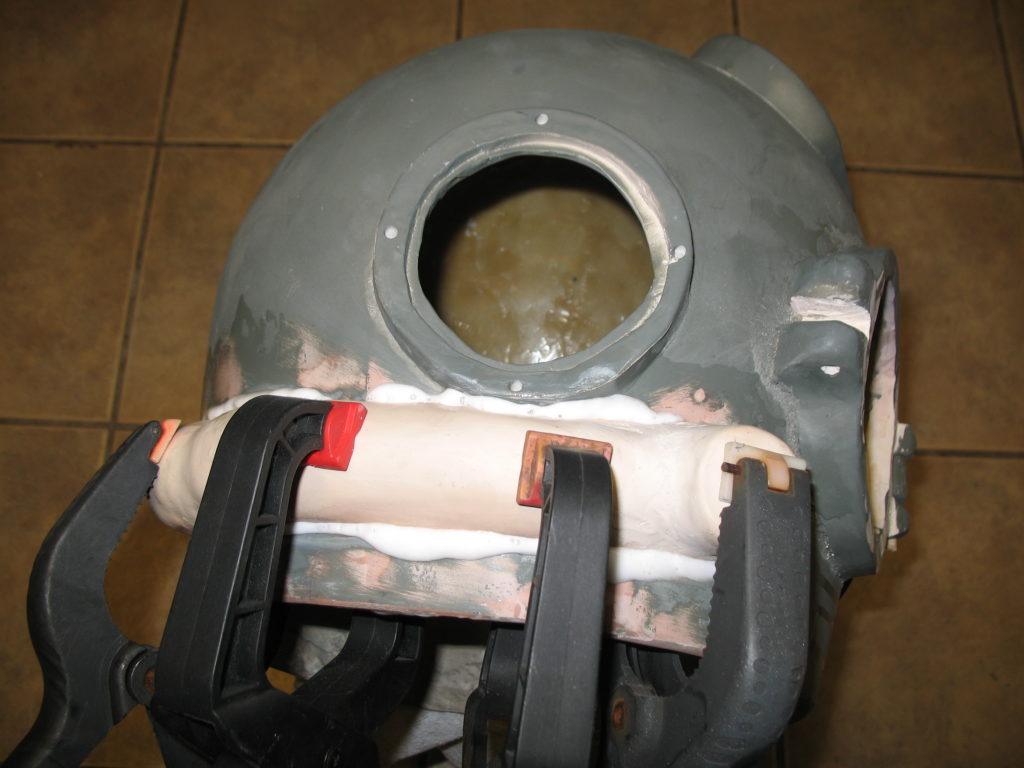
After gluing down the manifold, and peeling/cutting away the foamy excess, I found another crack at the exhaust end (the creepy dolphin-nose end). I repaired this the same way as above — press in some more clay, and heat it. I definitely had to use the heat gun this time, since the manifold was already attached to the helmet.


Up next, drill a number of holes in this dolphin face for the exhaust bubbles to get out, and drill a hole in the opposite end for the exhaust valve.