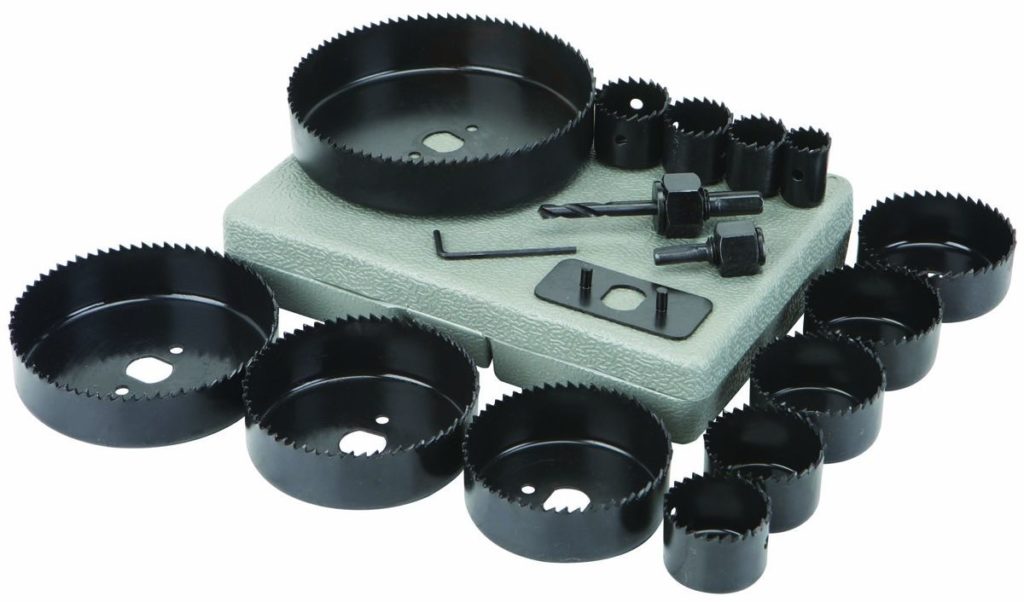
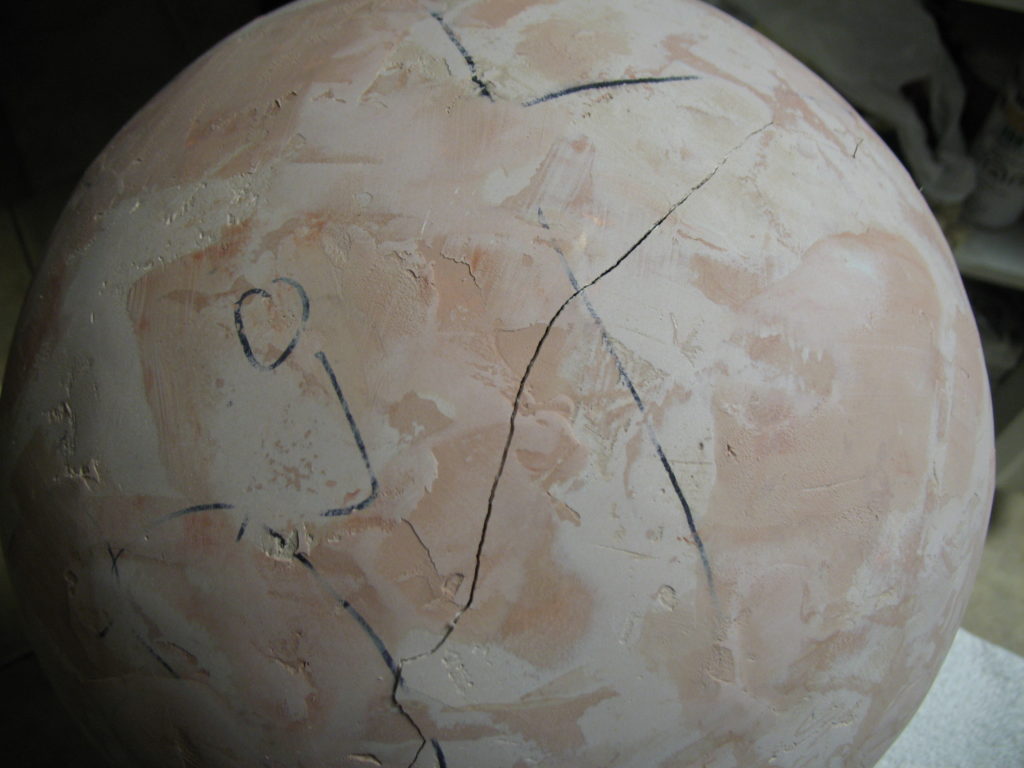
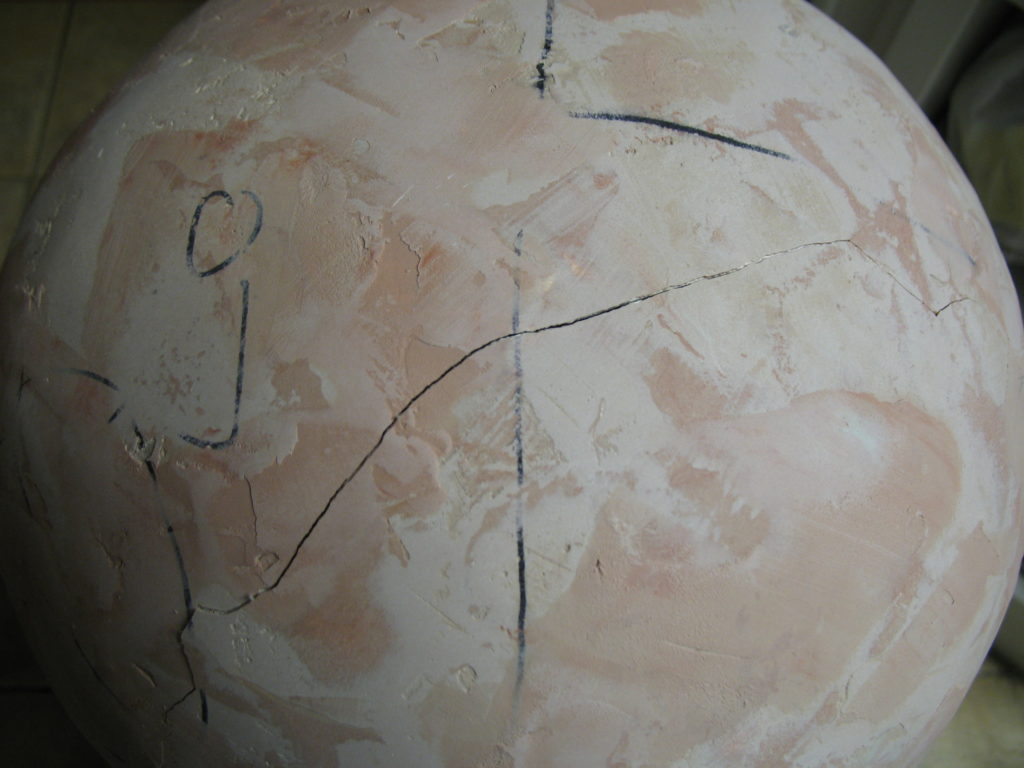
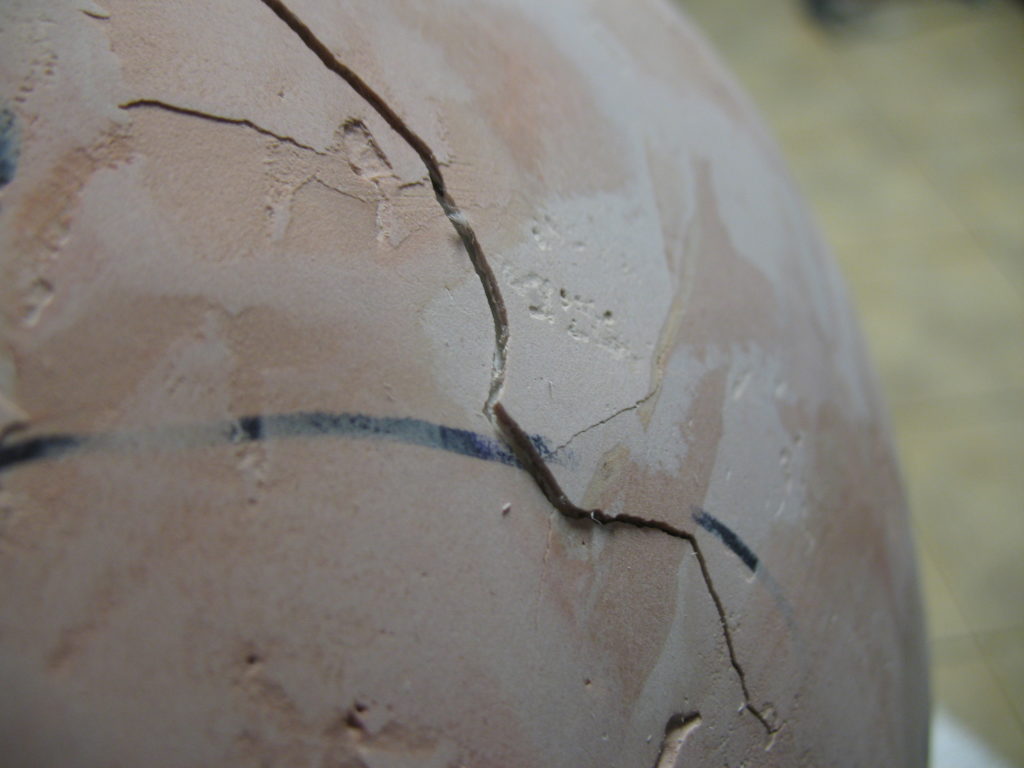
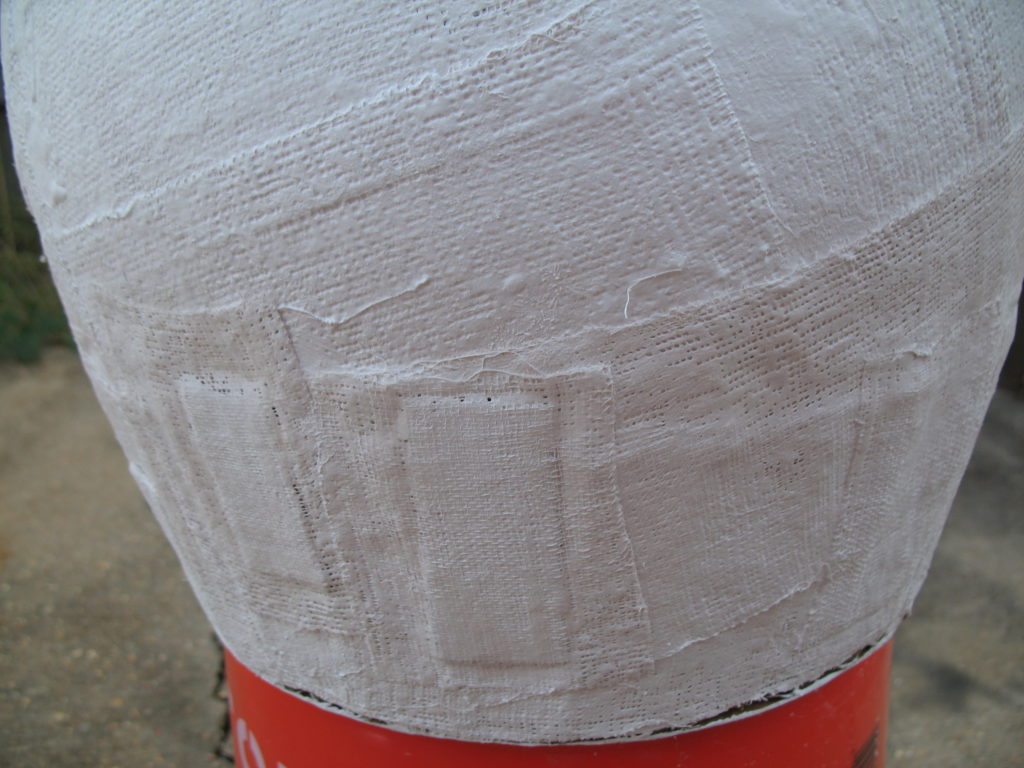
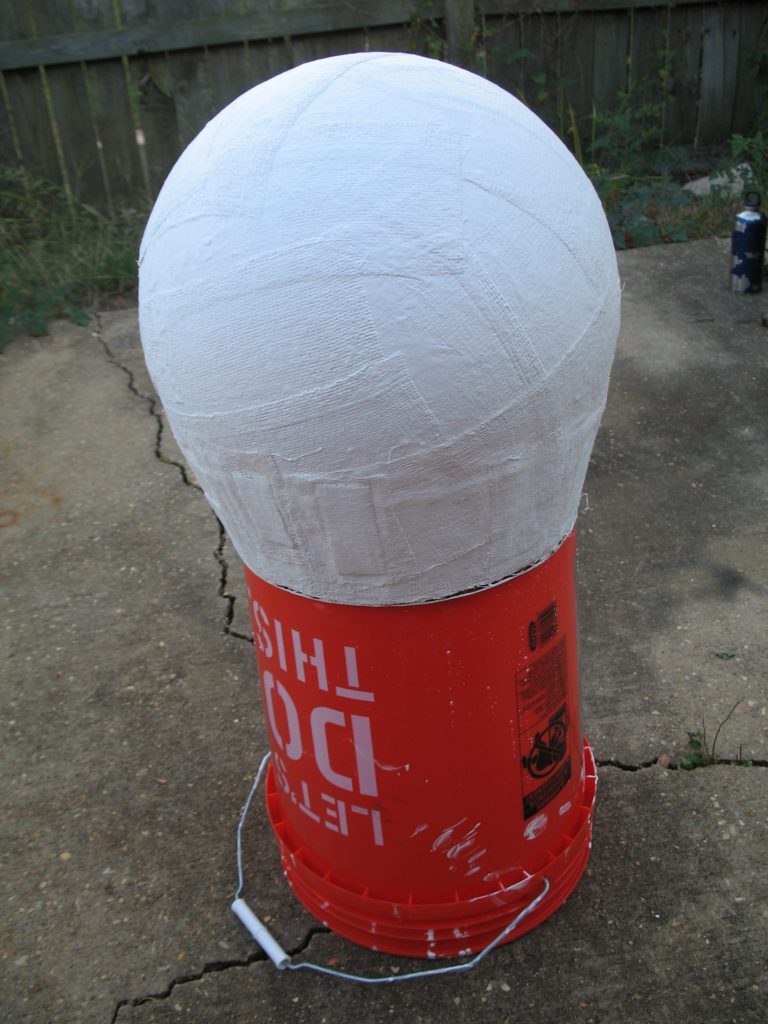
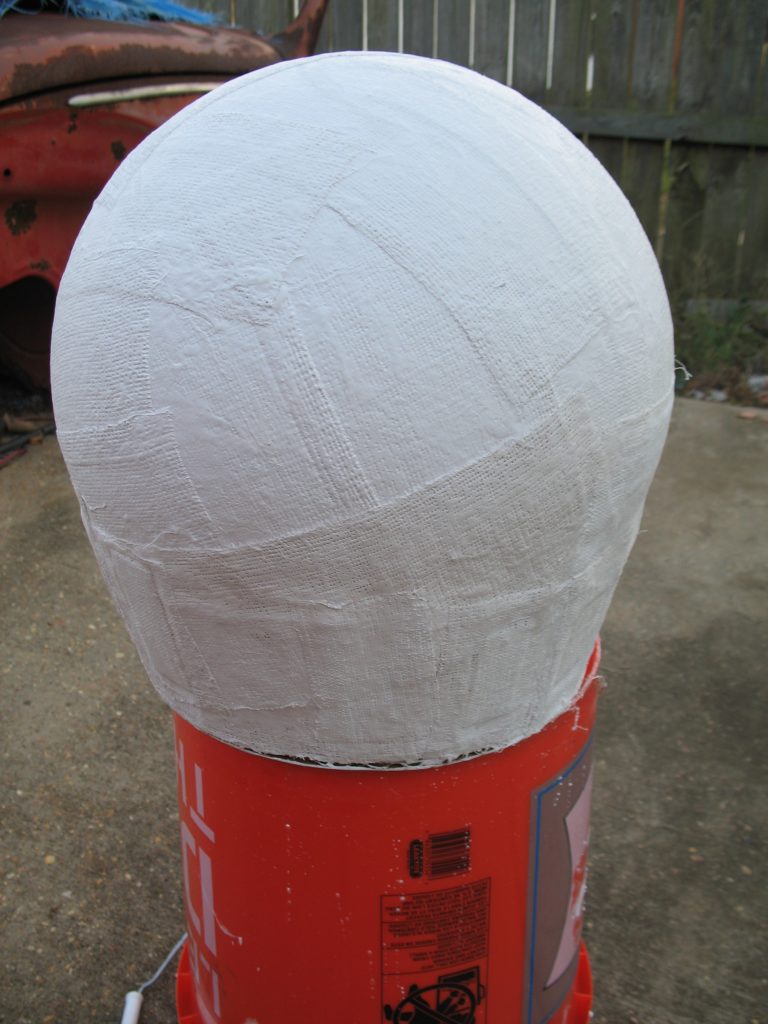
It’s kind of scary to cut a big hole in the helmet, but it has to be done. I’ve looked over the engineering drawing for the MK V helmet, and tried to measure as accurately as possible where the viewport opening should go. And I’ve adjusted the location just a little, by eye. I’m using an inexpensive hole saw, from a kit purchased at Harbor Freight. The quality is not as good as something you’ll find at a tool store, but for limited use it should do the job just fine, and save a lot of money.
I’m drilling a pilot hole to get things started. Hole saws can be very “grabby”, so I’m moving slowly so that the saw doesn’t throw the helmet across the room.
Front Viewport

Location of center hole, marked and ready. 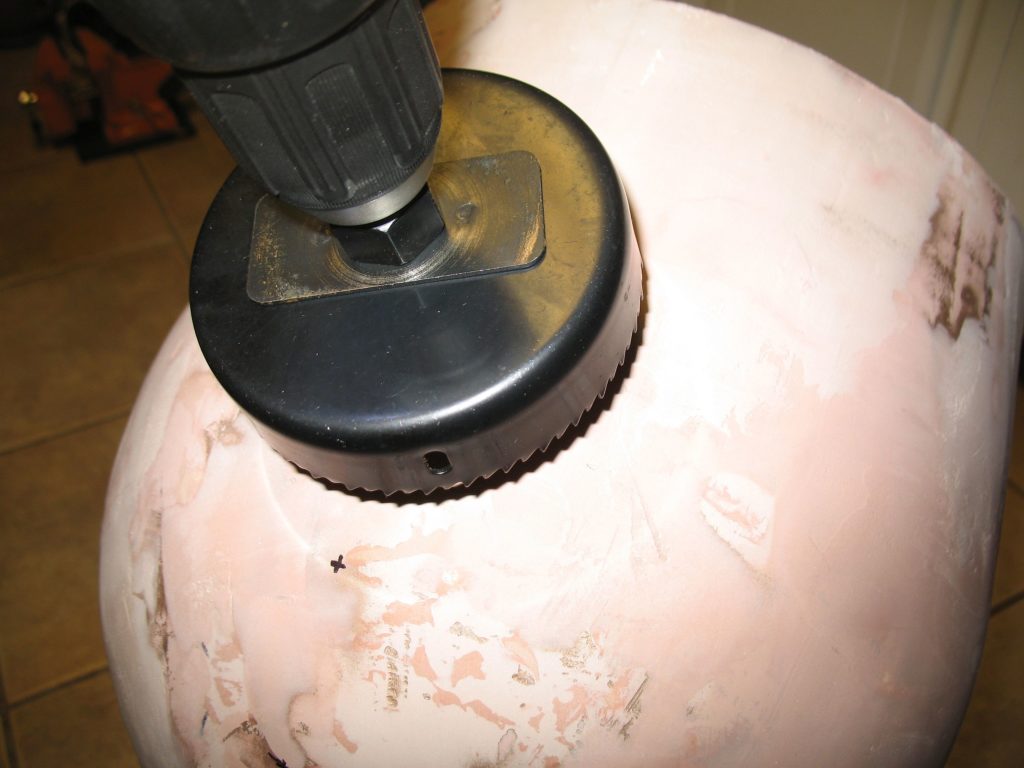
Cutting with the hole saw. 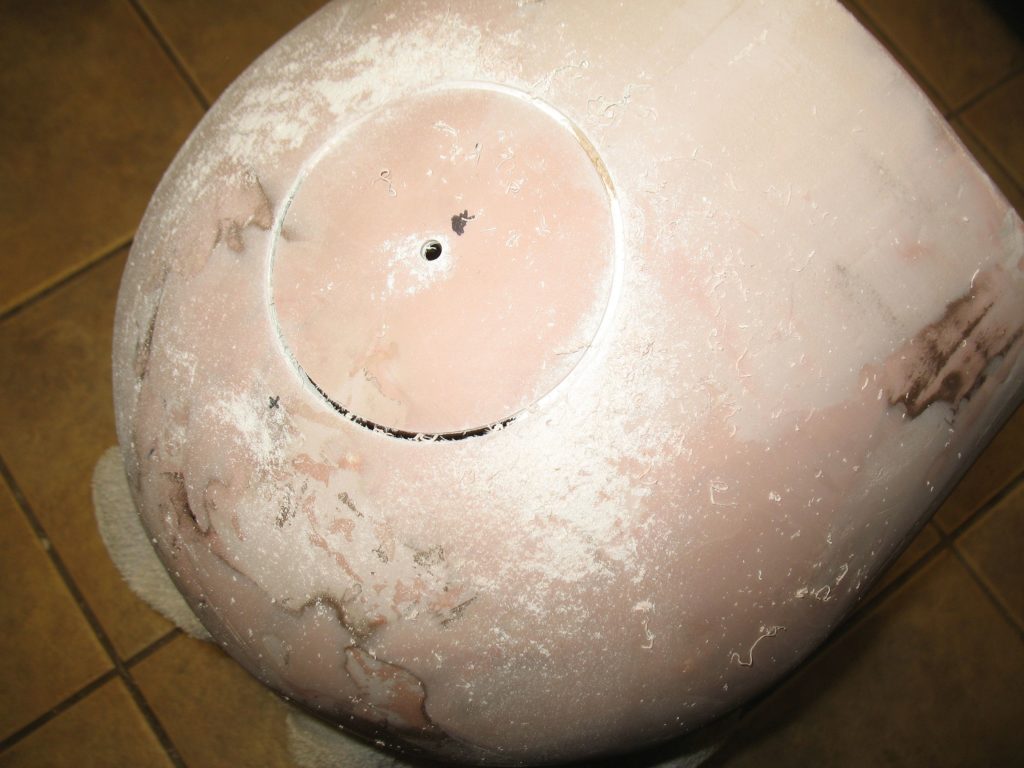
Most of the cut has been made 
Viewport, open for business. 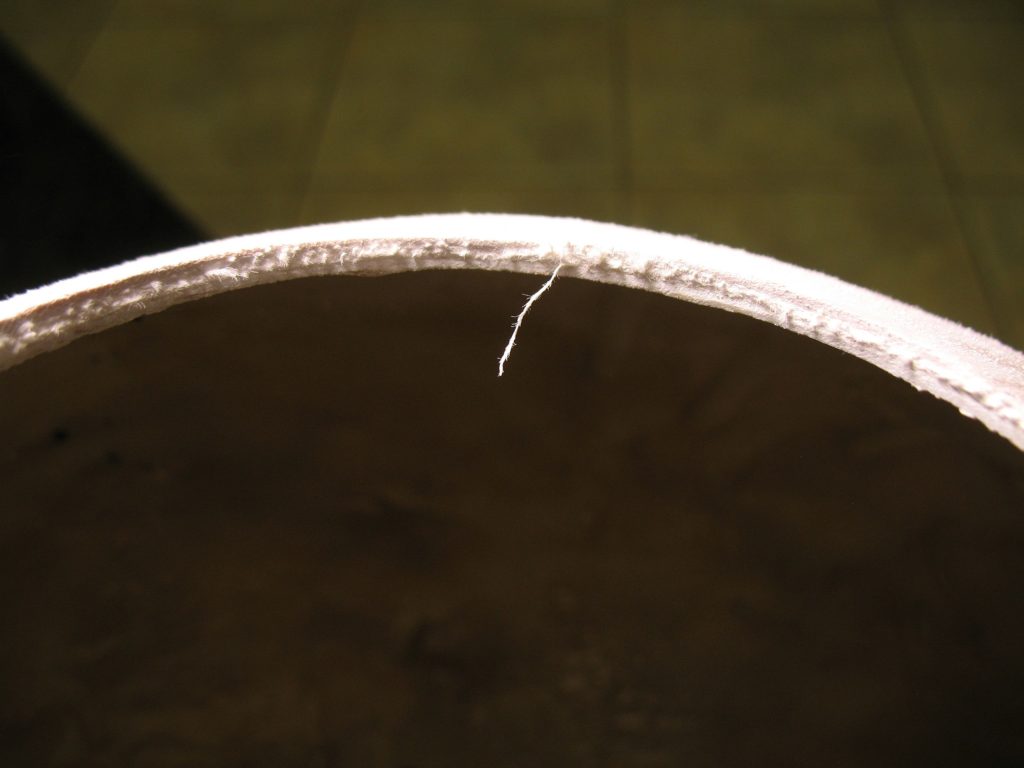
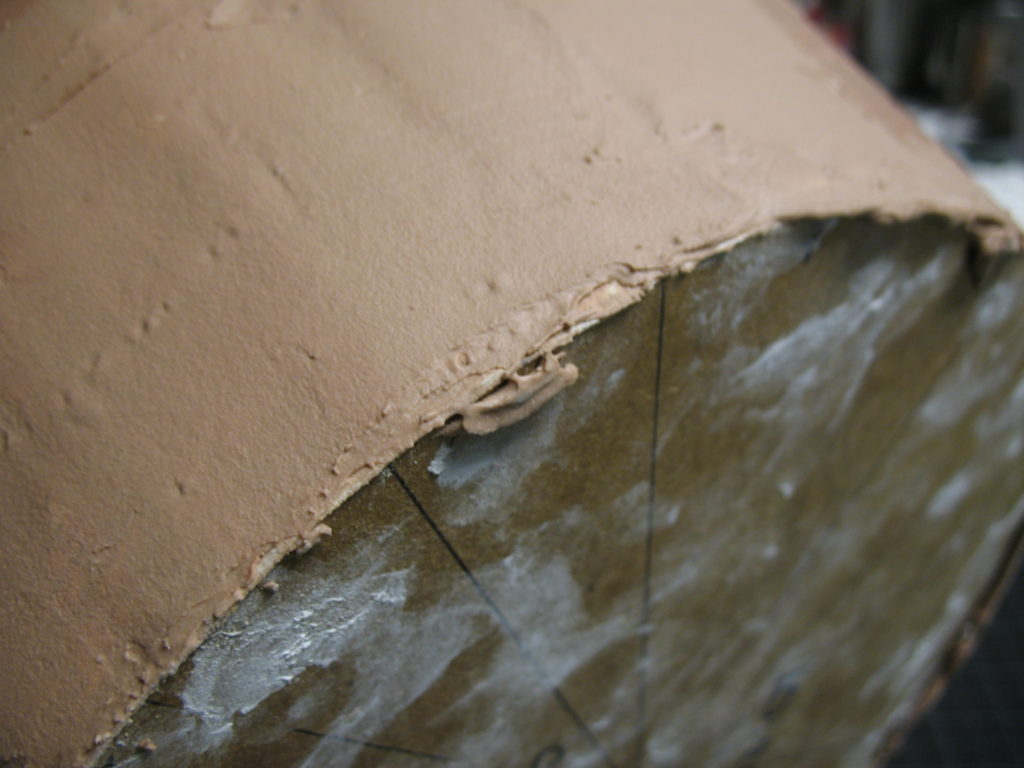
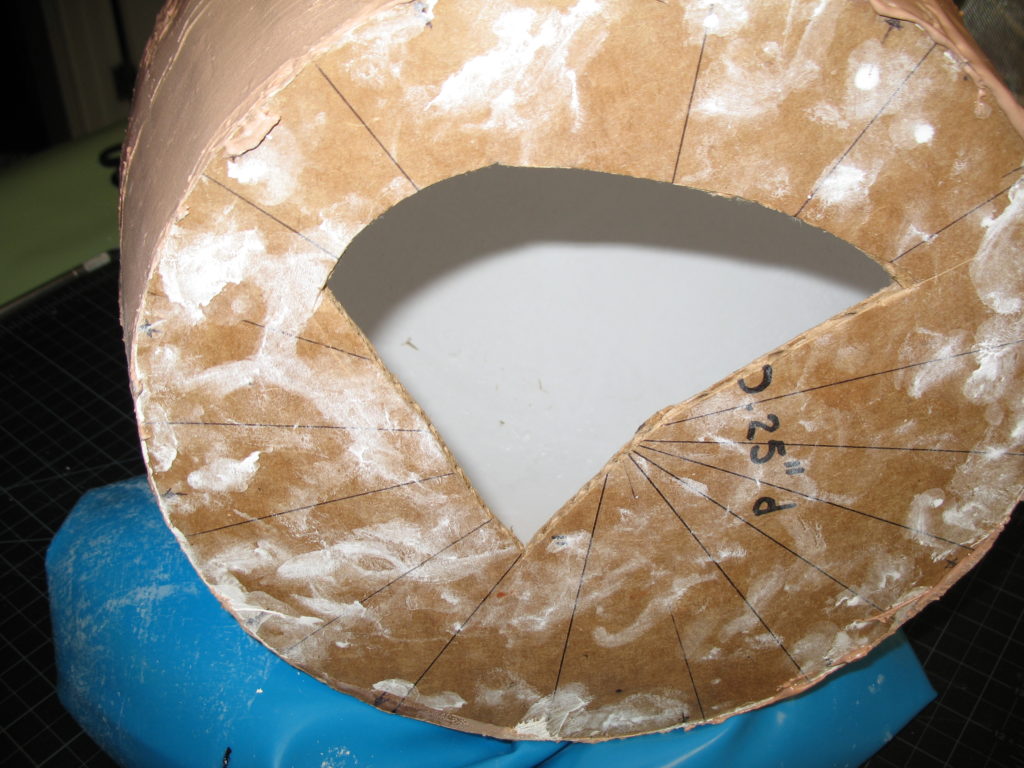
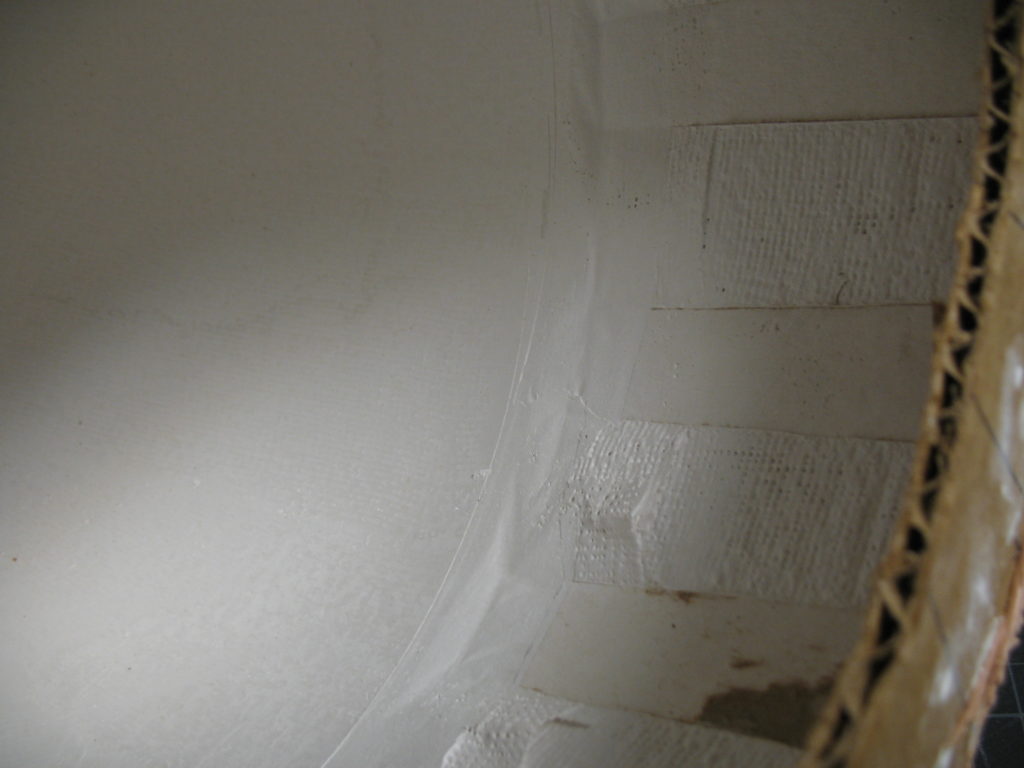
The cross-section of the helmet 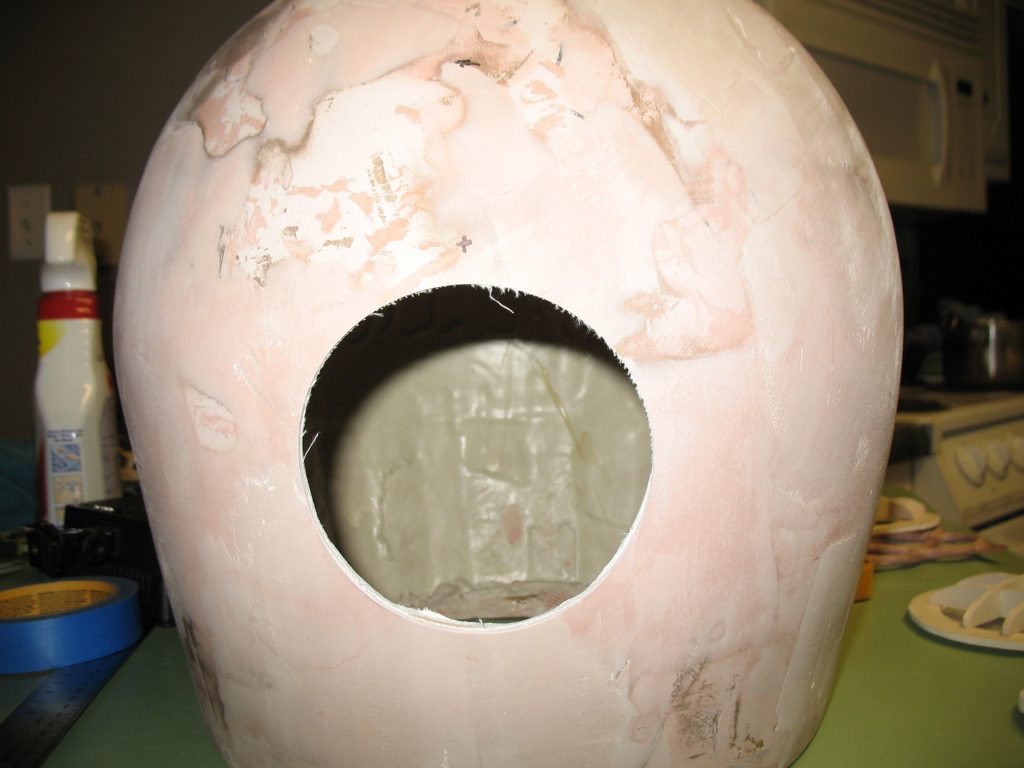
The final opening. Reasonably smooth and easy cut.
Top and Side Viewports
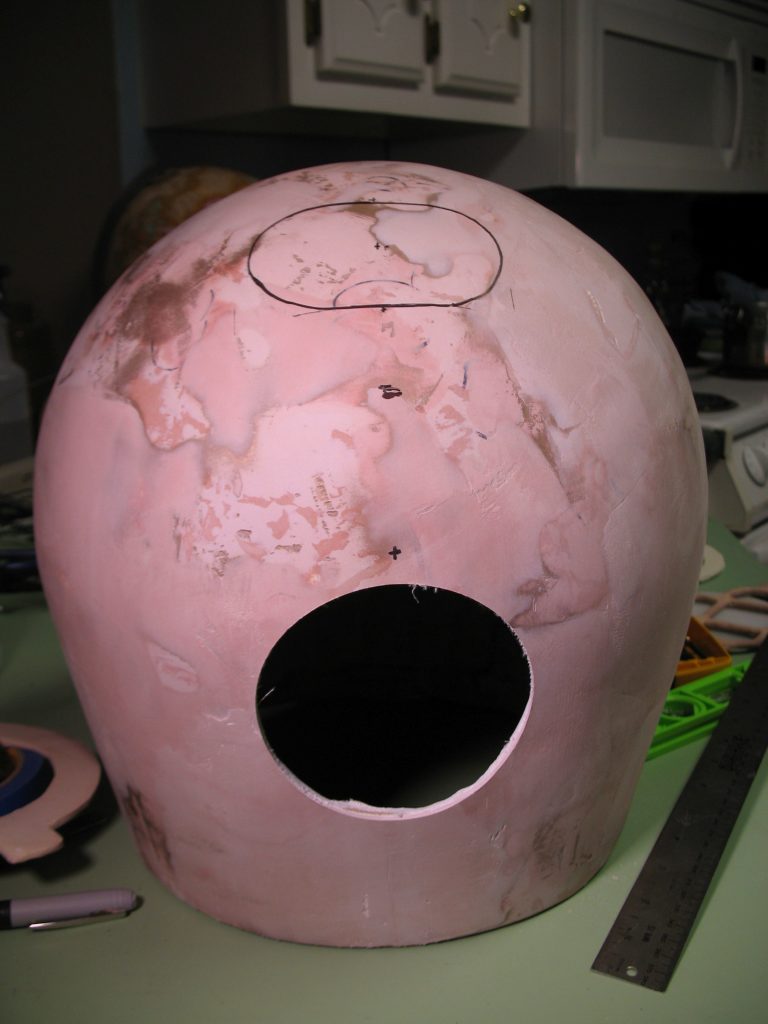
Top viewport marked out, by tracing the viewport retainer., 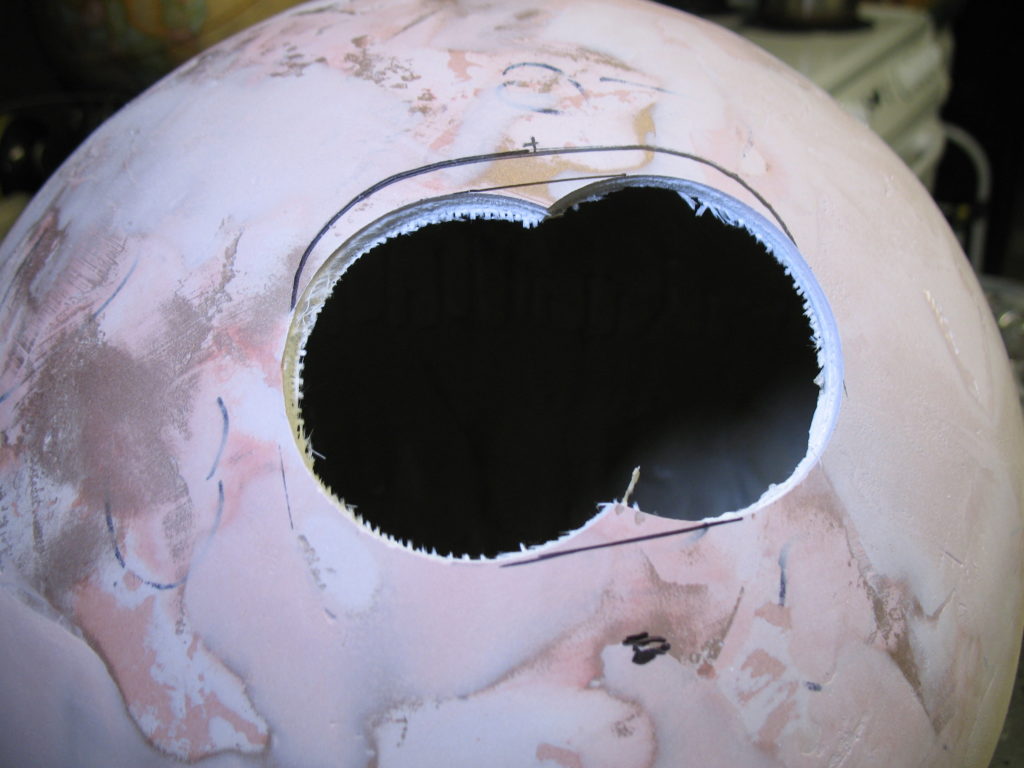
Final adjustments made to location, then 2 hole saw cuts made. 
Next up are the side viewports 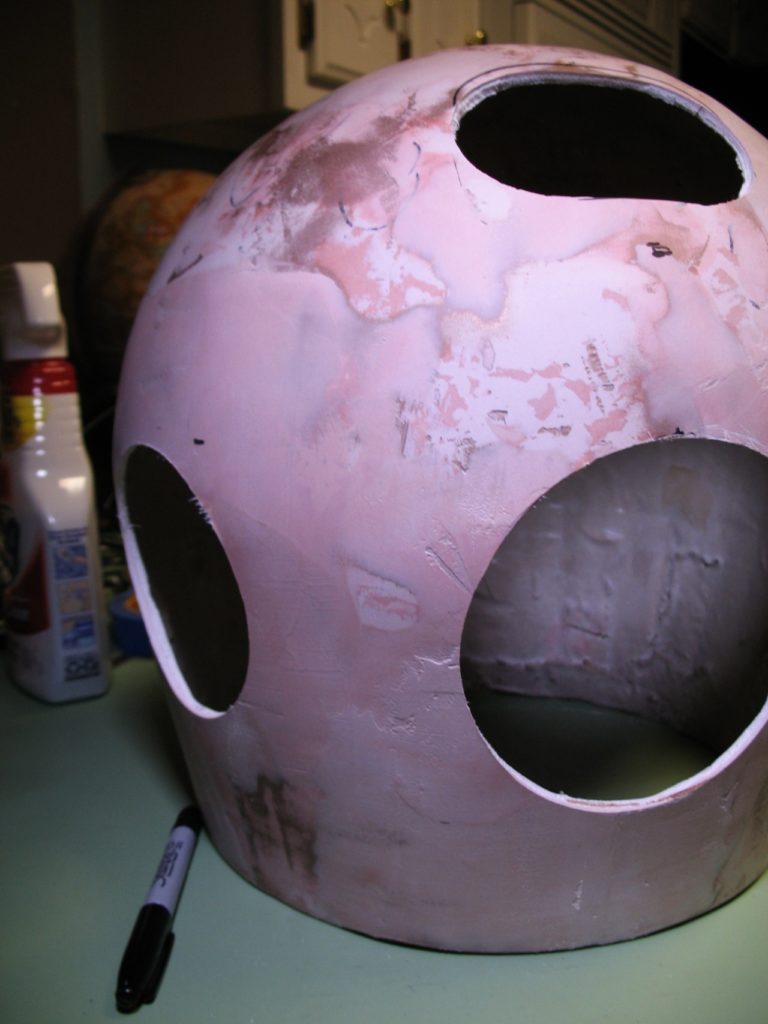
Holes completed. Really only the top needed some cleanup with a cutting tool. 
