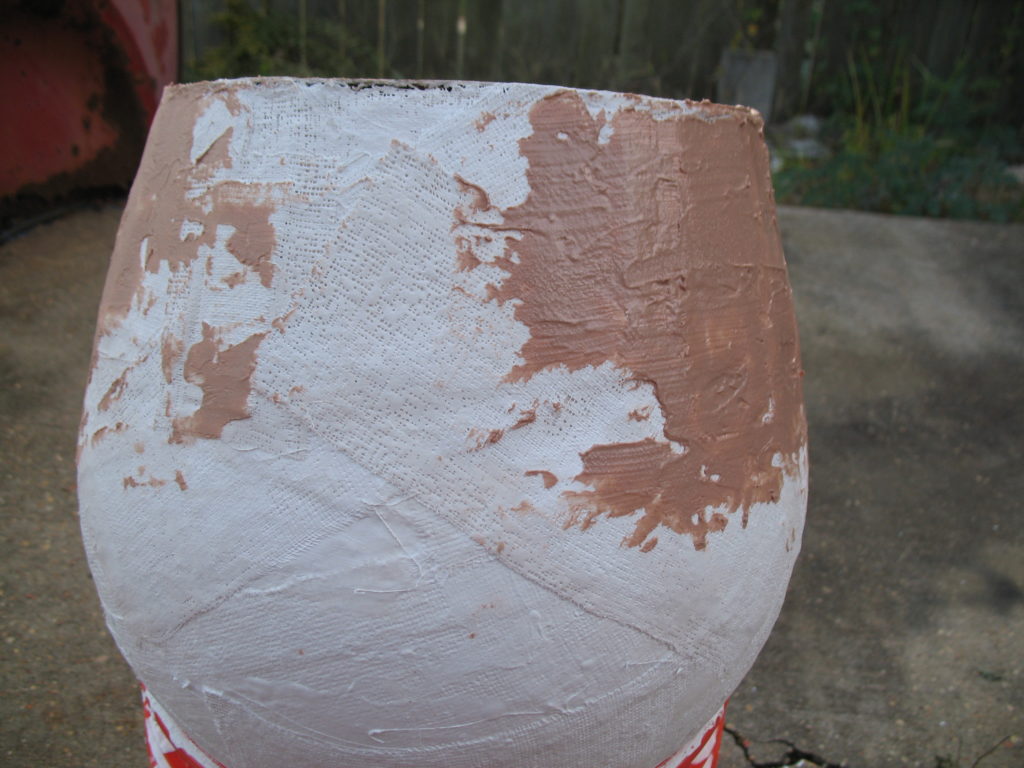
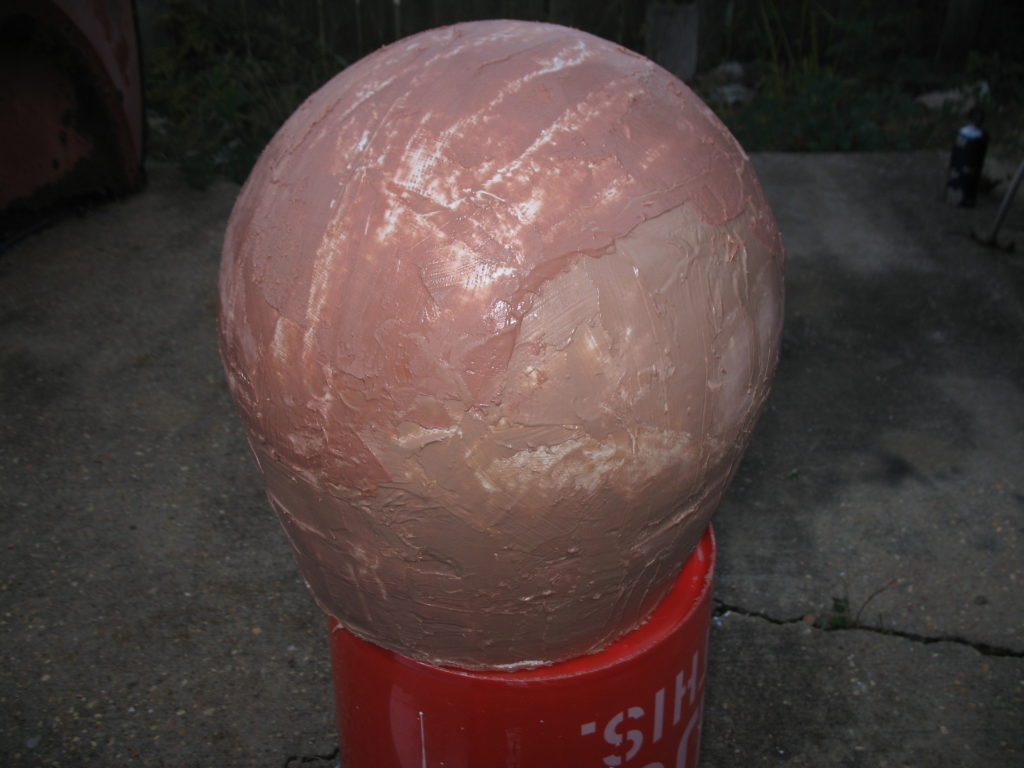
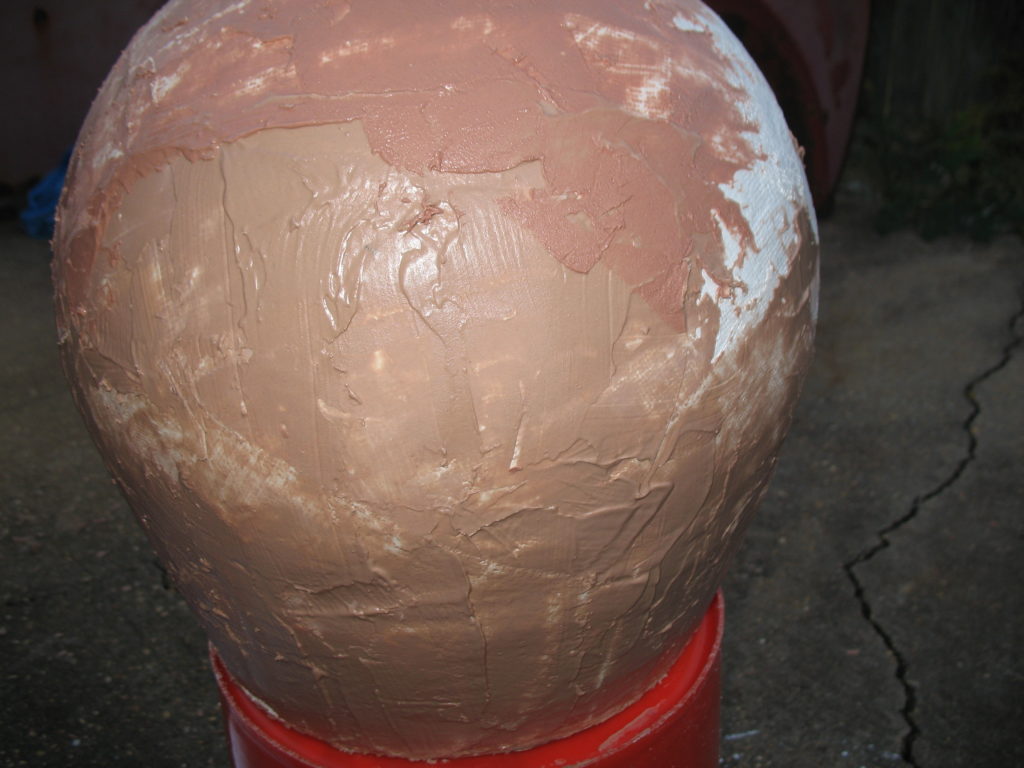
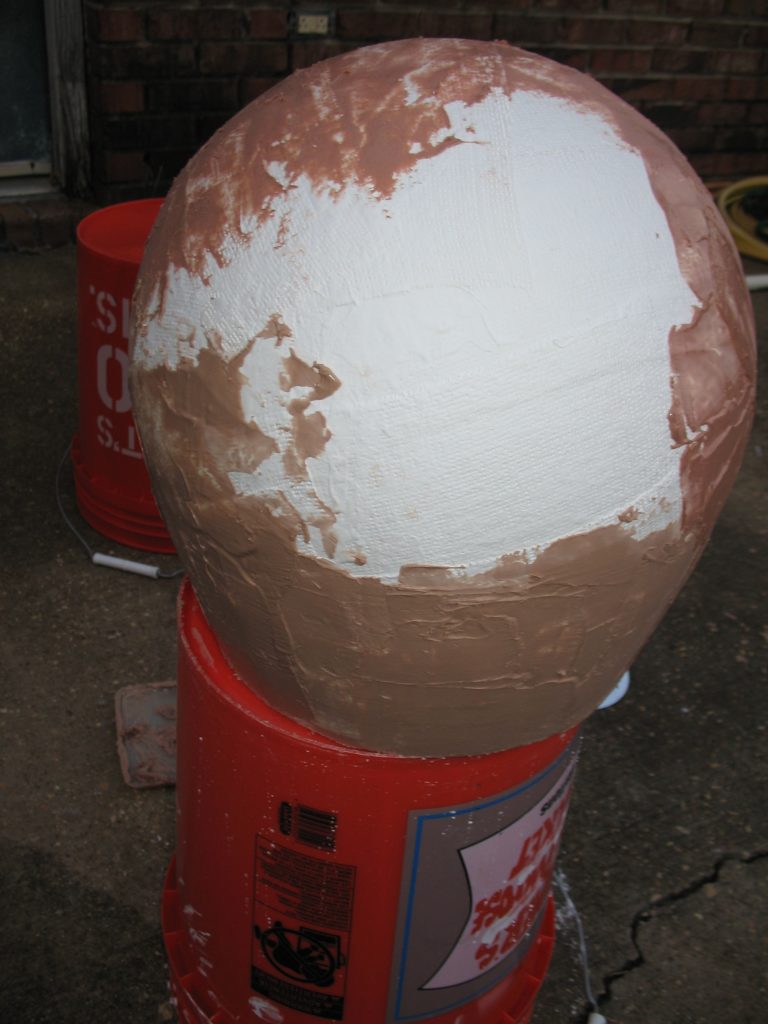
After the plaster dries, it’s time to put on a first coat of plastic automotive body filler. I used the common 3M product, Bondo:
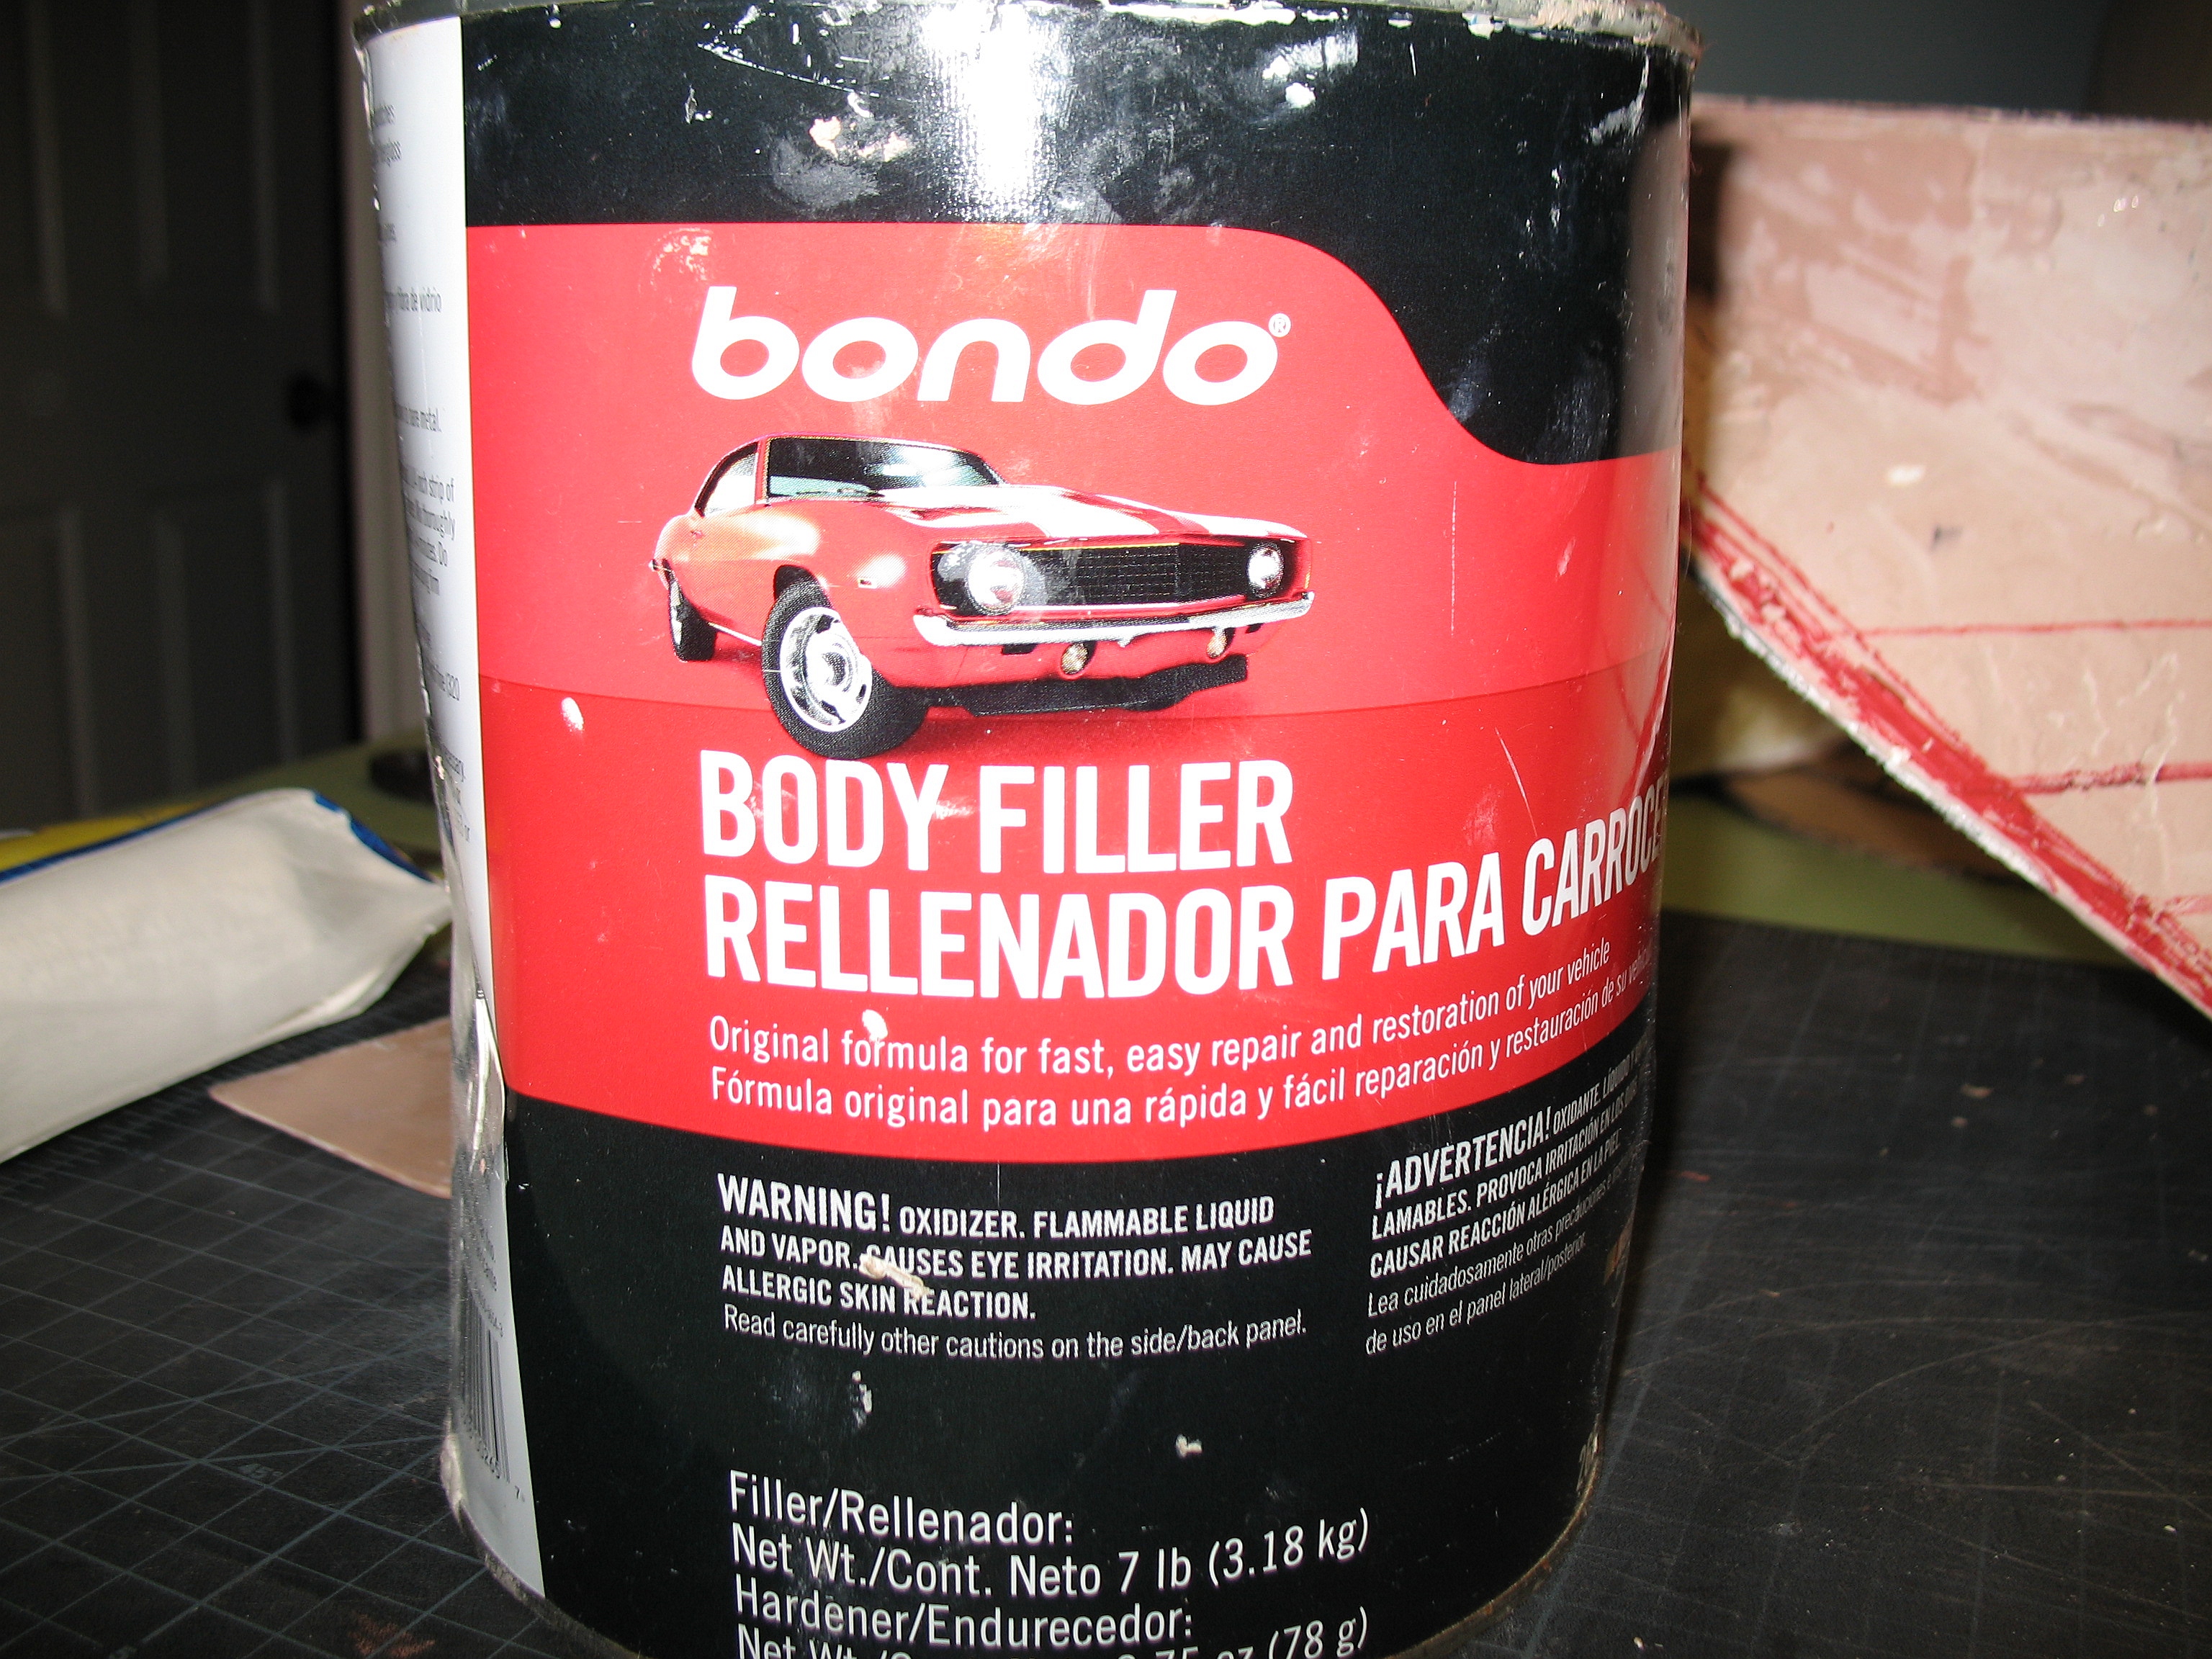
After the plaster dries, it’s time to put on a first coat of plastic automotive body filler. I used the common 3M product, Bondo:


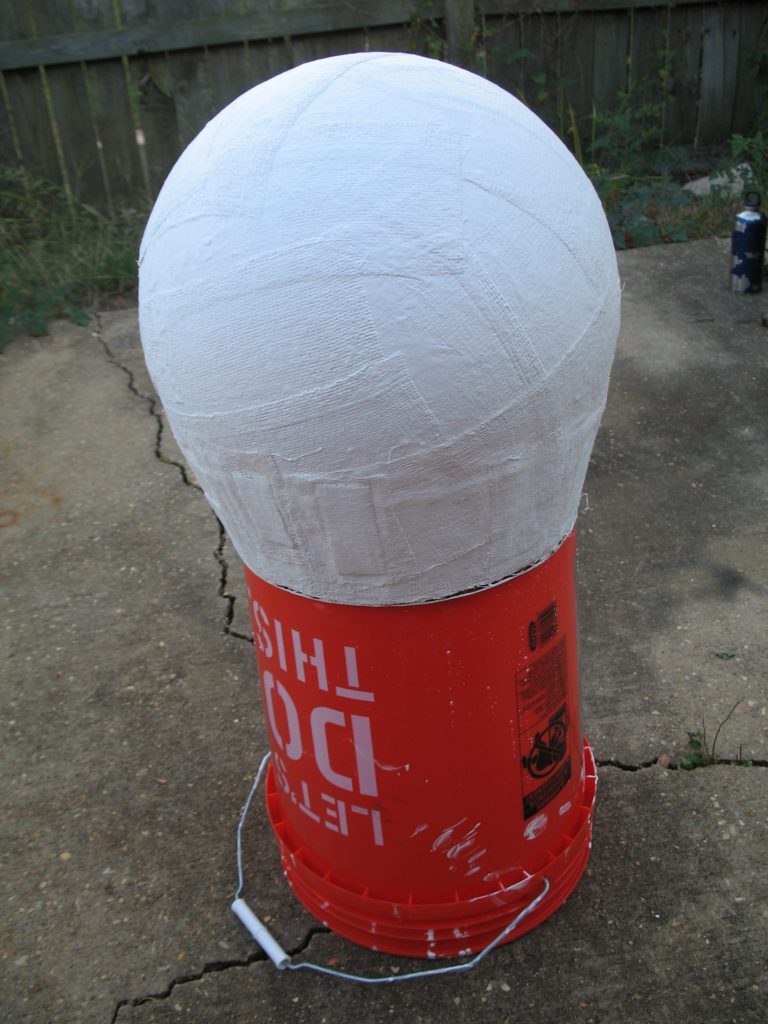
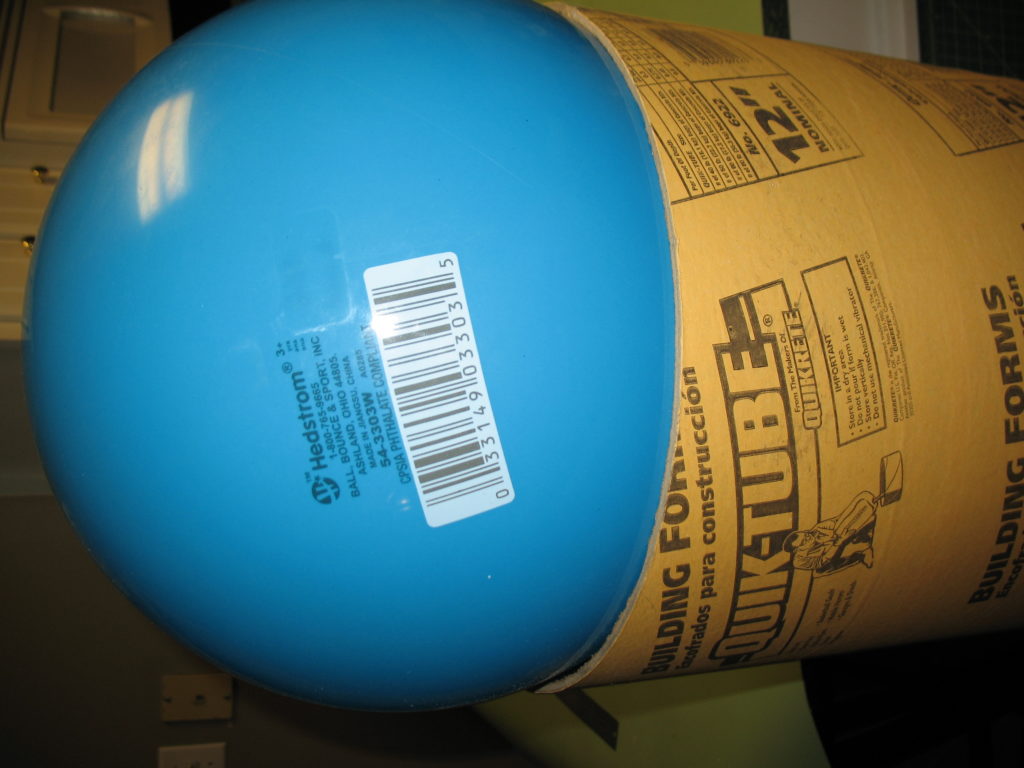
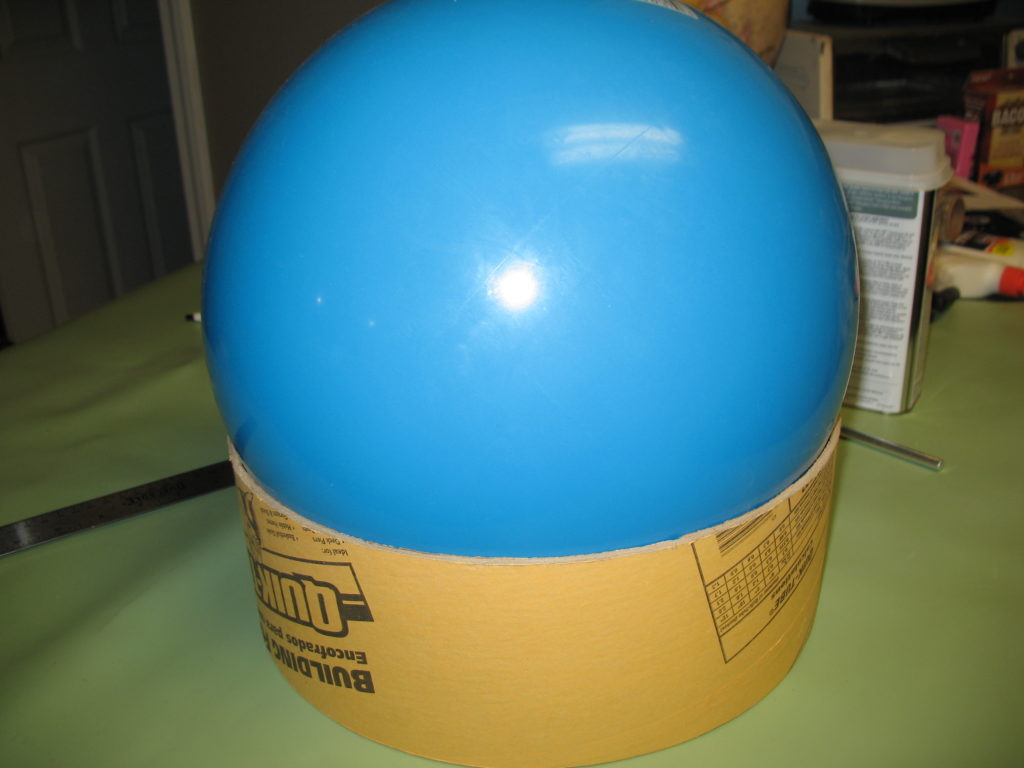
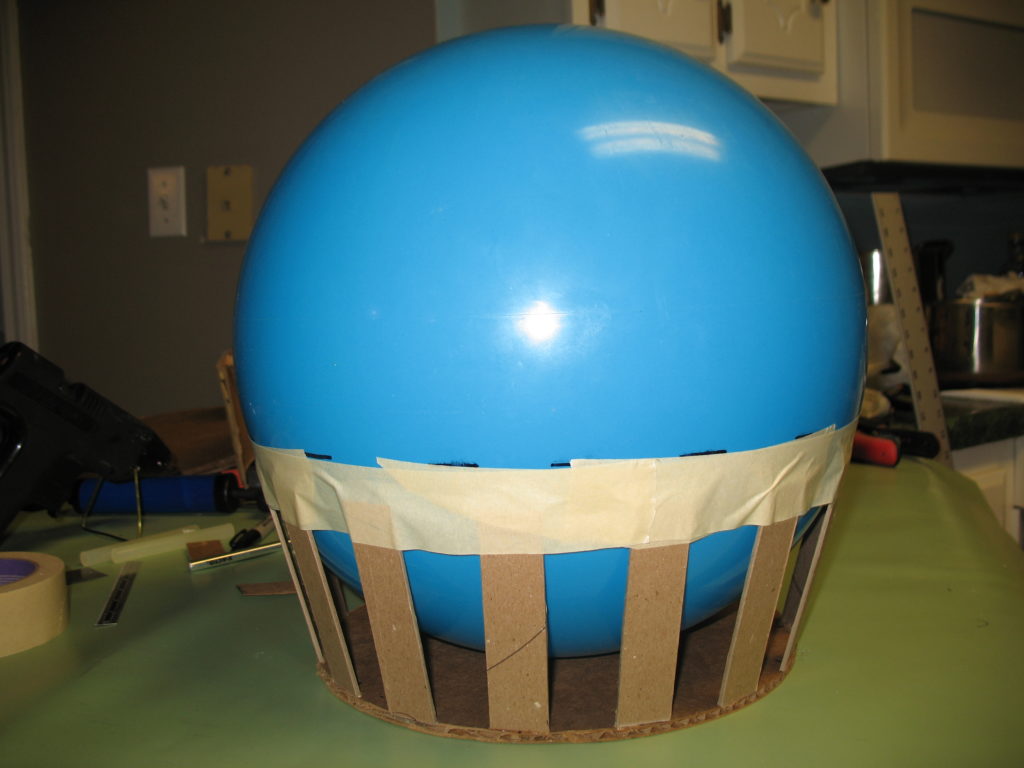
So this is the starting point for the helmet. A plastic inflatable ball with a cardboard base:

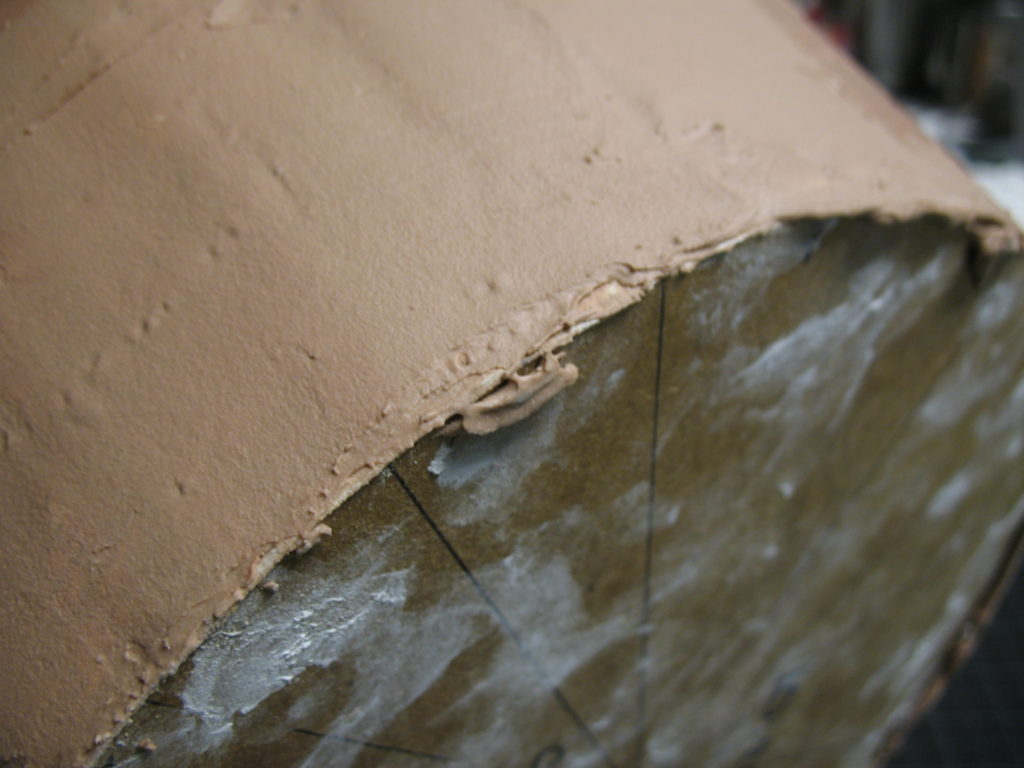
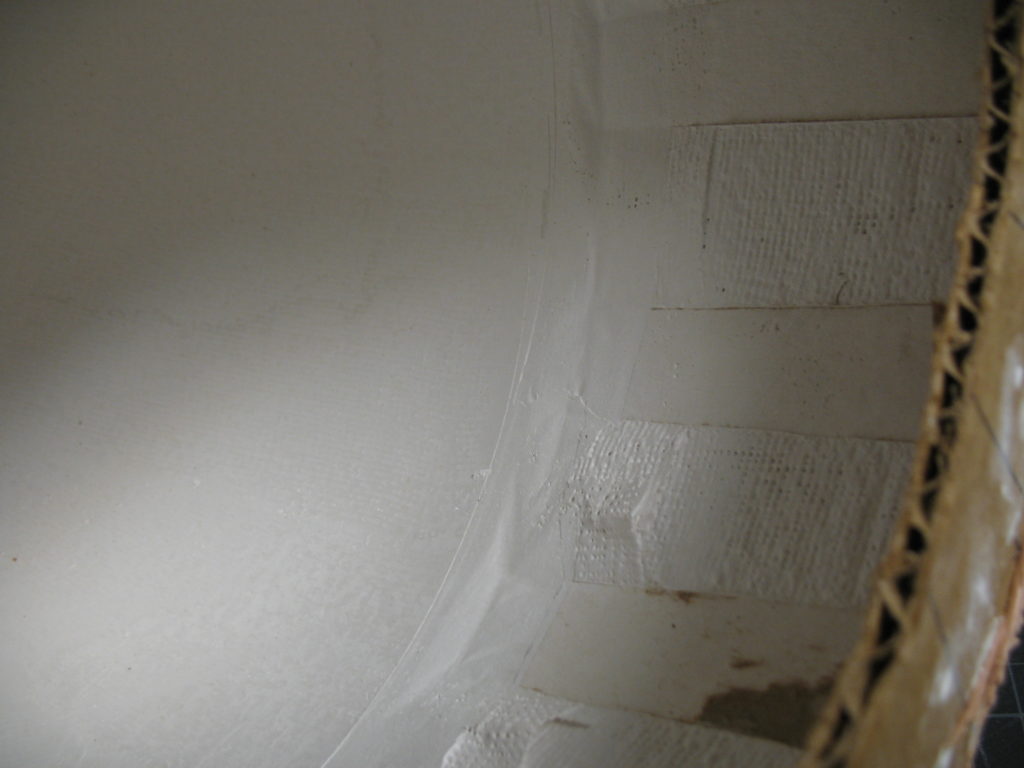
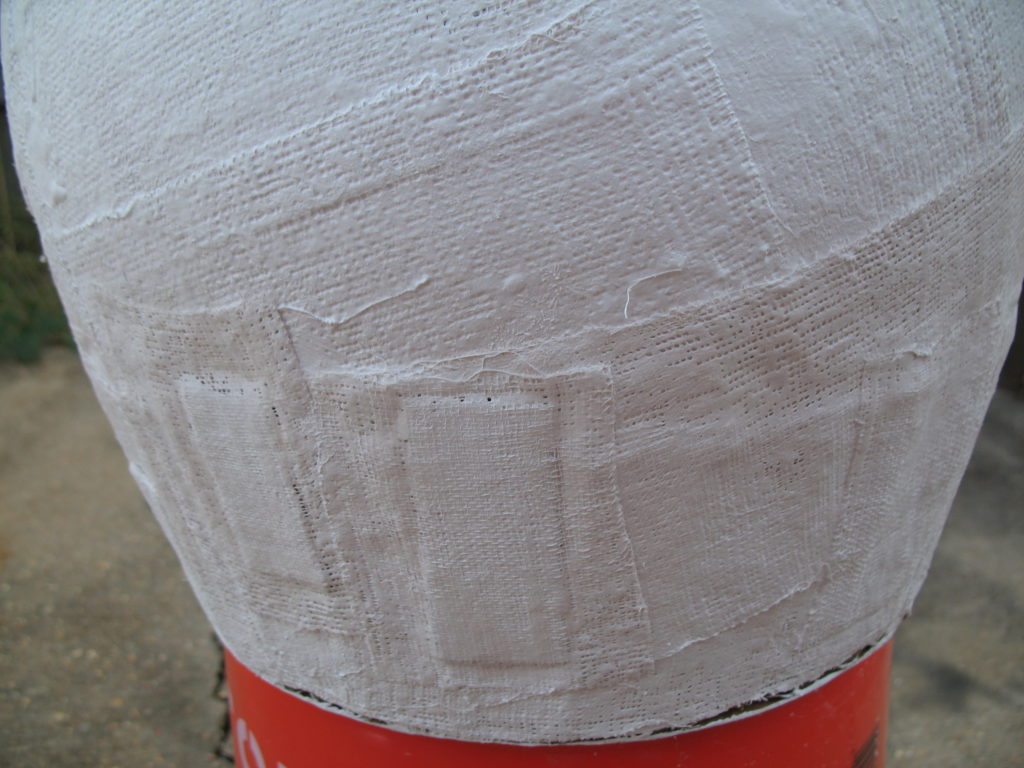
Now to coat it. I’m going to use plaster-coated cloth strips that I got from the hobby store.

I took the roll of plaster cloth and cut it into strips about 2-3 inches (50-75mm) wide. The gauze/cloth strips are just dipped into warm water. The excess water is squeegeed off with your fingers, and the strip is draped over the ball and cardboard


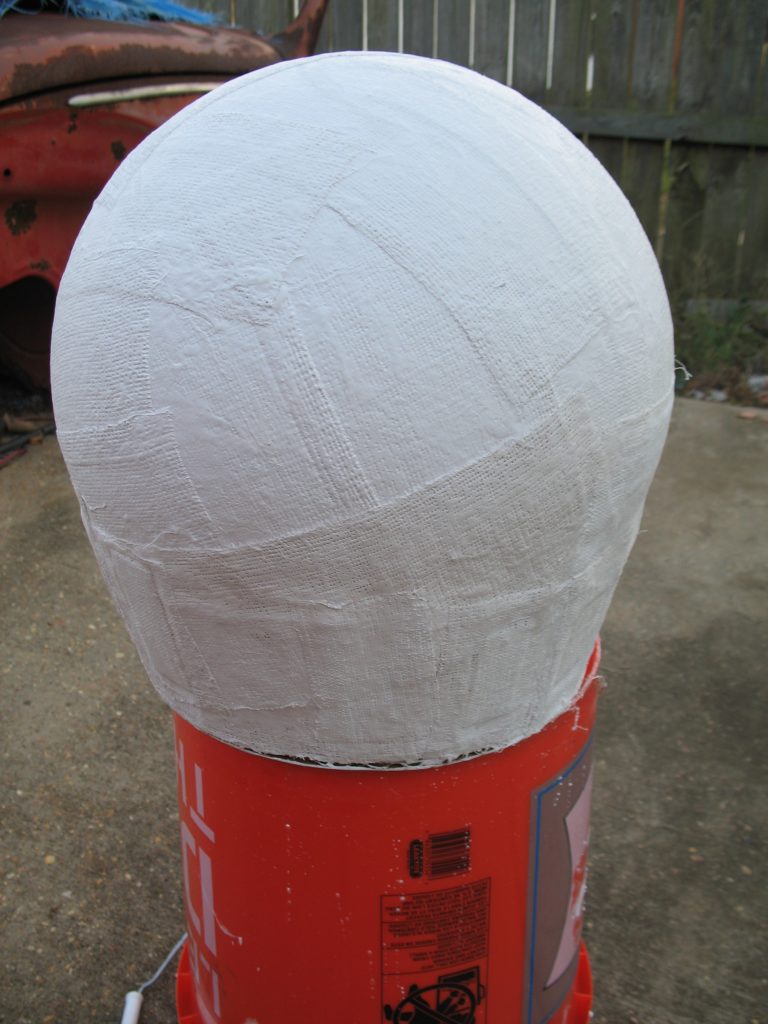
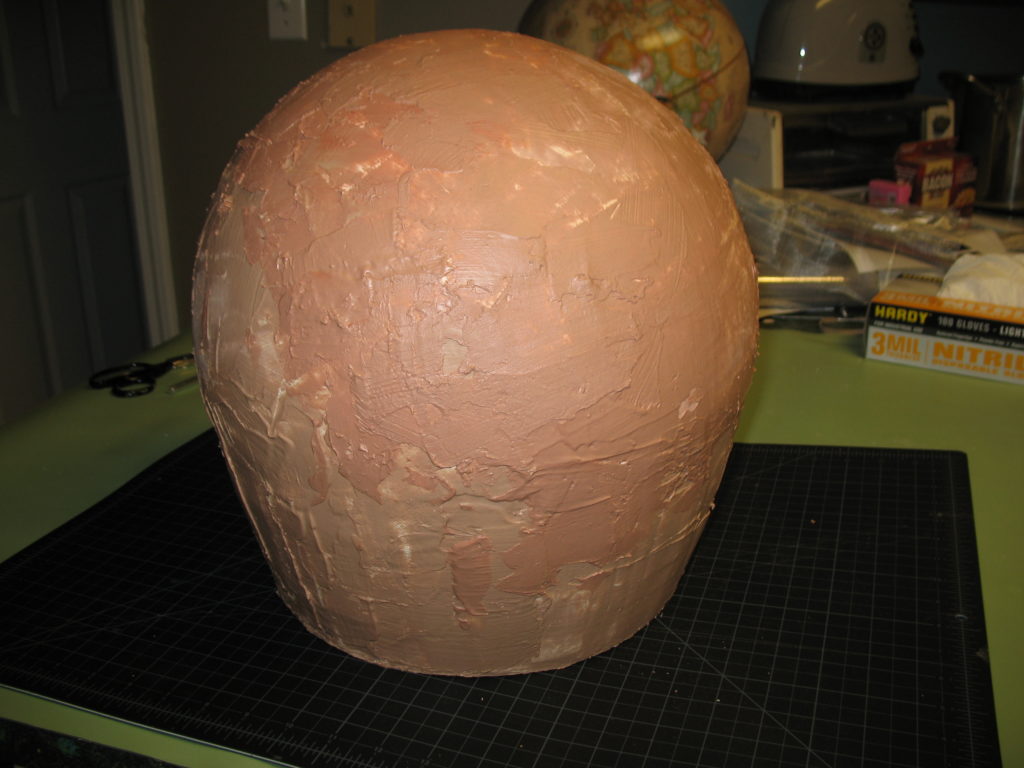
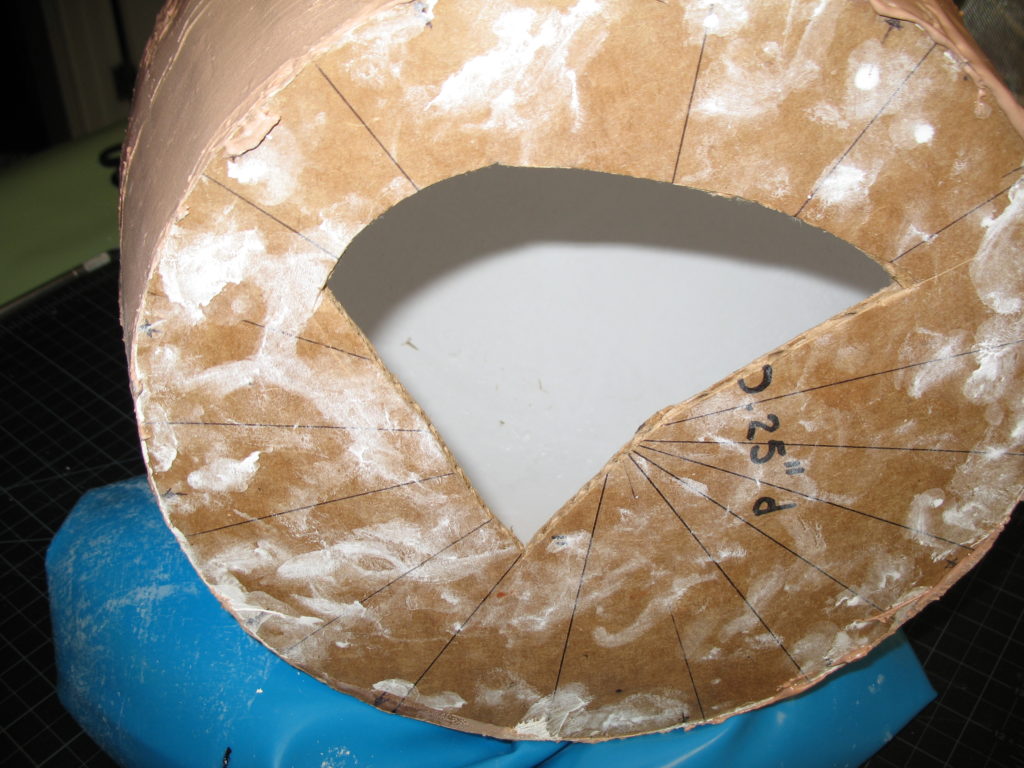
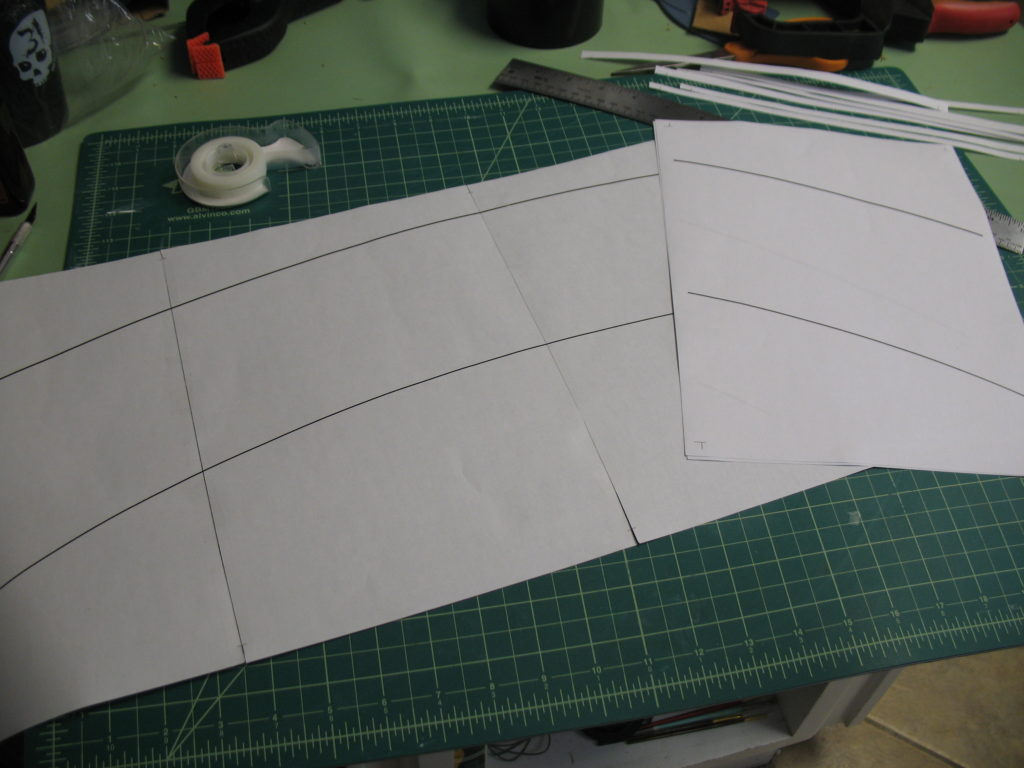
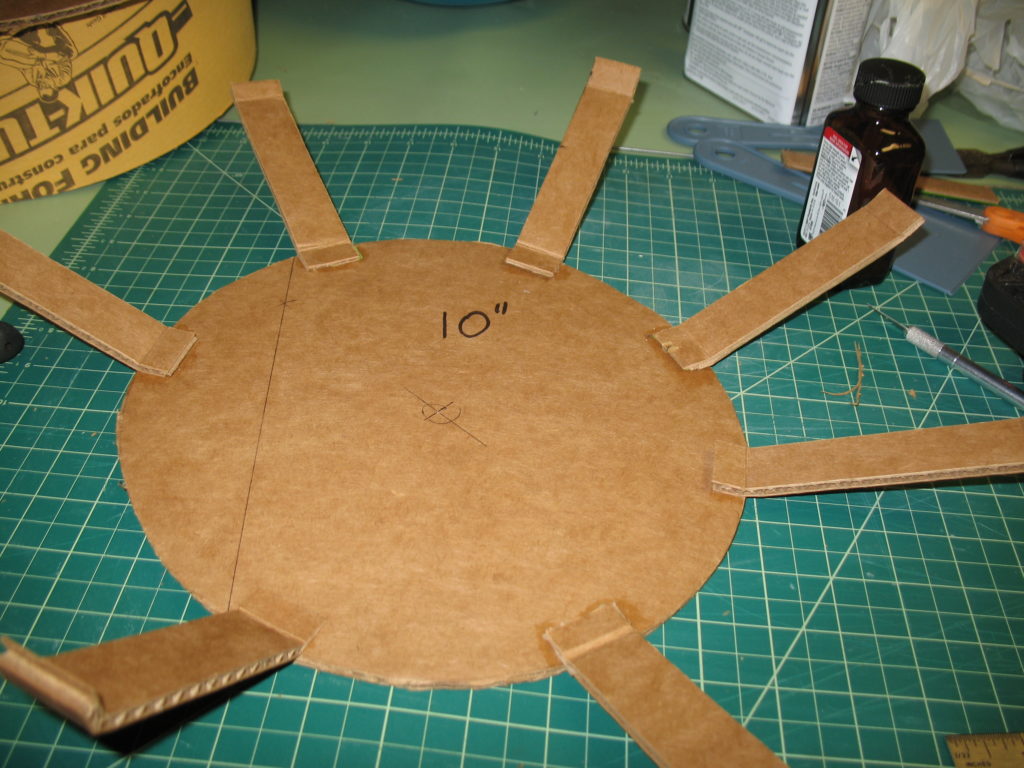
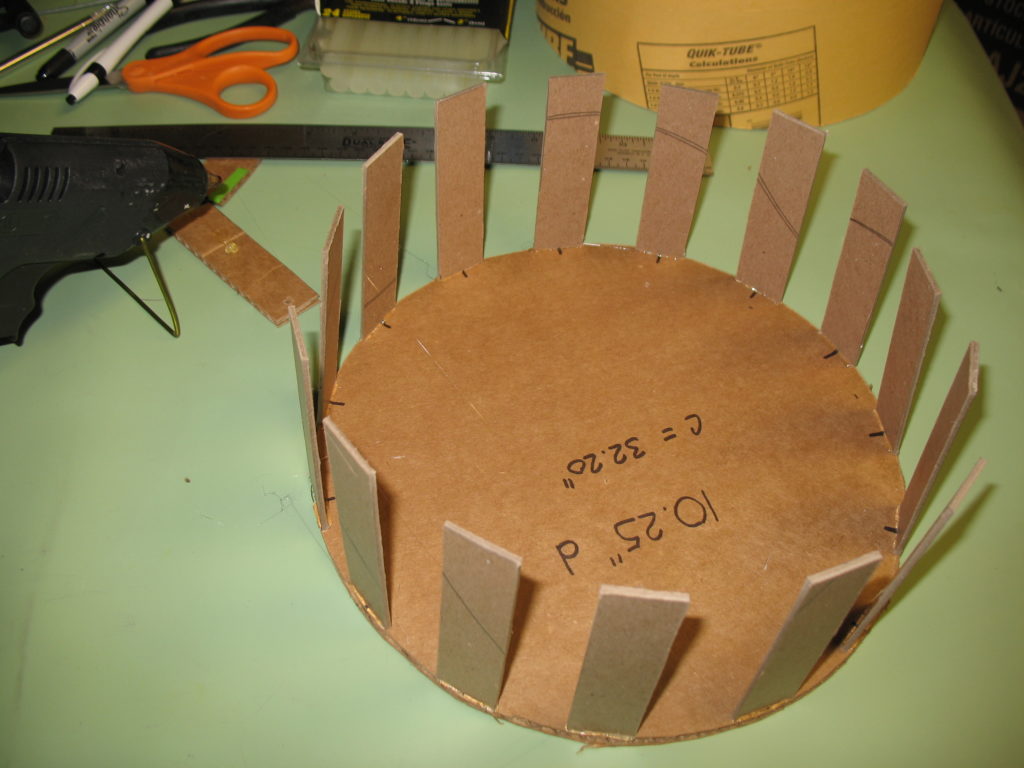
I made a real mistake by using a few cardboard strips for the “ribs.” This left a sunken area in between the ribs, and I stuck in a few cardboard strips to try and fill it in. I think it would be much better to use more ribs or, better yet, generate a conic section that fits the shape when rolled up, and cut it out of cardboard or similar material.
Ok, so here’s how it starts. The helmet looks basically like a ball, on top of a sleeve/collar.
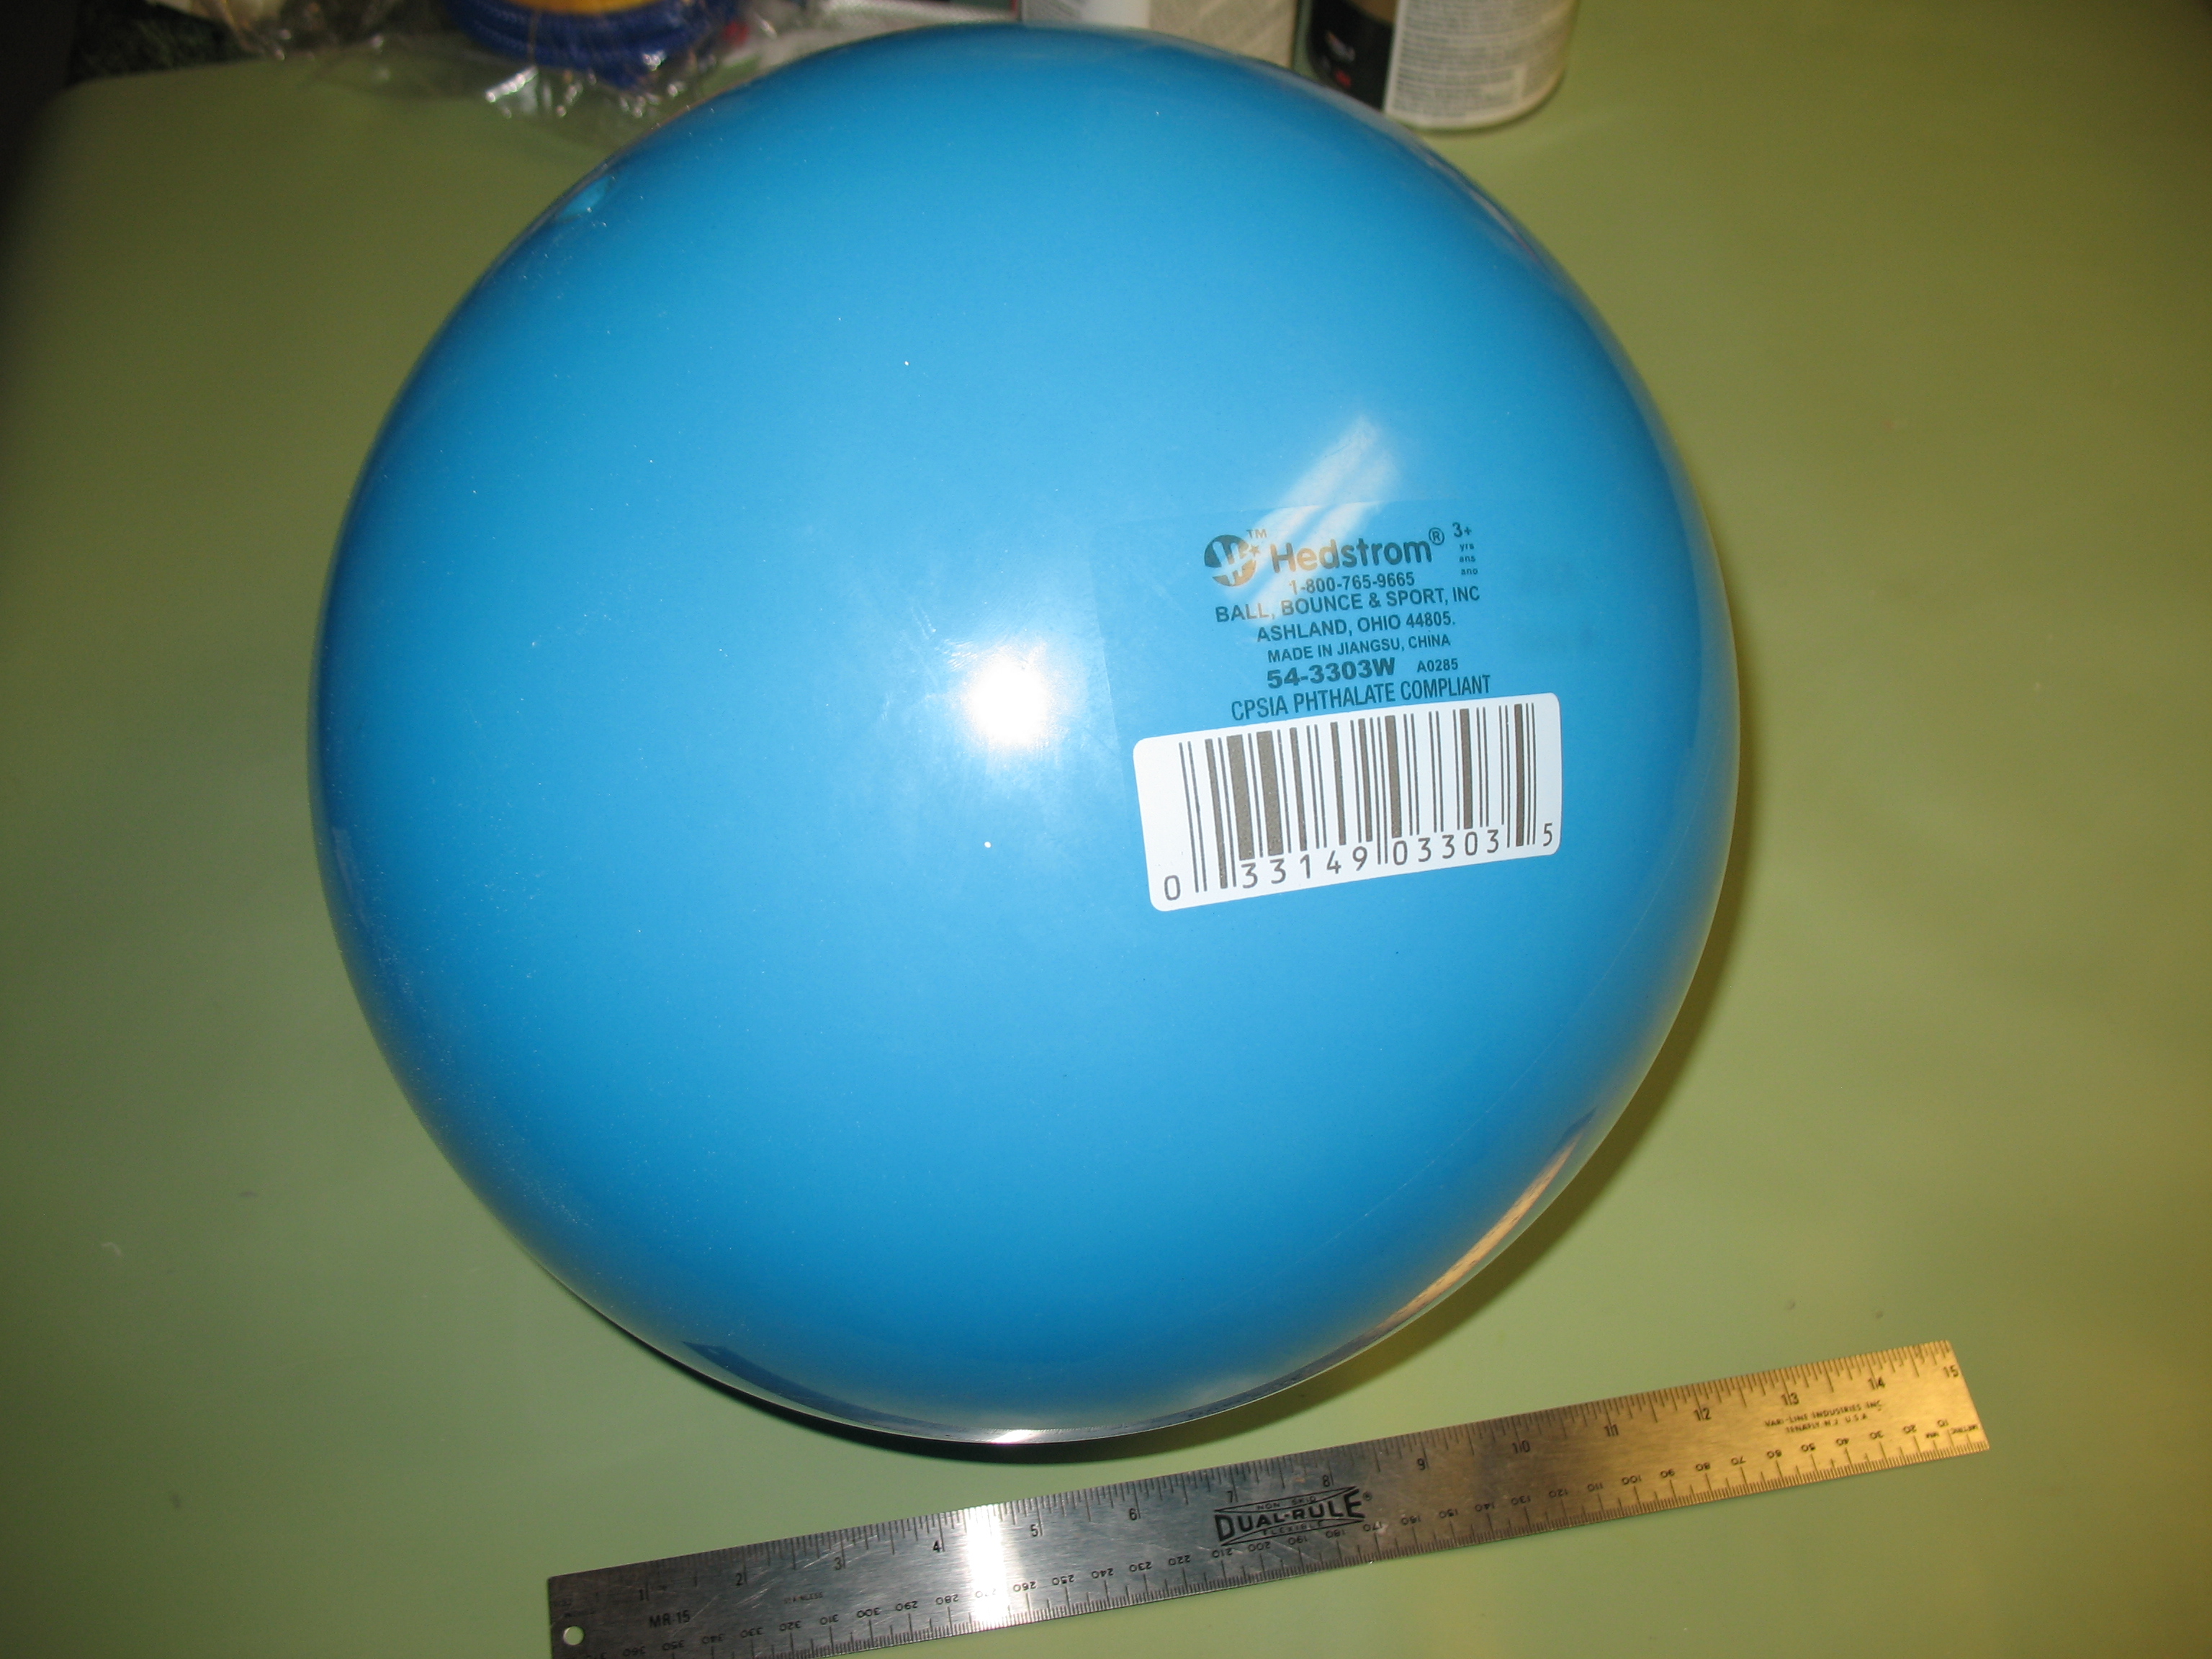
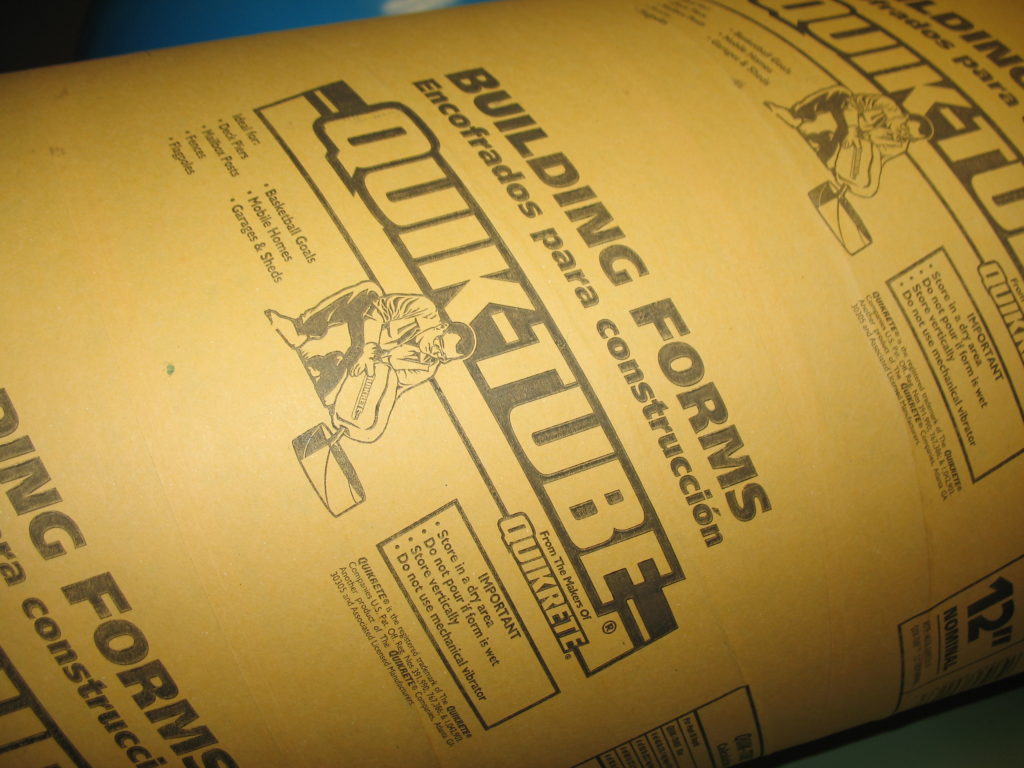
I’ll start with a kid’s rubber-ish ball. I started by trying to stick the ball on a piece of cardboard tubing used for making concrete forms (it’s available at home improvement stores). But the cardboard cylinder does not “flare” out correctly. I tried to cut a ring of cardboard, then slit it and fold it in on itself. But it’s just not right.
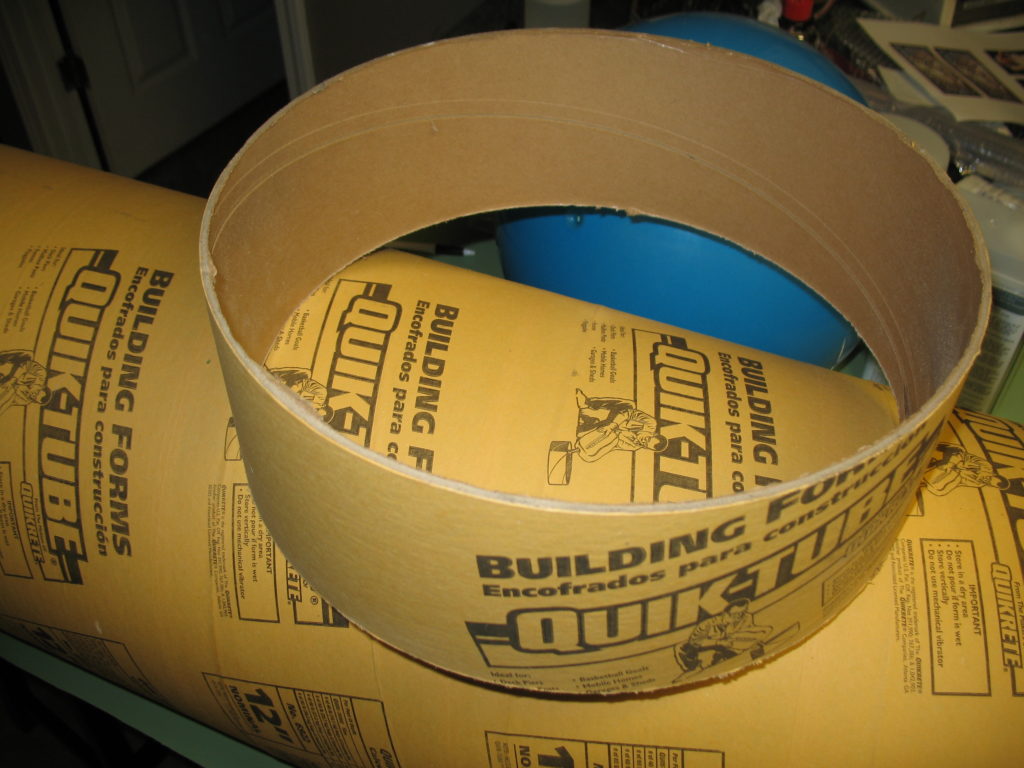
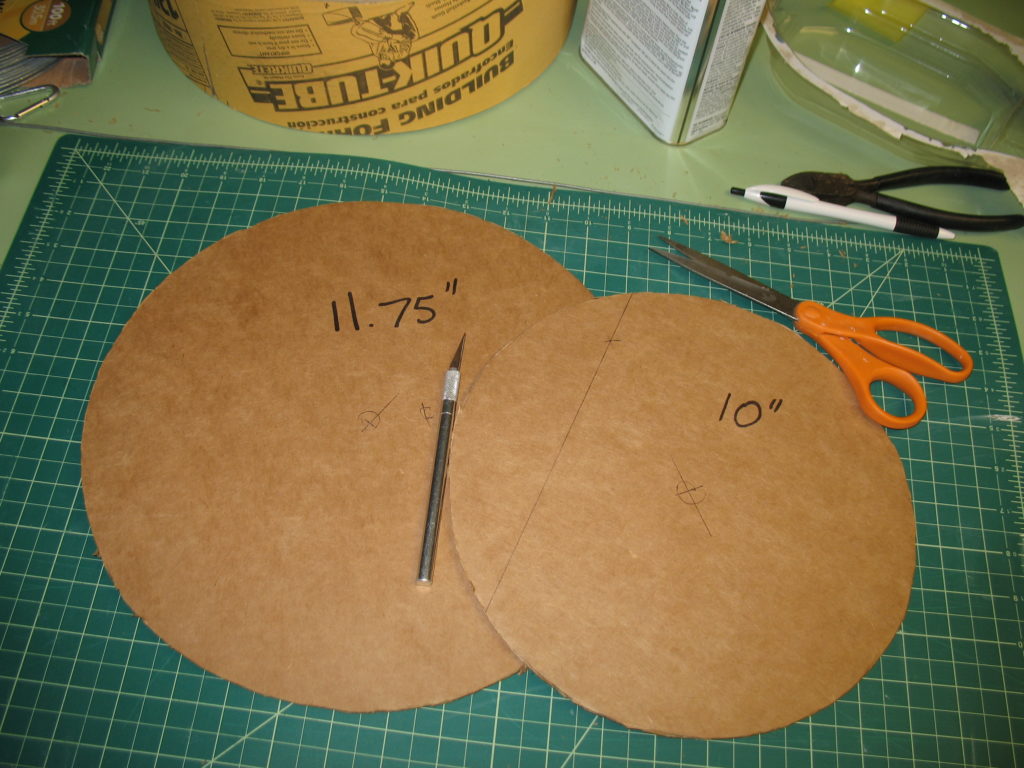
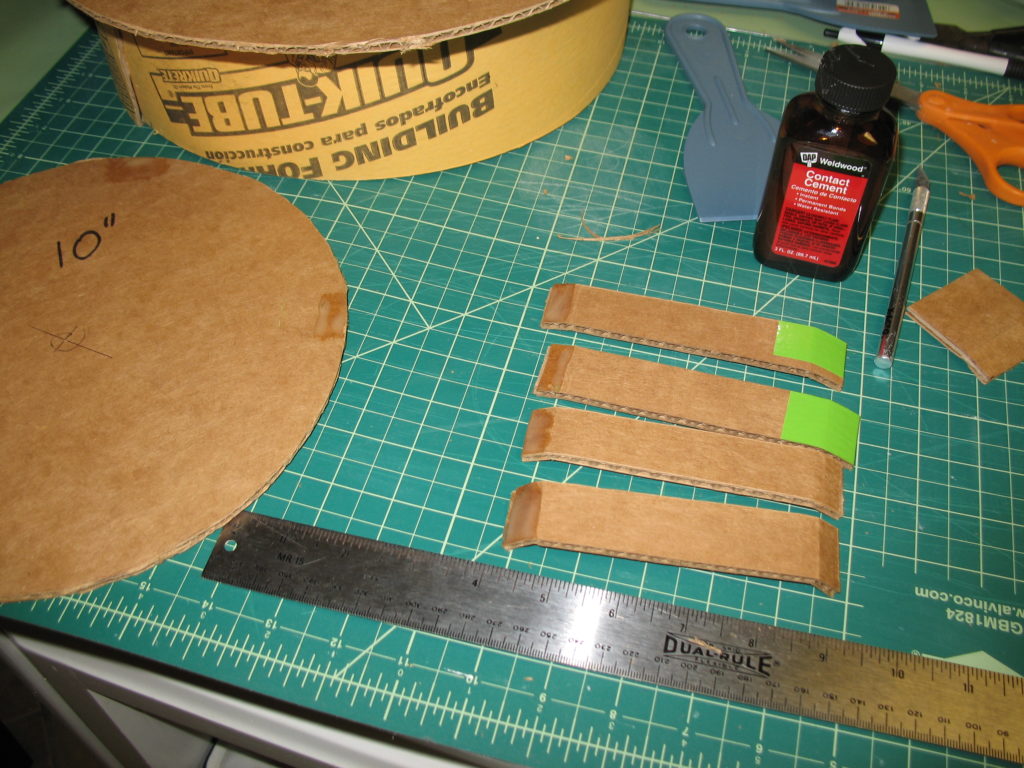
The shape from the “globe” of the helmet, down to the base where it connects to the collar, is not a cylinder, it’s a conical section. I think a different approach is in order. If I pick point on the helmet where I think the sphere starts to flatten-out to the conic, and get a diameter there, then measure the base of the helmet, and those two diameters will form the top and bottom of my conic section.


I need a plan for building a Navy Mk V dive helmet. Ask, and the internet delivers. Found in various places, this drawing is to-scale. I’m going to use this as my general plan for getting the size correct.
I found on seajunk.com this photo of the front viewport protector (the grill):
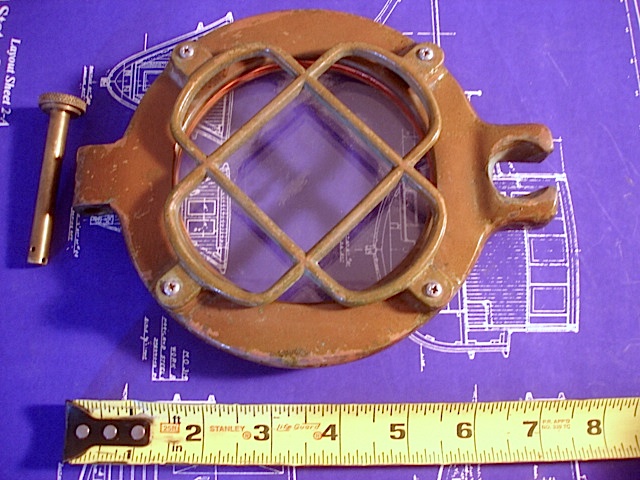
It gives the dimensions of the viewport glass (4″) and shows the overall width (7.5″) of the front viewport. I’m going to use this information to enlarge the blueprint in Photoshop to match. Then, I should be able to pull measurements off the blueprint and stay reasonably close to the proper proportion when I make the components of the helmet.
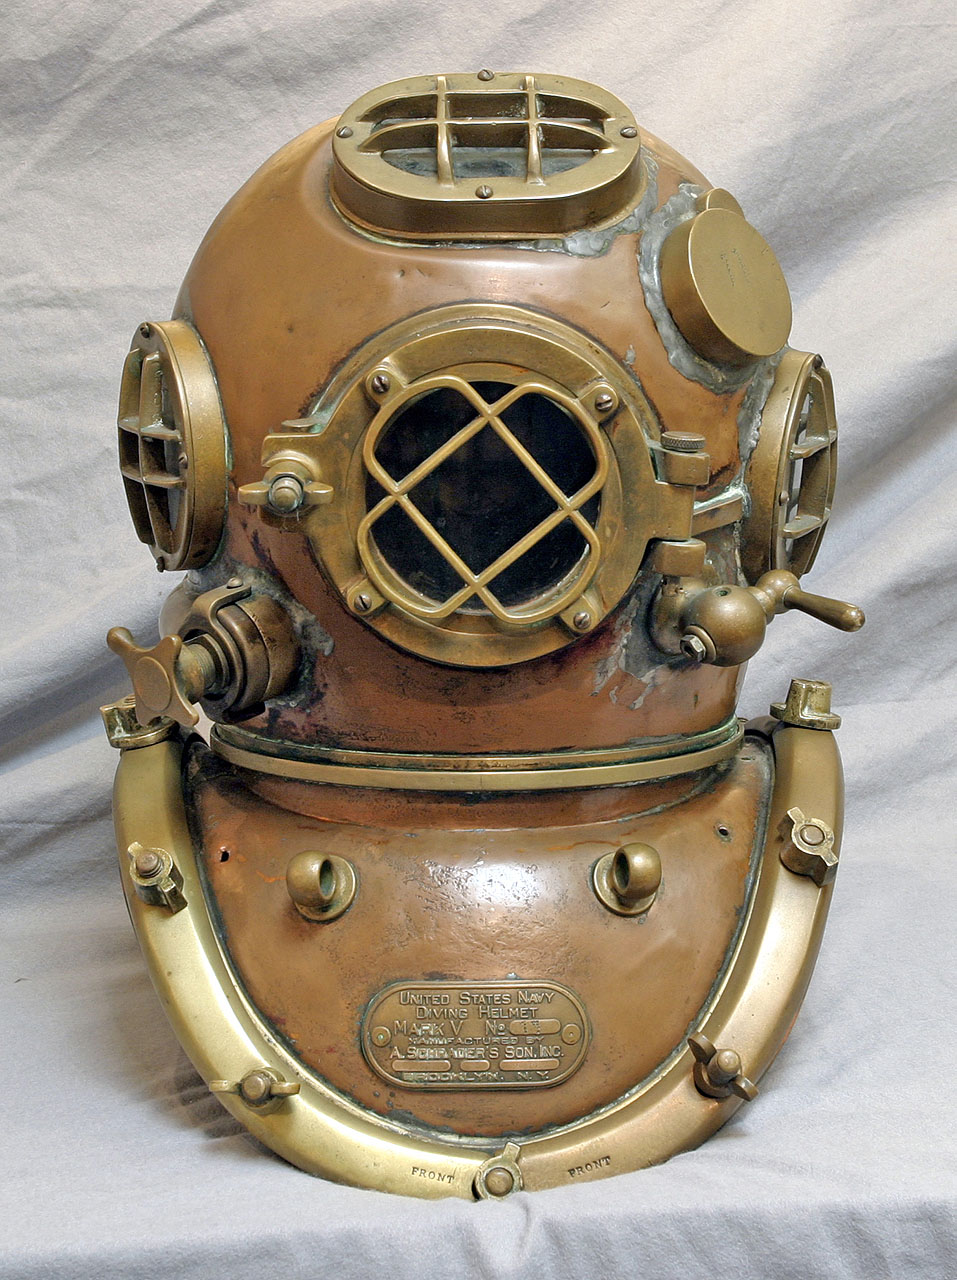
So I decided to build a facsimile of a U.S. Navy diving helmet, the Mark V. Something like this one (which was auctioned off at Vallejo Gallery):
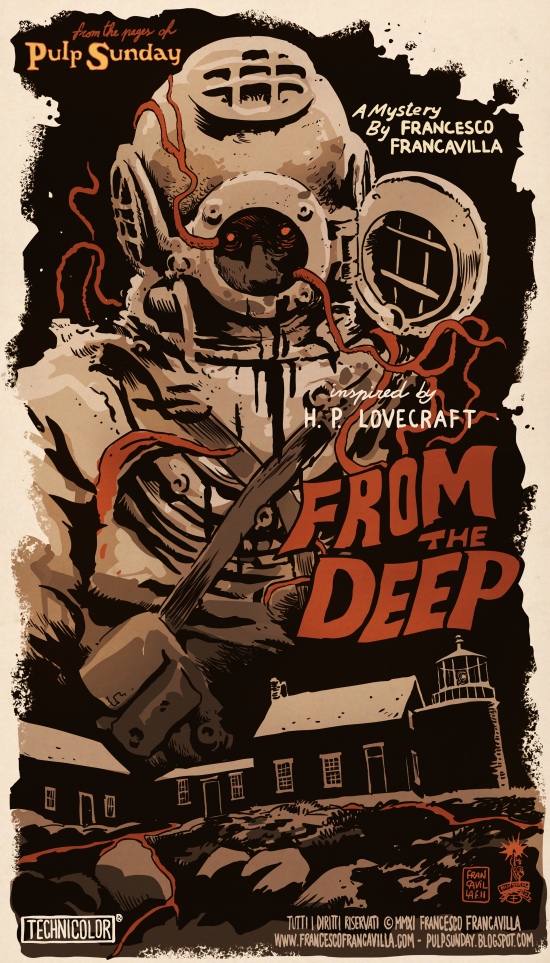
Dive helmets like the Mk V are widely-recognizable, and appear in pop/pulp fiction, adventure stories, and graphic novels/comics; anywhere there’s a style-heavy industrial motif, like steampunk. The strange rounded rectangles on the front viewport, and the globe-shaped hat are instantly familiar, and serve to set the tone for an other-worldly scene, or vintage setting. Like in this H.P. Lovecraft themed poster by Italian artist Francesco Francavilla